On Security and Python's Exec

A recent project at work has renewed my aversion to Python's exec statement--particularly when you want to use it with arbitrary, untrusted code. The project requirements necessitated the use of exec, so I got to do some interesting experiments with it. I've got a few friends who, until I slapped some sense into them, were seemingly big fans of exec (in Django projects, even...). This article is for them and others in the same boat.

Take this example:

#!/usr/bin/env python

import sys

dirname = '/usr/lib/python2.6/site-packages'

print dirname, 'in path?', (dirname in sys.path)

exec """import sys

dirname = '/usr/lib/python2.6/site-packages'
print 'In exec path?', (dirname in sys.path)

sys.path.remove(dirname)

print 'In exec path?', (dirname in sys.path)"""

print dirname, 'in path?', (dirname in sys.path)

Take a second and examine what the script is doing. Done? Great... So, the script first makes sure that a very critical directory is in my PYTHONPATH: /usr/lib/python2.6/site-packages. This is the directory where all of the awesome Python packages, like PIL, lxml, and dozens of others, reside. This is where Python will look for such packages when I try to import and use them in my programs.

Next, a little Python snippet is executed using exec. Let's say this snippet comes from an untrusted source (a visitor to your website, for example). The snippet removes that very important directory from my PYTHONPATH. It might seem like it's relatively safe to do within an exec--maybe it doesn't change the PYTHONPATH that I was using before the exec?

Wrong. The output of this script on my personal system says it all:

$ python bad.py
/usr/lib/python2.6/site-packages in path? True
In exec path? True
In exec path? False
/usr/lib/python2.6/site-packages in path? False

From this example, we learn that Python code that is executed using exec runs in the same context as the code that uses exec. This is a critical concept to learn.

Some people might say, "Oh, there's an easy way around that. Give exec its own globals dictionary to work with, and all will be well." Wrong again. Here's a modified version of the above script.

#!/usr/bin/env python

import sys

dirname = '/usr/lib/python2.6/site-packages'

print dirname, 'in path?', (dirname in sys.path)

context = {'something': 'This is a special context for the exec'}

exec """import sys

print something
dirname = '/usr/lib/python2.6/site-packages'
print 'In exec path?', (dirname in sys.path)

sys.path.remove(dirname)

print 'In exec path?', (dirname in sys.path)""" in context

print dirname, 'in path?', (dirname in sys.path)

And here's the output:

$ python also_bad.py
/usr/lib/python2.6/site-packages in path? True
This is a special context for the exec
In exec path? True
In exec path? False
/usr/lib/python2.6/site-packages in path? False

How can you get around this glaring risk in the exec statement? One possible solution is to execute the snippet in its own process. Might not be the best way to handle things. Could be the absolute worst solution. But it's a solution, and it works:

#!/usr/bin/env python

import multiprocessing
import sys

def execute_snippet(snippet):
    exec snippet

dirname = '/usr/lib/python2.6/site-packages'

print dirname, 'in path?', (dirname in sys.path)

snippet = """import sys

dirname = '/usr/lib/python2.6/site-packages'
print 'In exec path?', (dirname in sys.path)

sys.path.remove(dirname)

print 'In exec path?', (dirname in sys.path)"""

proc = multiprocessing.Process(target=execute_snippet, args=(snippet,))
proc.start()
proc.join()

print dirname, 'in path?', (dirname in sys.path)

And here comes the output:

$ python better.py
/usr/lib/python2.6/site-packages in path? True
In exec path? True
In exec path? False
/usr/lib/python2.6/site-packages in path? True

So the PYTHONPATH is only affected by the sys.path.remove within the process that executes the snippet using exec. The process that spawns the subprocess is unaffected, and can continue with life, happily importing all of those wonderful packages from the site-packages directory. Yay.

With that said, exec isn't always bad. But my personal point of view is basically, "There is probably a better way." Unfortunately for me, that does not hold up in my current situation, and it might not work for your circumstances too. If no one is forcing you to use exec, you might investigate alternatives in all of that free time you've been wondering what to do with.

My Fedora 11 Adventures: Part I

Today I decided that I would deliberately put myself outside of my comfort zone. No, not by intentionally putting myself on a telephone for more than 5 minutes this month... I will need a lot more preparation before I can attempt that one. No no, today's experiment has to do with Linux. If you're new around here, I am a very big fan of Linux. It has been my primary operating system for over 8 years (but I still use Windows and Mac occasionally, when I need to test my programs and the cross-platform behavior).

A Little Background On Yours Truly

There was a time when I was what you would call a distro-hopper. I would download any and every Linux distribution I could get my hands on. Most of them would hang around on my computer for a few days at best, but a select few actually impressed me enough to have them stick around for longer. Among those few are Slackware and Sidux. Many other distros are nice and pretty, but when it comes to me being productive on them, there always seems to be something lacking.

I am addicted to speed and reliability--two things that originally urged me to tinker with Linux all those years ago. I am more than willing to sacrifice looks and features for being able to just get something done quickly and efficiently. As a matter of fact, I'm writing this article in VIM, one of the most "light-weight" editors around these days. It allows me to do exactly what I want to do without getting in my way. That's how I like things.

That's probably the main reason I love Slackware. It won't do anything I don't tell it to do. No crazy background processes updating some package repository, slowing down my system. No pestering me about security updates that I will install in my own due time. Slackware only does what I want it to, and I have learned a ton about Linux because of it. If I decide I want something automated in the background, I have to tell the computer to do it. If one of my programs has been updated on the Internet, I download and install the package manually instead of using a "package manager." If one of my programs doesn't work because of a missing dependency, I am the one who finds and downloads the dependency. It's a lot of work initially, but I'm of the persuasion that this work is well worth it for my situation.

In today's day and age, that sort of setup seems to scare a lot of people off. People like to have things "just work." People like to not have to worry about keeping up to speed with what security threats are out there. People like having things to keep them entertained instead of getting things done. People like to see their desktop turn into a cube and spin around. People like to see things glow and wiggle on their computer. It's aesthetically pleasing. There's nothing wrong with that. Unless you want to get things done instead of just stare at your computer.

The Challenge

With that background in mind, you should be equipped to better understand the information and articles that follow. My challenge to myself is this: install Fedora 11 and use it for at least a week. To add to the the challenge, I'm installing the 64-bit version. In my past experience with 64-bit operating systems, there has been no real motivation or necessity for 64-bit computing. It just means more compatibility problems, which reduces productivity. This will be the first 64-bit operating system I actually plan to keep around beyond the exploratory period.

There are a few things about this that will bring me waaaay out of my comfort zone. They are (in no particular order):

  • Fedora
  • RPMs
  • KDE 4

I have a strong disregard for each of these items. There was a time when I considered Fedora to be a respectable platform--back when it was Fedora Core 2 or 3. Ever since then, I feel that it has gone down the tubes. RPMs have always seemed grossly lacking in the speed department to me, and it only got worse after I found out about Debian and Slackware. Finally, KDE 4 seems like one of the absolute worst window managers I have yet to encounter. I love KDE 3.5.x. I wish I could use it everywhere I go. But KDE 4 has yet to appeal to my desire for efficient productivity--it gets in my way almost as much as GNOME does.

Starting today, I plan to look all of these opinions (as biased as they may be) straight in the eye and take 'em head-on. I am going to work on learning to enjoy using Fedora. I'm going to work on learning how to appreciate RPMs. I am going to learn to be productive in the window manager "of the future."

And I will keep you all apprised of my progress.

AES Encryption in Python Using PyCrypto

Warning

Please do not mistake this article for anything more than what it is: my feeble attempt at learning how to use PyCrypto. If you need to use encryption in your project, do not rely on this code. It is bad. It will haunt you. And some cute creature somewhere will surely die a painful death. Don't let that happen.

If you want encryption in Python, you may be interested in these libraries:

I spent a little bit of time last night and this morning trying to find some examples for AES encryption using Python and PyCrypto. To my surprise, I had quite a difficult time finding an example of how to do it! I posted a message on Twitter asking for any solid examples, but people mostly just responded with things I had seen before--the libraries that do the encryption, not examples for how to use the libraries.

It wasn't long after that when I just decided to tackle the problem myself. My solution ended up being pretty simple (which is probably why there weren't any solid examples for me to find). However, out of respect for those out there who might still be looking for a solid example, here is my solution:

#!/usr/bin/env python

from Crypto.Cipher import AES
import base64
import os

# the block size for the cipher object; must be 16 per FIPS-197
BLOCK_SIZE = 16

# the character used for padding--with a block cipher such as AES, the value
# you encrypt must be a multiple of BLOCK_SIZE in length.  This character is
# used to ensure that your value is always a multiple of BLOCK_SIZE
PADDING = '{'

# one-liner to sufficiently pad the text to be encrypted
pad = lambda s: s + (BLOCK_SIZE - len(s) % BLOCK_SIZE) * PADDING

# one-liners to encrypt/encode and decrypt/decode a string
# encrypt with AES, encode with base64
EncodeAES = lambda c, s: base64.b64encode(c.encrypt(pad(s)))
DecodeAES = lambda c, e: c.decrypt(base64.b64decode(e)).rstrip(PADDING)

# generate a random secret key
secret = os.urandom(BLOCK_SIZE)

# create a cipher object using the random secret
cipher = AES.new(secret)

# encode a string
encoded = EncodeAES(cipher, 'password')
print 'Encrypted string:', encoded

# decode the encoded string
decoded = DecodeAES(cipher, encoded)
print 'Decrypted string:', decoded

Edit: thanks to John and Kaso for their suggestions, though John's didn't seem to work for me (?)

Edit 2015.12.14: thanks to Stephen for pointing out that the block size for AES is always 16, and the key size can be 16, 24, or 32. See FIPS-197 for more details.

If you plan to use this script, you'll need to have PyCrypto installed on your computer. I have had a difficult time finding this for Windows in the past, so I will mirror the installer that I found over here: http://jintoreedwine.wordpress.com/2008/07/20/python-25-and-encryption-pycrypto-under-windows/. I haven't tried it on Mac OS X yet, but it should be fairly simple to install it. Same goes for Linux.

The output of the script should always change with each execution thanks to the random secret key. Here's some sample output:

$ python aes_encryption.py
Encrypted string: aPCQ8v9WzLM/JusrJPS19K8uUA/34Xiu/ZR+arzl1oM=
Decrypted string: password

$ python aes_encryption.py
Encrypted string: F0cp4hMk8RXjcww270leHnigH++yqysIyPy8Em/qEbI=
Decrypted string: password

$ python aes_encryption.py
Encrypted string: 7gH2QCIPOxXVBjTXrMmdgU2l7Iku5Lch5jpG9OScGZw=
Decrypted string: password

$ python aes_encryption.py
Encrypted string: oJUq0/XHdmYgC3ILgFgF6Tpuo8ZhoEHN9wmnuYvV58Y=
Decrypted string: password

If the comments in the script aren't explanatory enough, please comment and ask for clarification. I will offer any that I am capable of, and I invite others to do the same.

Windows 7 Public Beta Screenshots

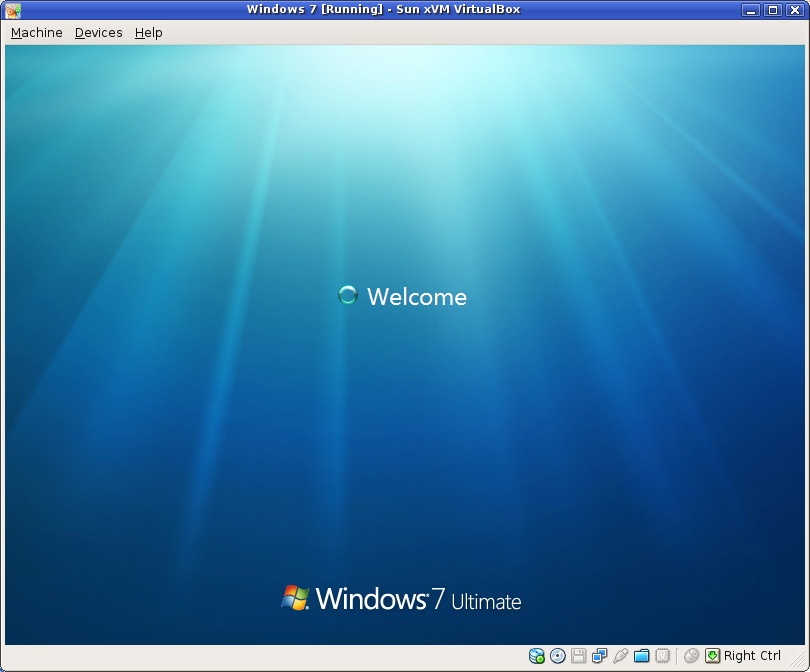
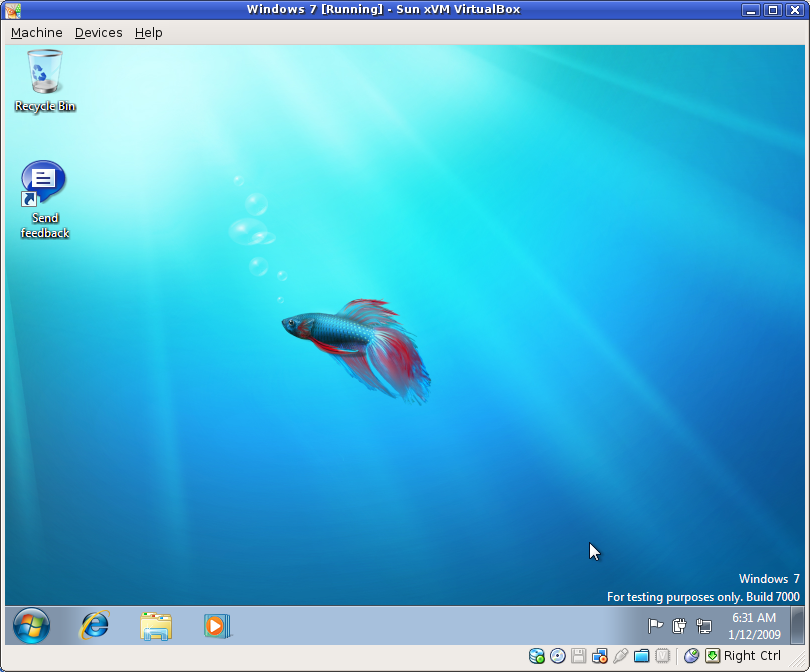
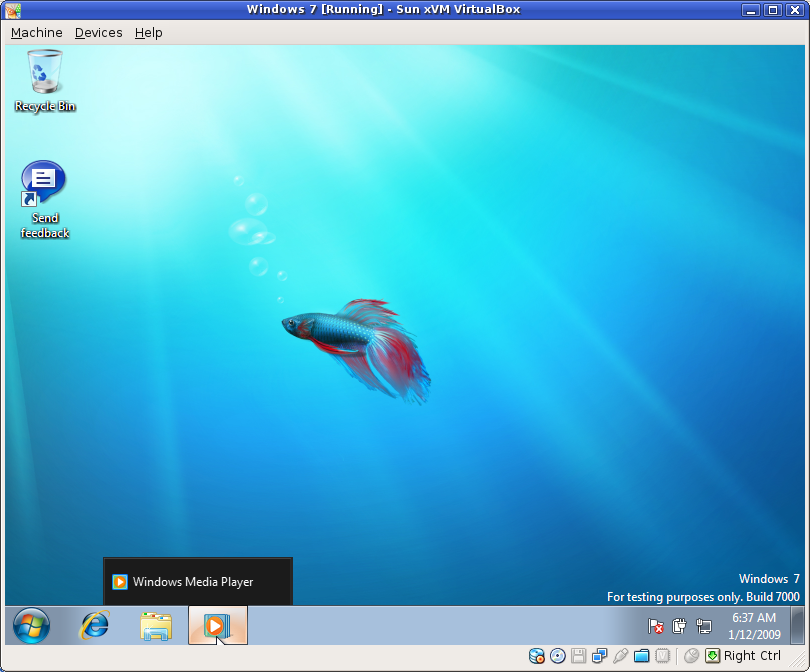
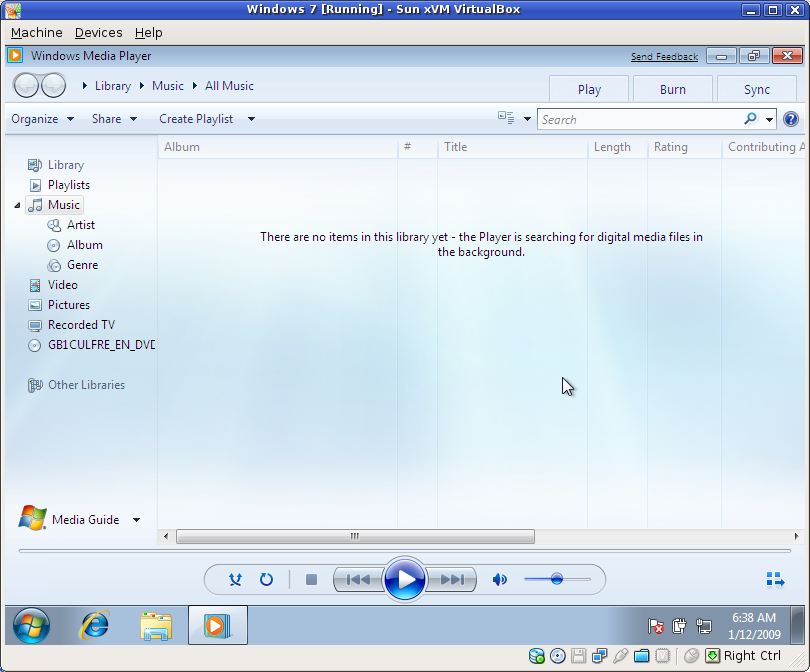
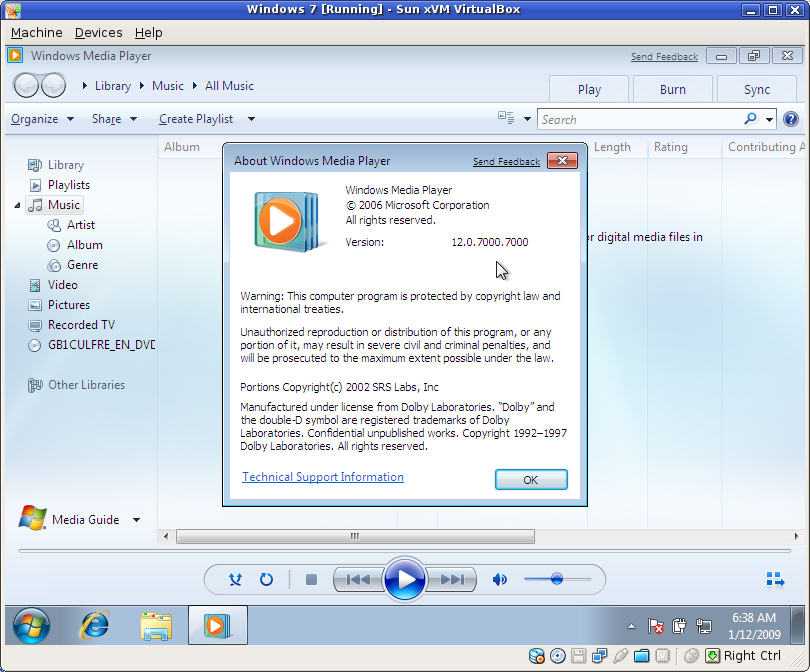
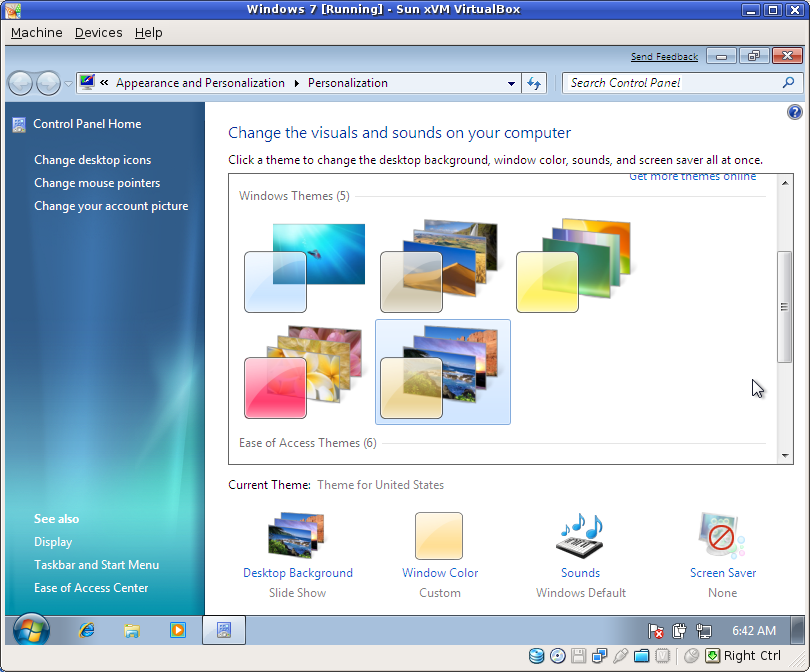
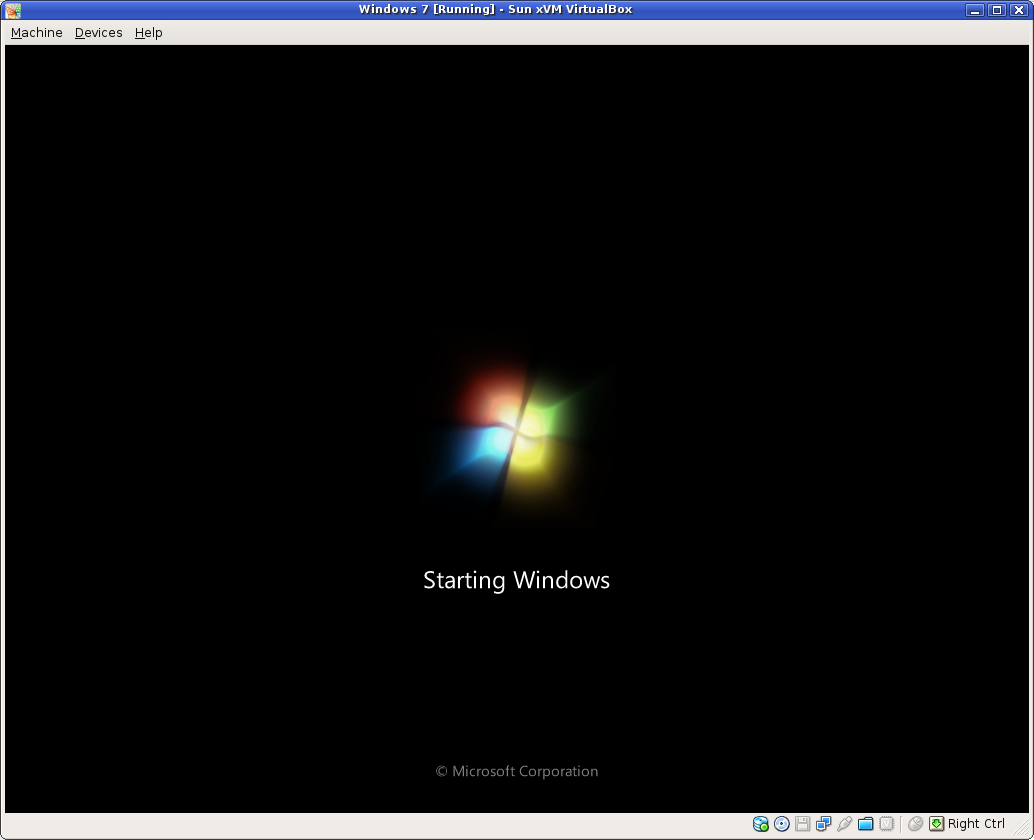
Here are some screenshots of the Windows 7 public beta. I installed it in a VirtualBox virtual machine and allocated 600MB of RAM to it.

The new and improved sloading screen

The new and improved sloading screen.

The login screen

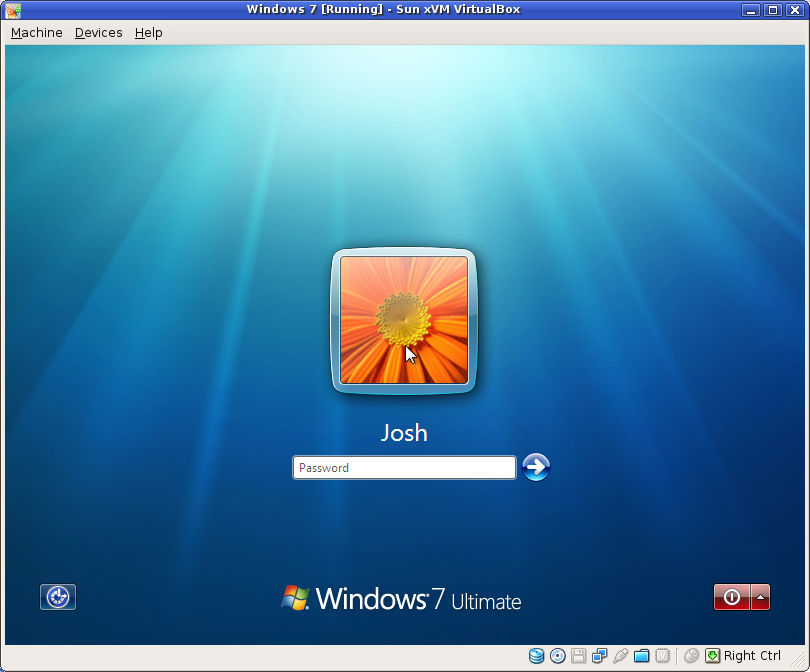
The login screen

Logging in....

Logging in....

The desktop.... and a fish!!

The desktop.... and a fish!!

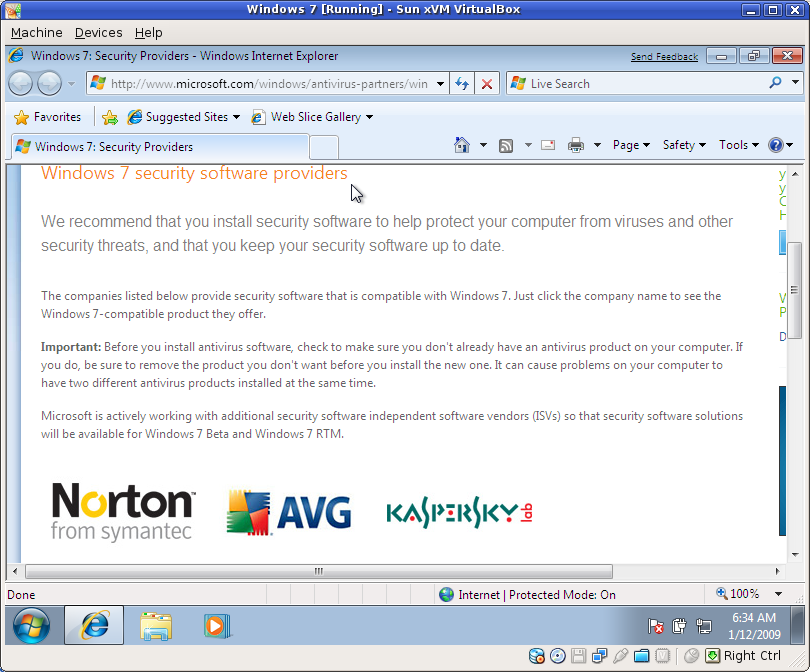
Your choices of Microsoft-sponsored security--the ones that will slow down your computer the most

Your choices of Microsoft-sponsored security--the ones that will slow down your computer the most!

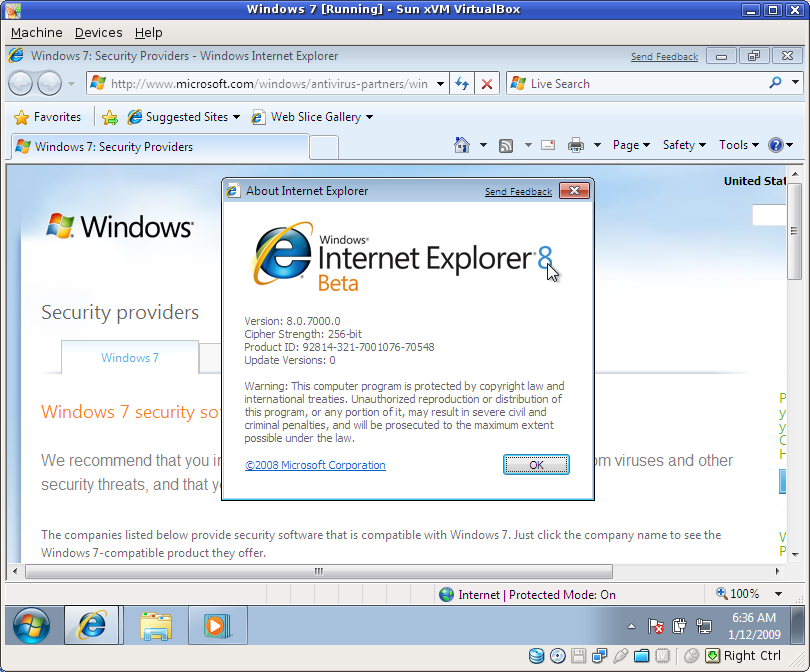
Oh oh!!  It's Internet Explorer 8!  Chews up my site like a charm.

Oh oh!! It's Internet Explorer 8! Chews up my site like a charm.

Captionless taskbar icons until you hover.

Captionless taskbar icons until you hover.

The new Windows Media Player

The new Windows Media Player.

It's version 12!

It's version 12!

Setting your desktop theme

Setting your desktop theme.

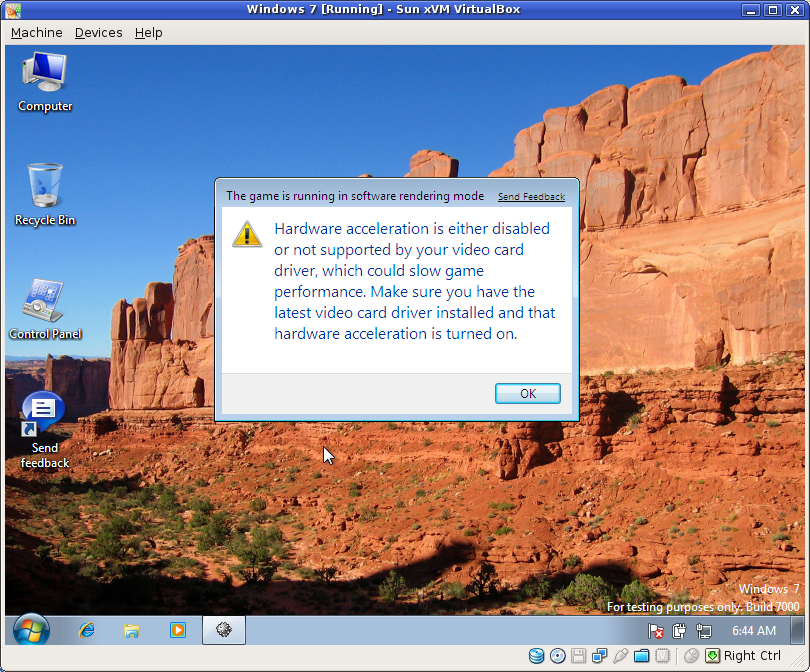
Minesweeper wants hardware accelerated graphics

Minesweeper wants hardware accelerated graphics.... why??

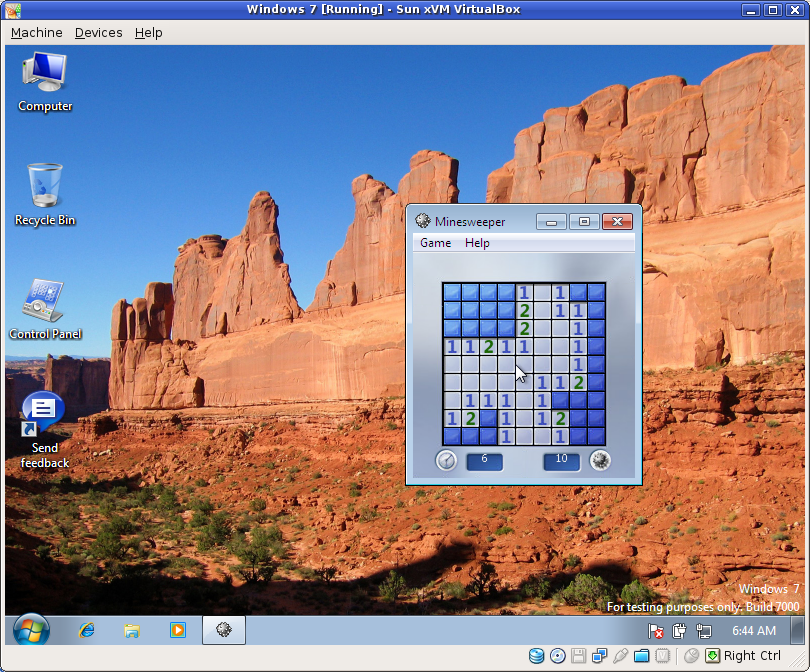
All-new Minesweeper

The all-new Minesweeper.

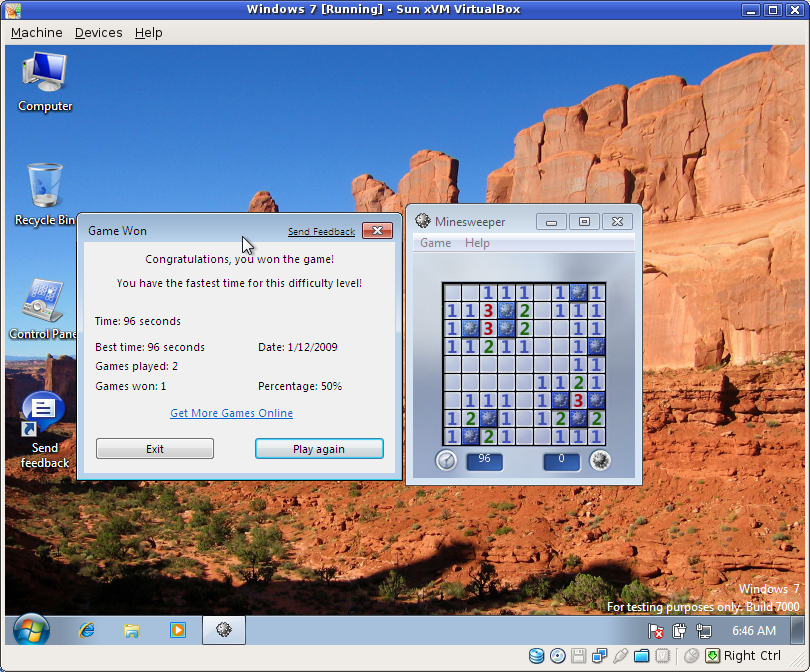
I won!

I won!

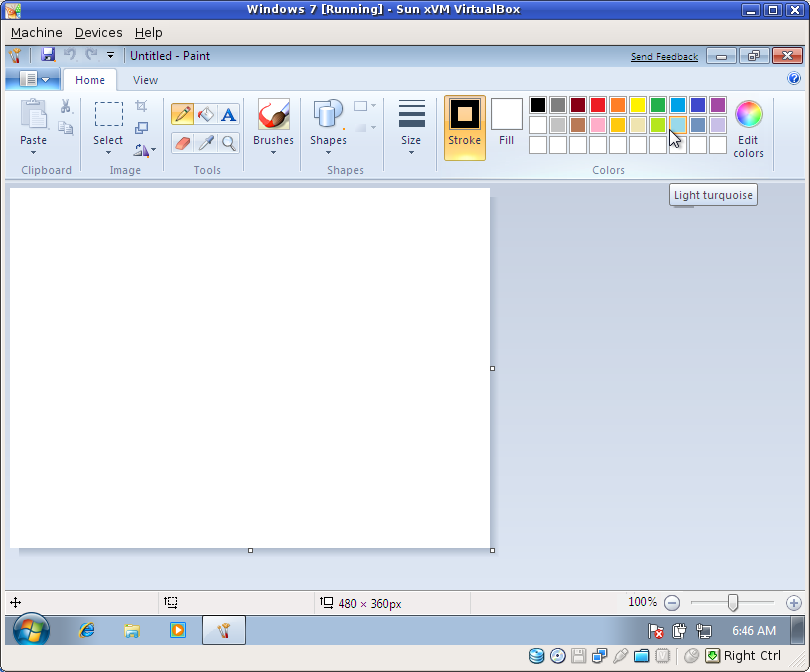
Paint

Paint. Very perty.

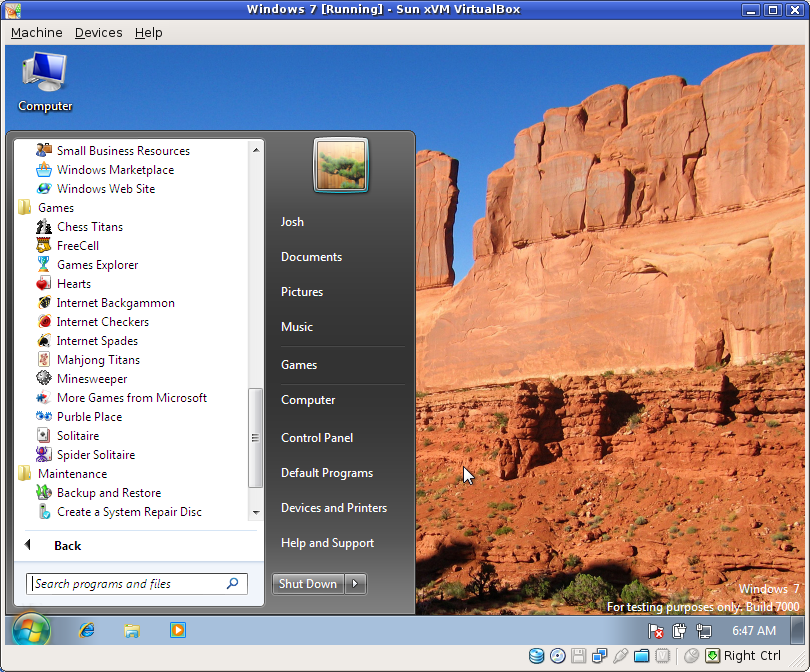
The start menu

The start menu.

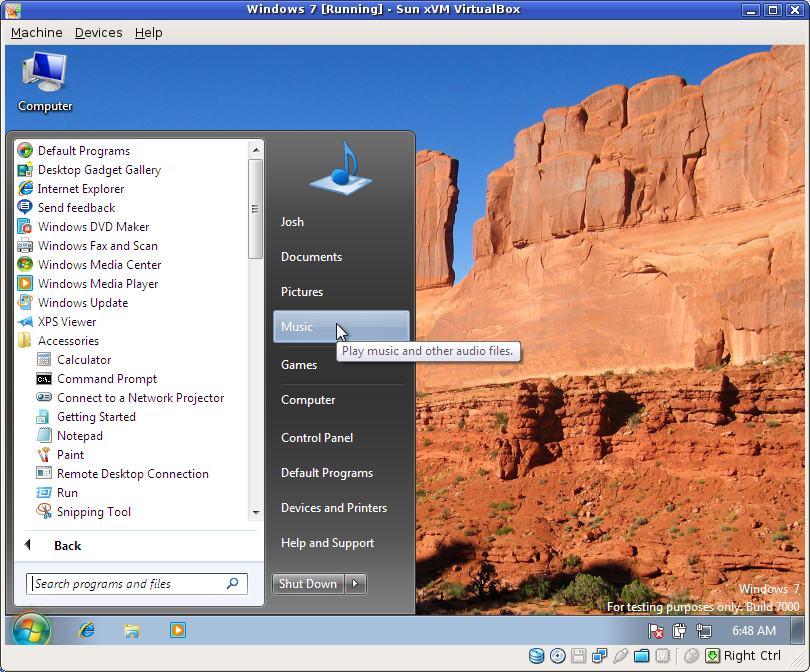
All programs in the start menu

Looking at all programs in the start menu.

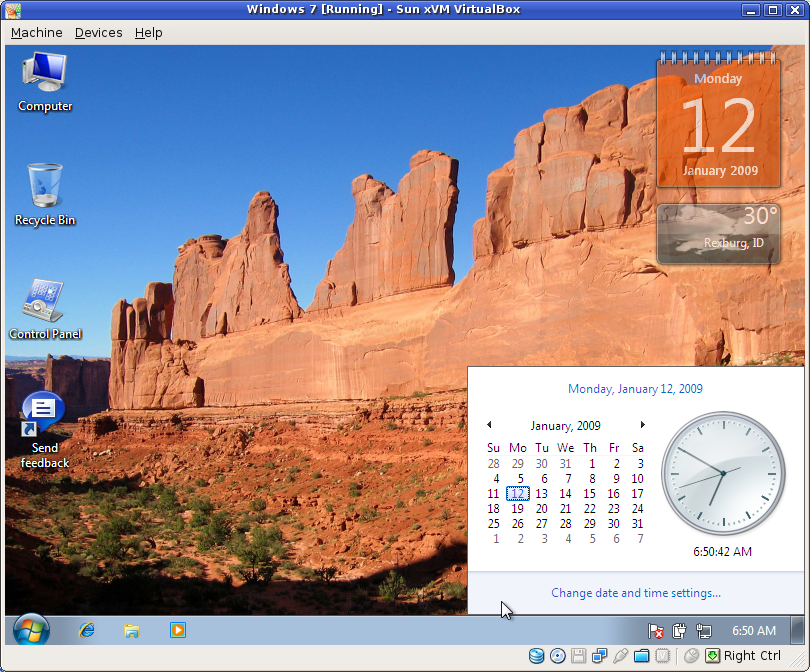
Gadgets and the clock thingy

Some desktop gadgets and the clock thingy.

Slashdot

Slashdot in IE 8.

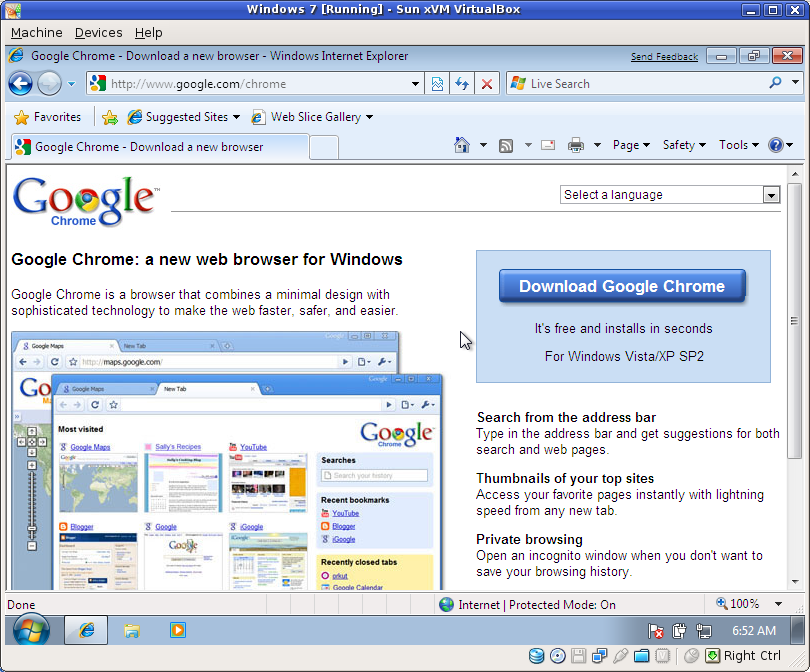
Chrome

Downloading Google Chrome.

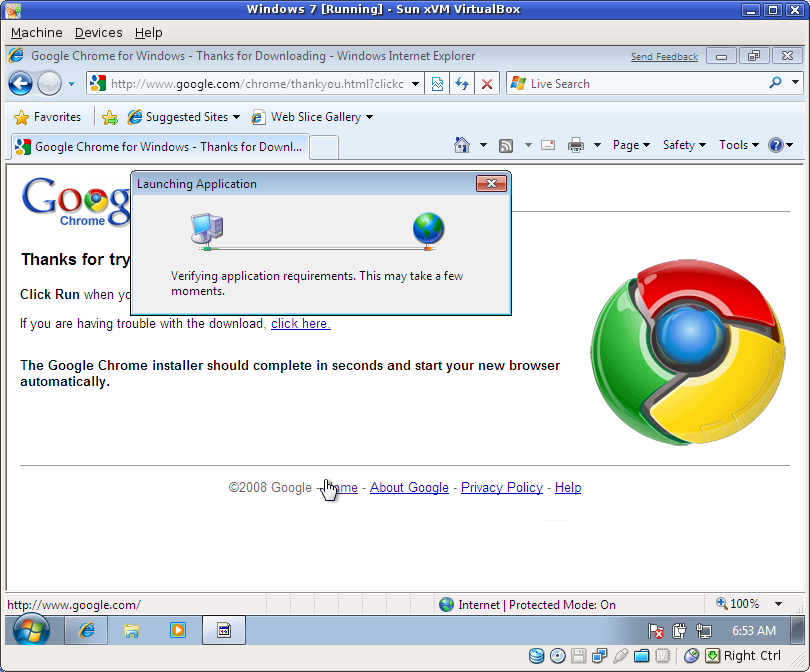
WTF?  Verifying application requirements??

What the....? Verifying application requirements??

Ahh... Chrome.

Ahh... Chrome.

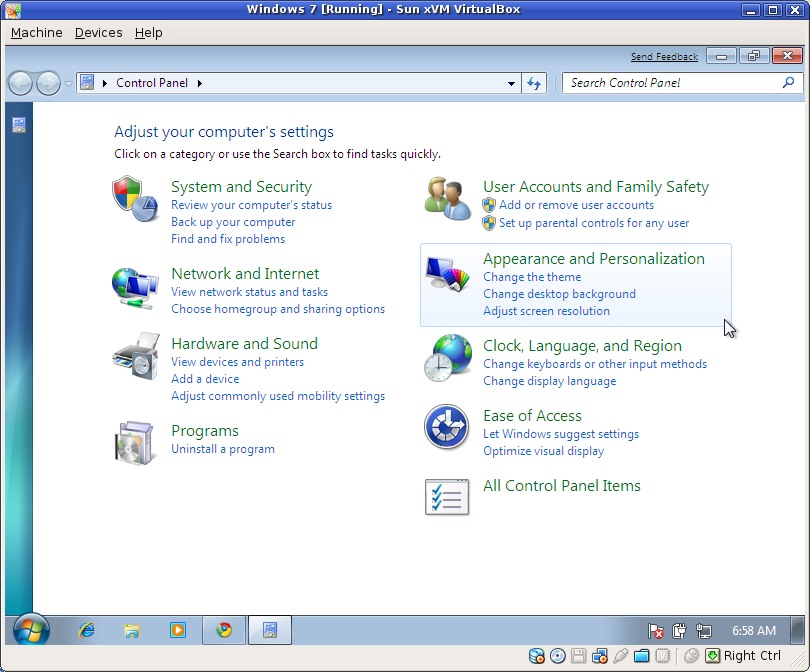
Control Panel--stupid people's version

Control Panel--stupid people's version

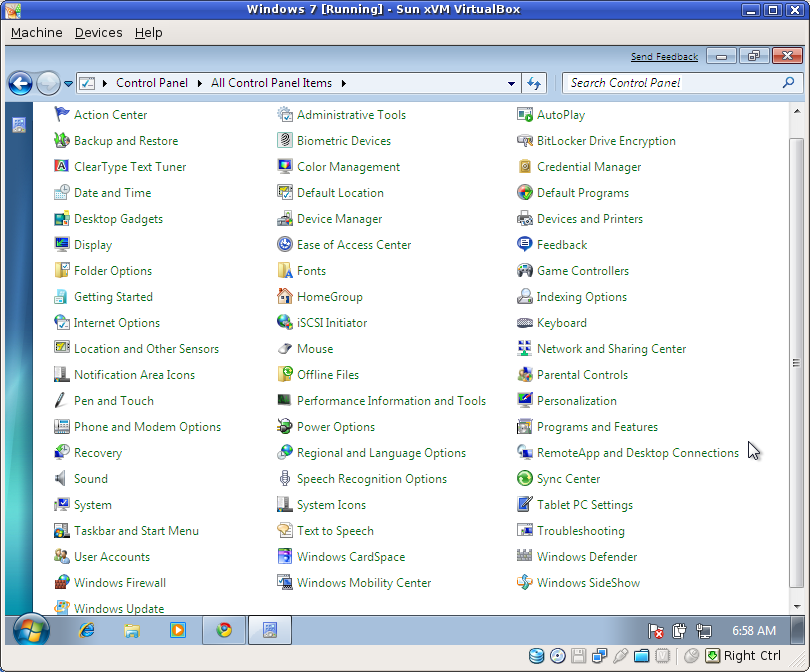
Control Panel--all options

Control Panel--all options

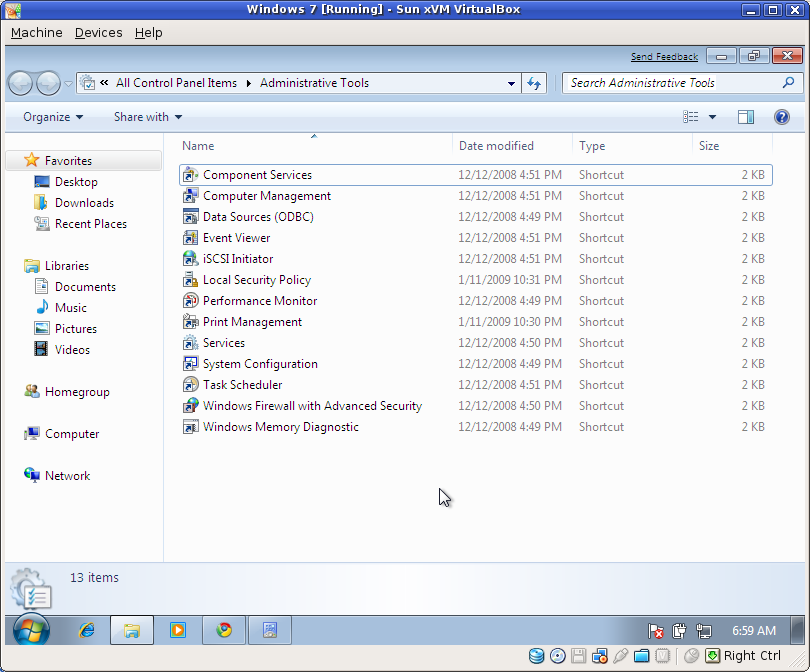
Administrative tools

Administrative tools

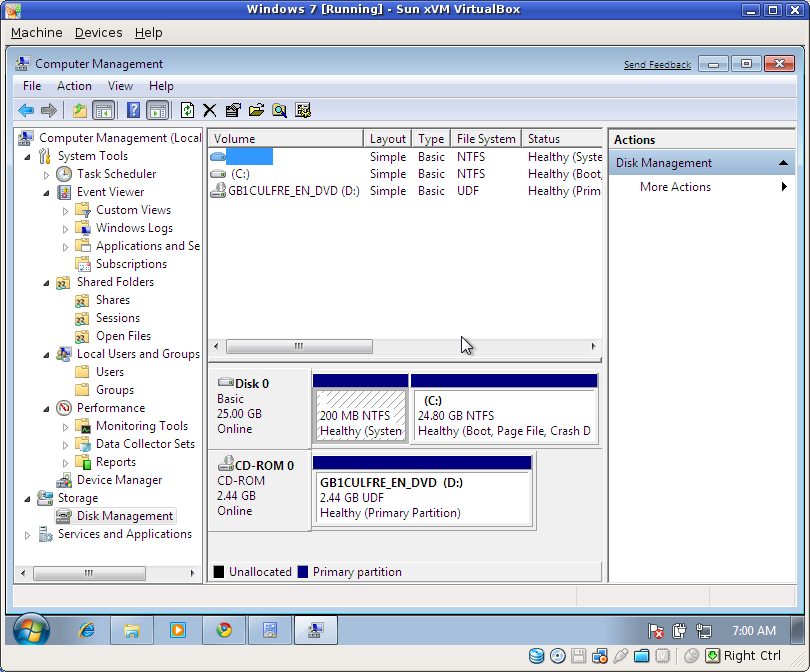
Some things never change... but what's up with the 200MB partition??

Some things never change... but what's up with the 200MB partition??

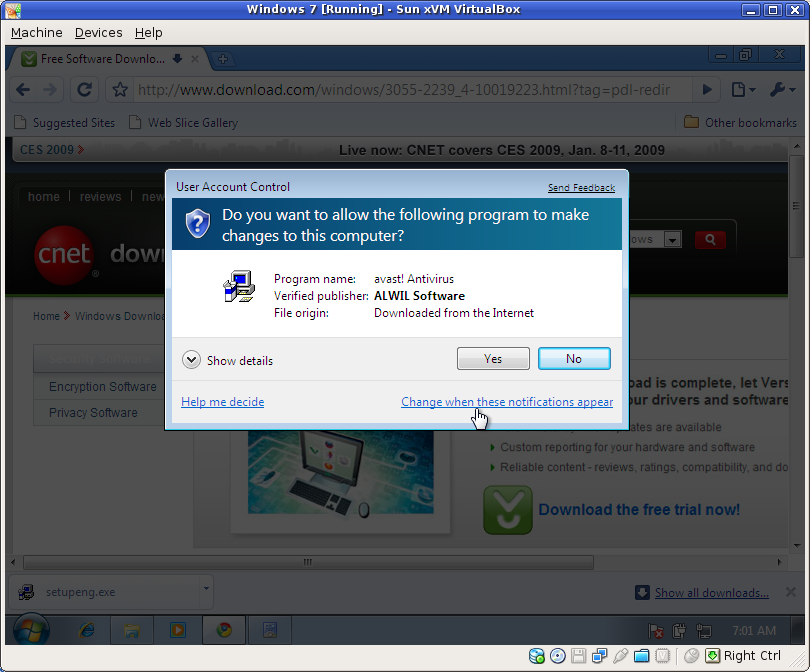
First UAC popup...

First UAC popup...

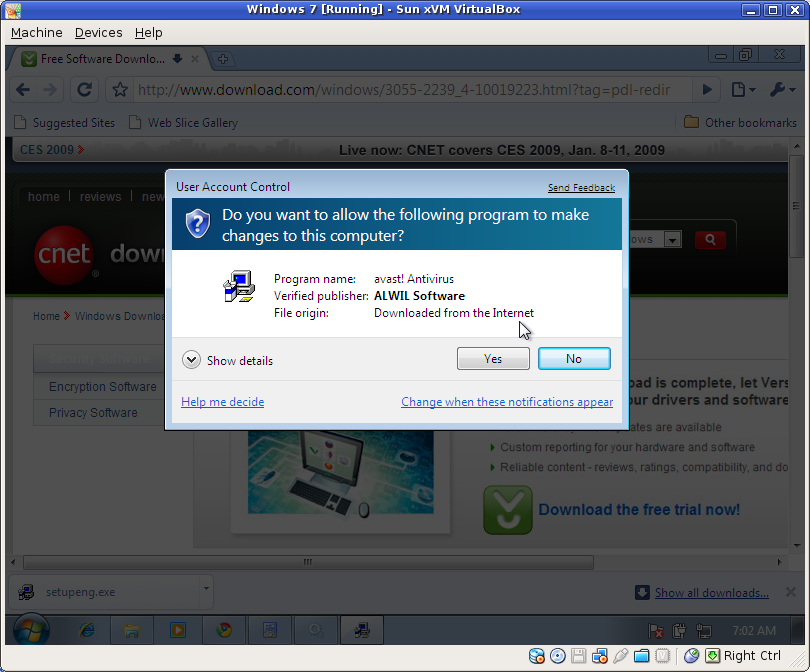
Second UAC popup...

Second UAC popup...

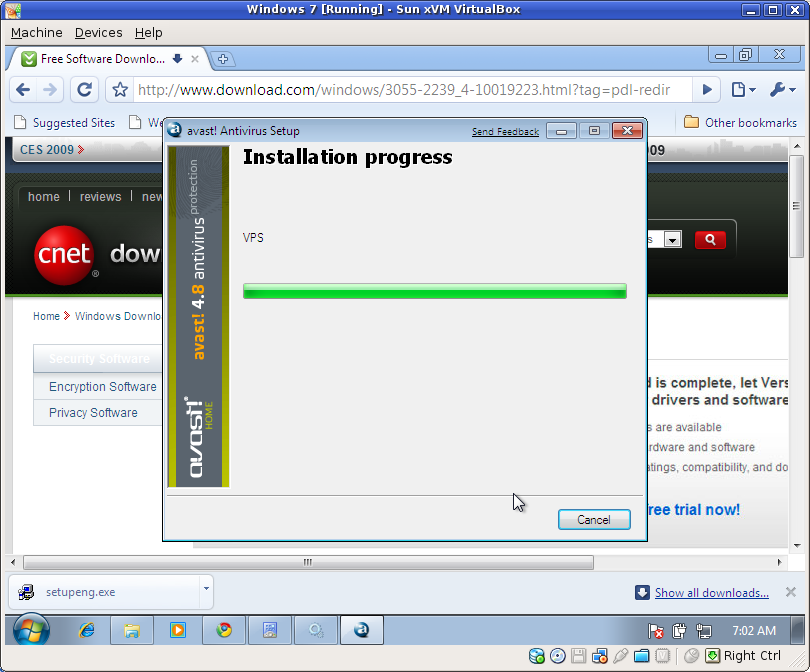
Installing Avast

Installing Avast Antivirus.

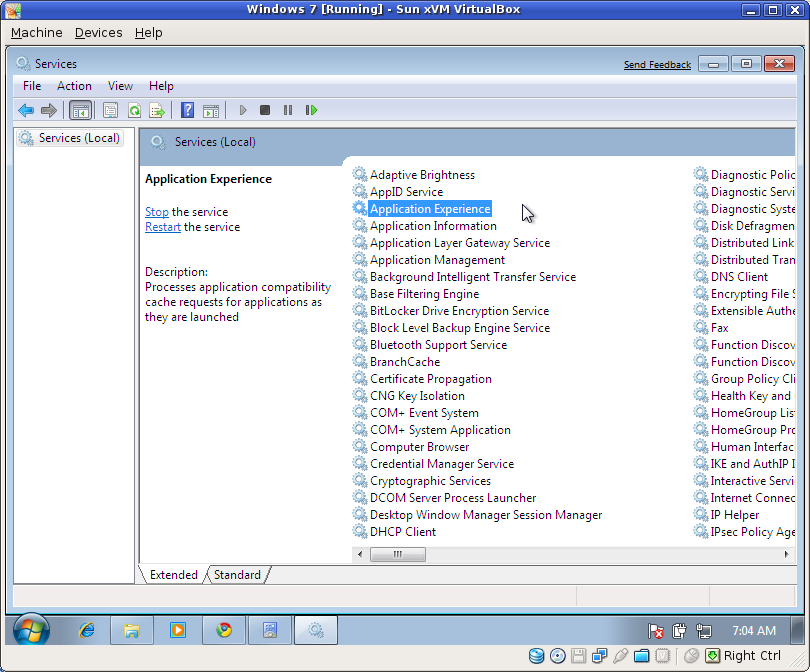
Windows services

Windows services.... there are a ton of these as usual.

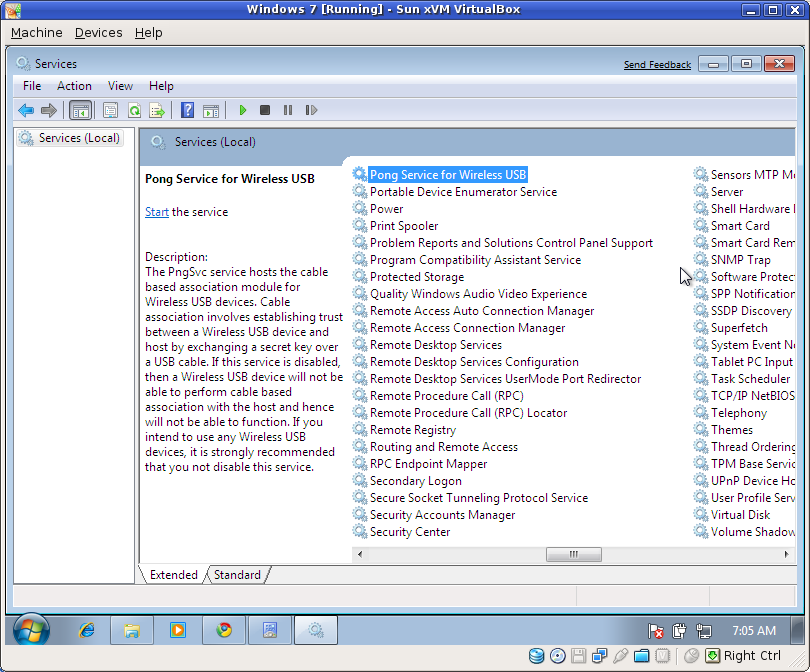
Pong Service for Wireless USB??

Pong Service for Wireless USB??

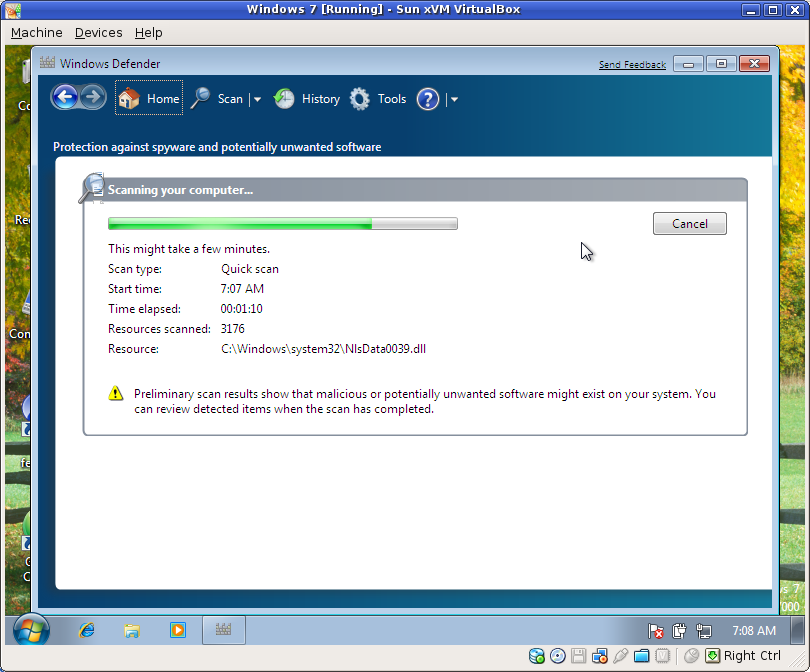
Heh... Preliminary scan results show that malicious or potentially unwanted software might exist...

Heh... Preliminary scan results show that malicious or potentially unwanted software might exist...

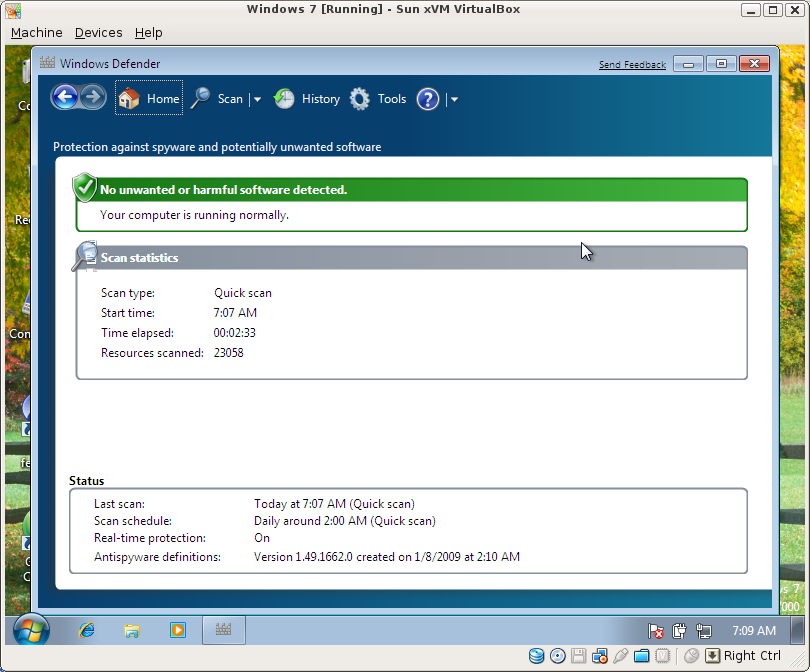
Oh, nevermind... we're good.

Oh, nevermind... Windows says we're good now.

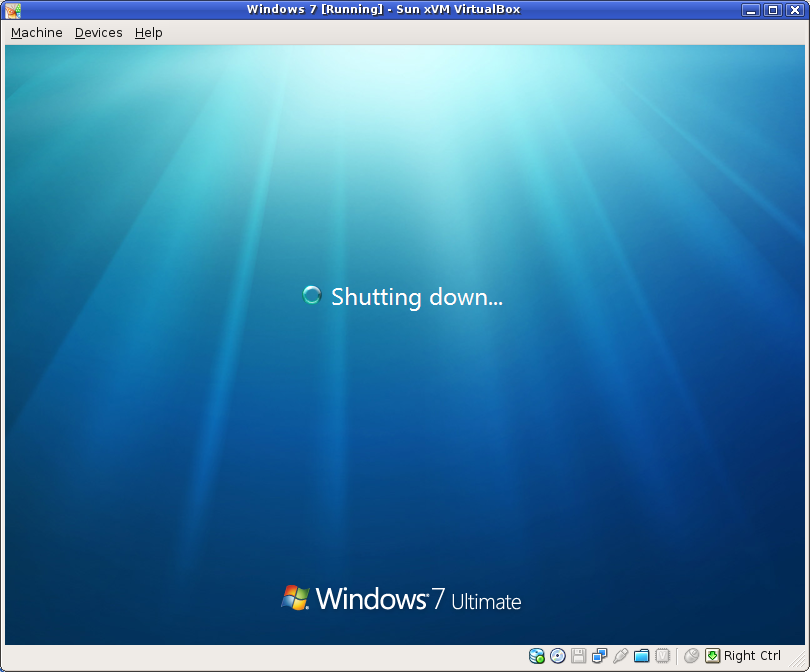
Shutting down... took long enough to get a delayed screenshot.

Shutting down... took long enough to get a delayed screenshot. Could have probably shot 20 more.

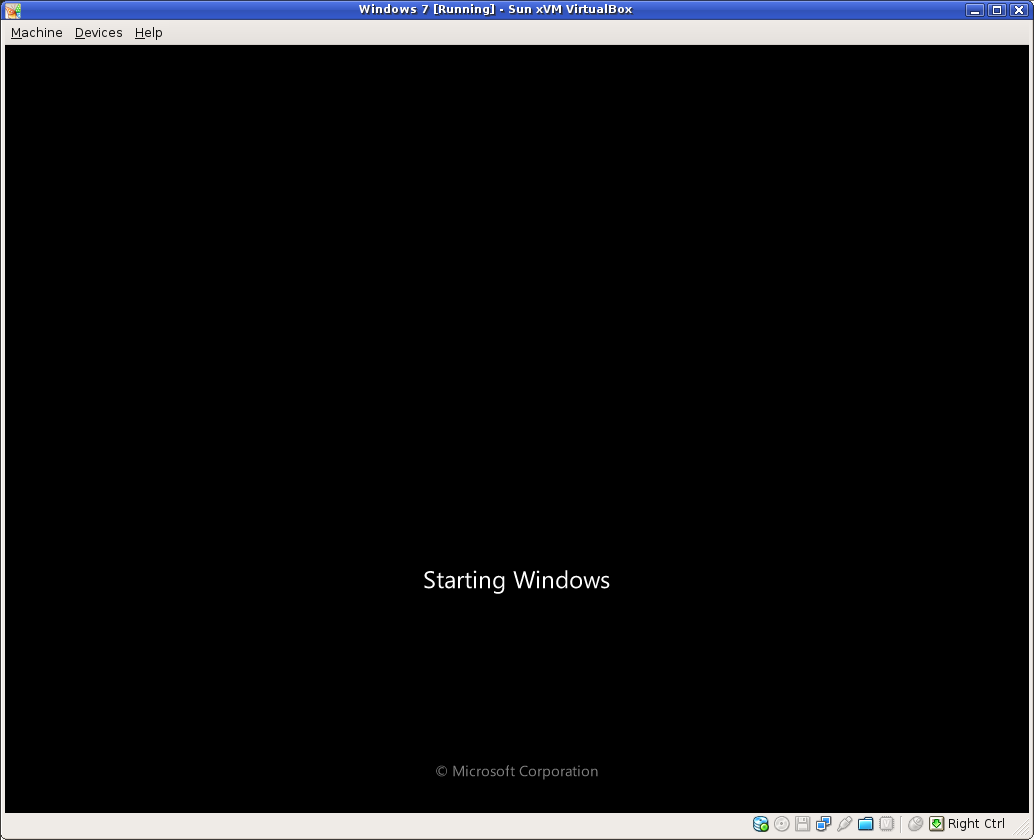
Stage 1 of the sloading screen

Stage 1 of the sloading screen.

Stage 2 of the sloading screen

Stage 2 of the sloading screen.

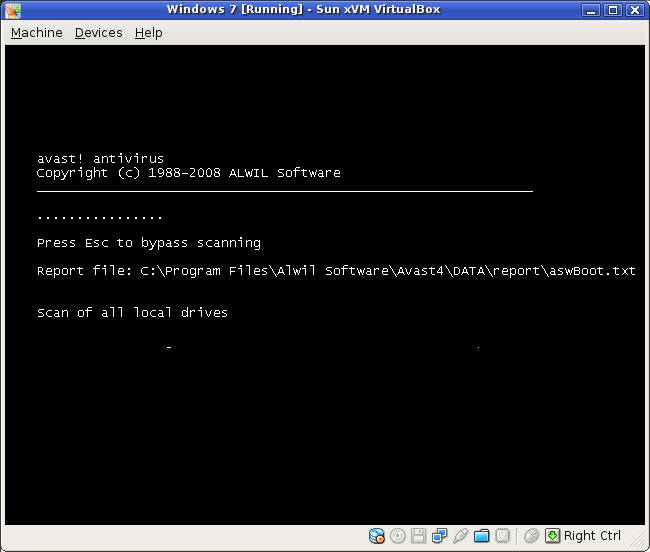
Avast has started its scan

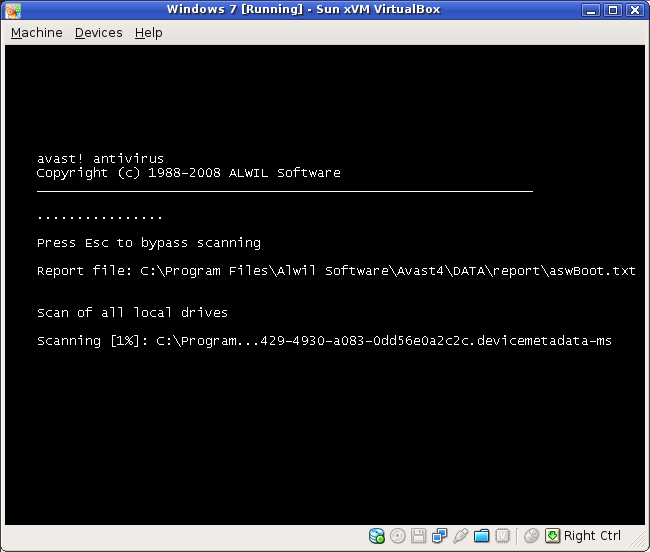
Avast has started its scan.

1% complete... after a few minutes!!

1% complete... after a few minutes!!

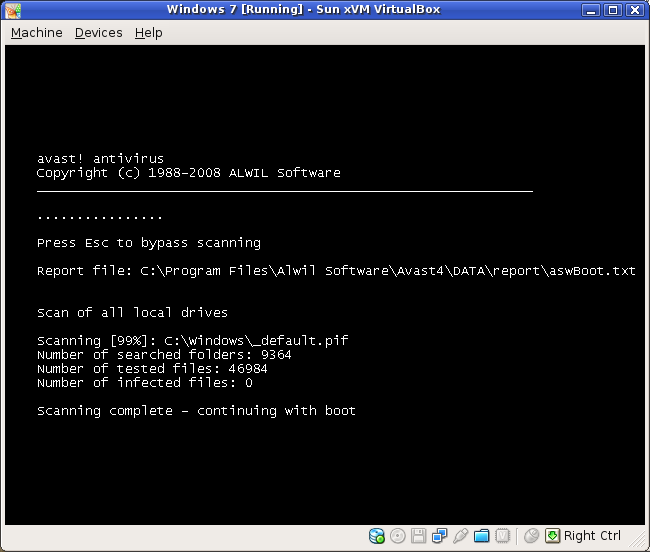
Done! after about 30 minutes...

Done! after about 30 minutes...

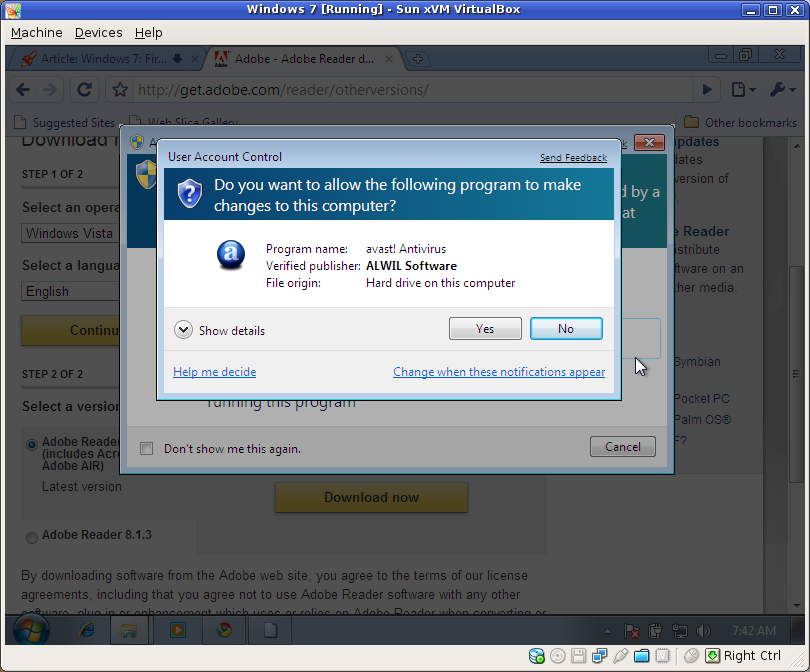
Third UAC popup...

Third UAC popup...

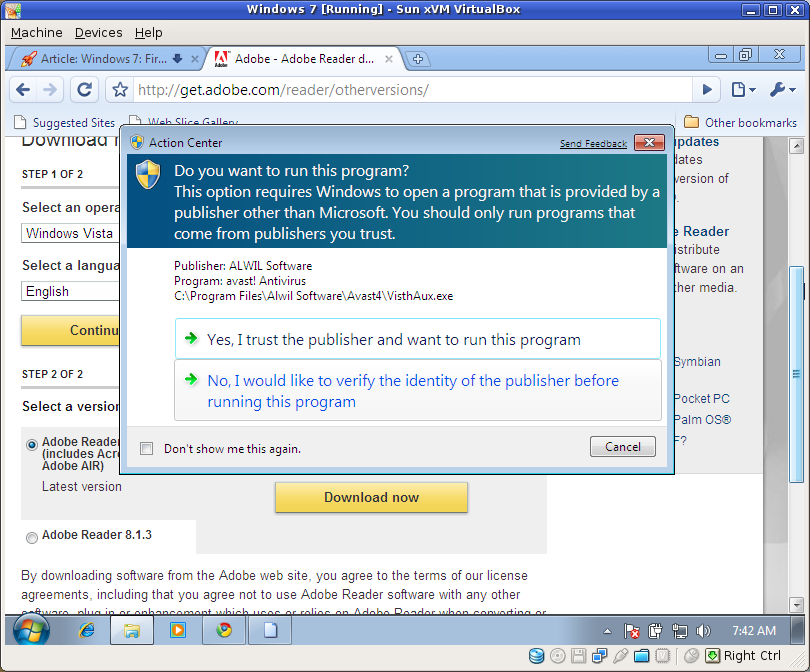
Trusted publishers?

Trusted publishers? These two screens kept coming up each time I would try to update Avast's antivirus database...

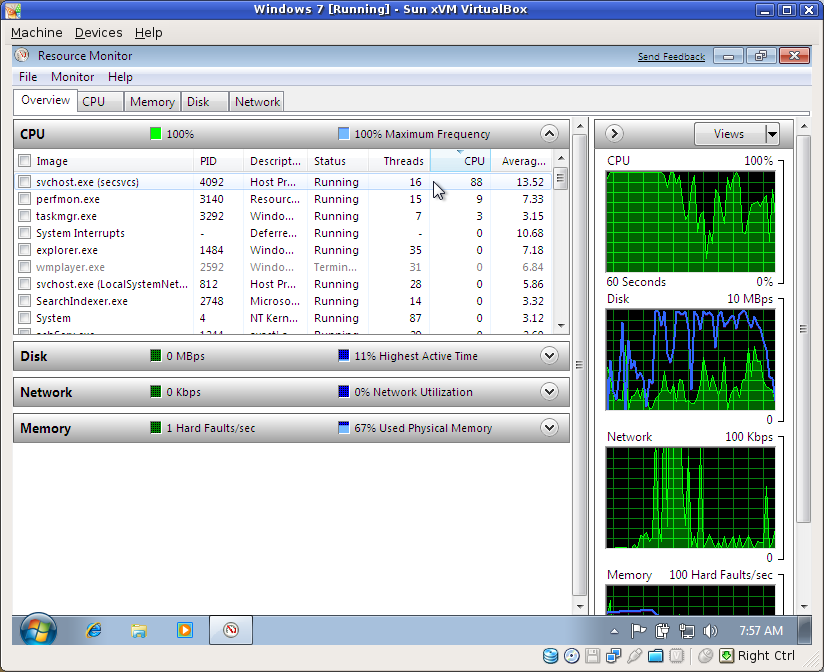
The Resource Monitor.  I was doing nothing at the time.

The Resource Monitor. I was doing nothing at the time.

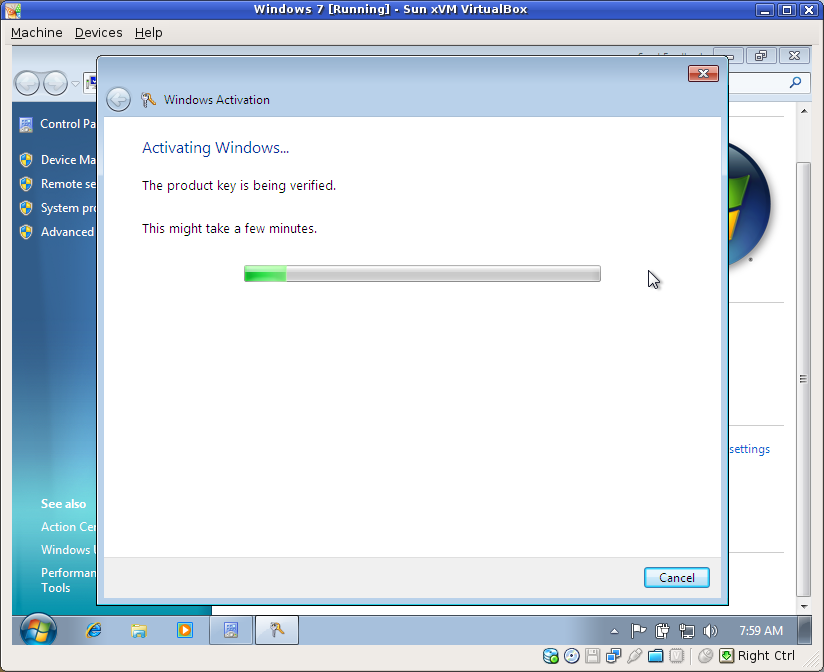
Activating my copy of Winders 7

Activating my copy of Winders 7

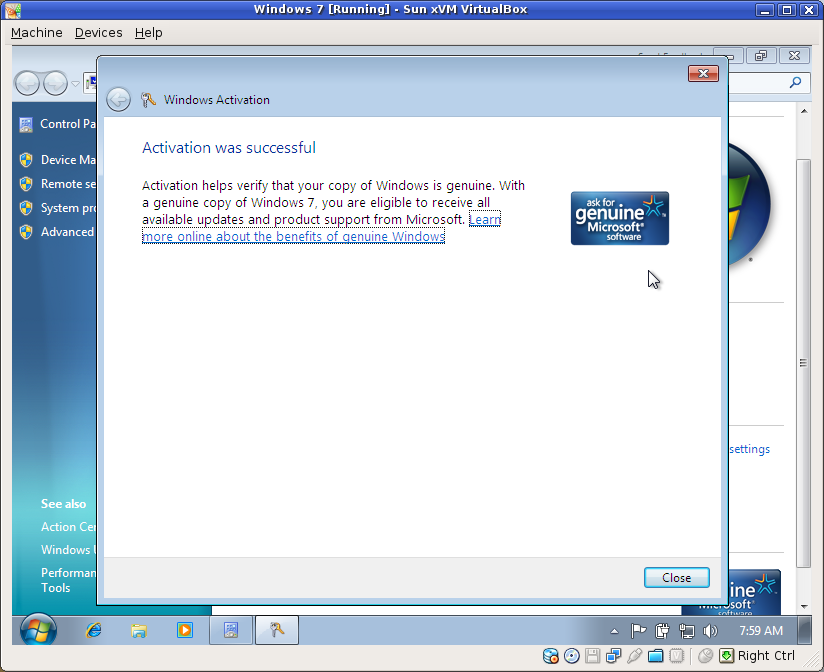
w00t.  I'm legit.

w00t. I'm legit.

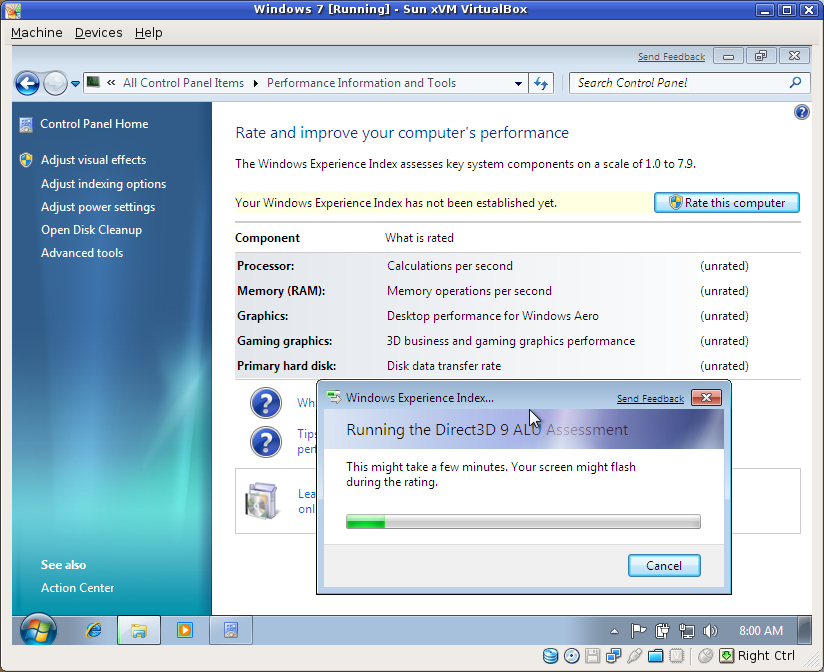
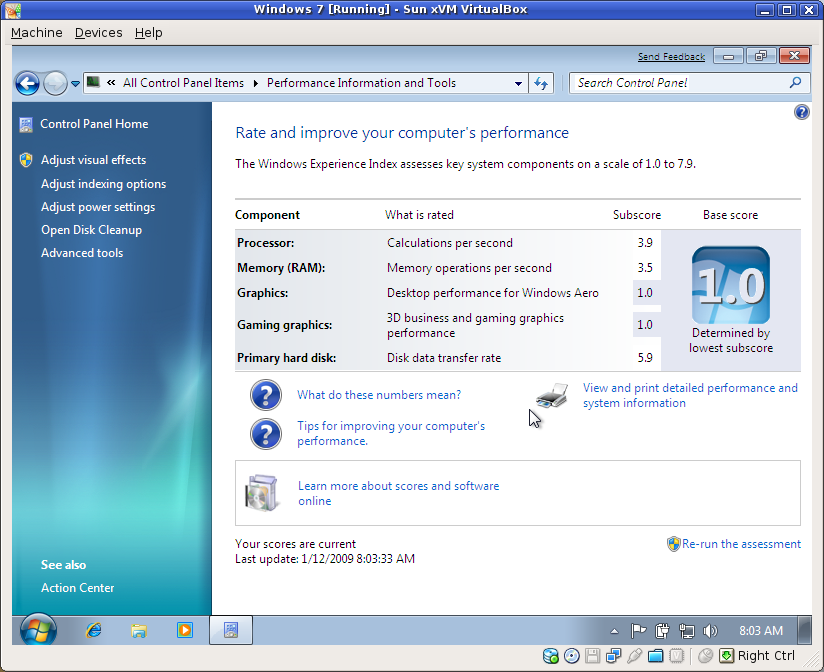
Benchmarking my system.

Benchmarking my system.

My VM ranks in at a solid 1.0!

My VM ranks in at a solid 1.0!

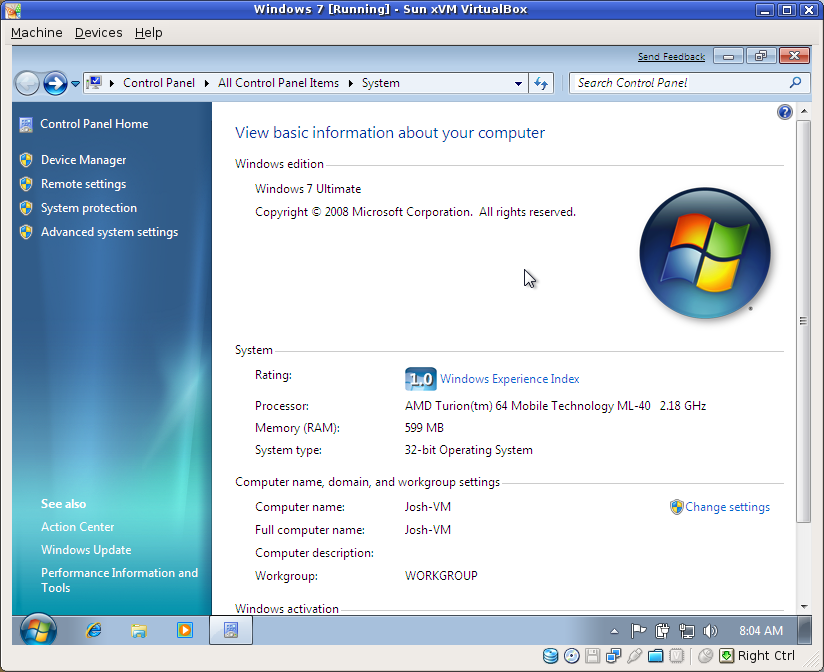
Details, details...

Details, details...

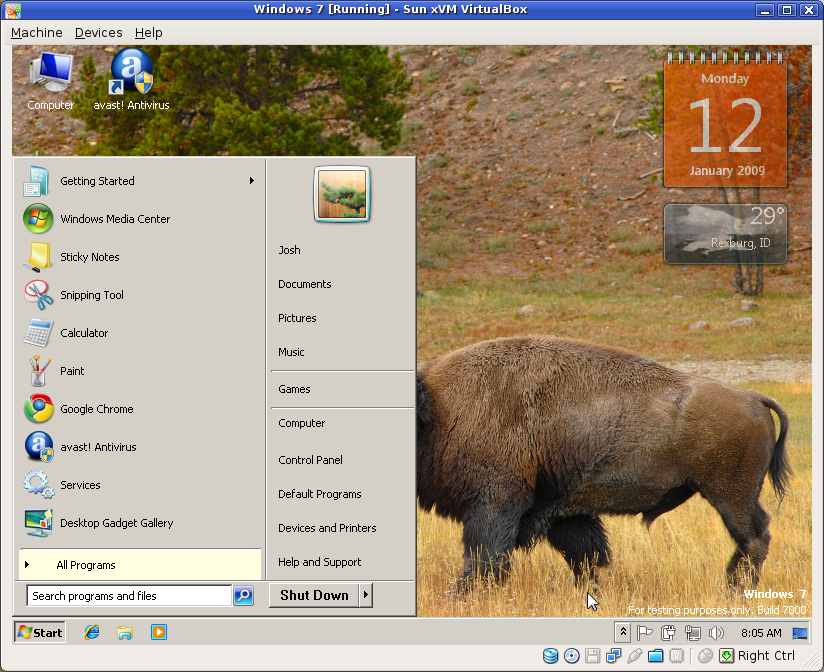
The classic Windows theme and a buffalo butt

The classic Windows theme and a buffalo butt...

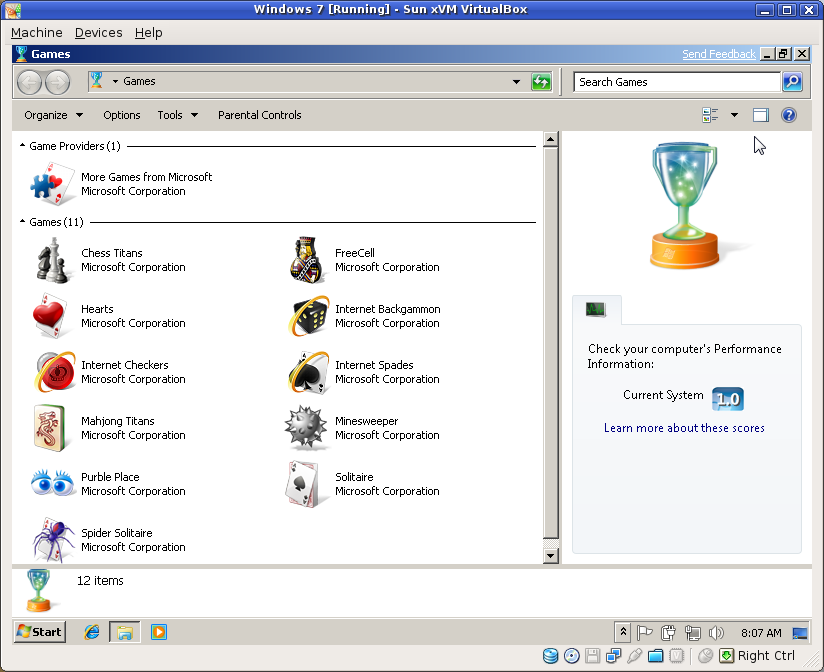
Why all the games??

Why all the games?? Why not include something a little more productive??

Installing Slackware 12.2 On Your EeePC (701 4G, in my case)

Welcome to my second article about installing Slackware on an Asus EeePC. This is a follow-up article to the one I posted in May 2008 soon after Slackware 12.1 was released. In this article, I will assume that you're doing a fresh installation of Slackware 12.2 and that you have access to an external USB CD/DVD ROM drive.

In all honesty, the installation process is extremely similar to what I did with 12.1. However, looking back at my previous article, I realize that my steps may not have been the most useful in the world. This time around I will try to be more helpful.

Getting Slackware

The first, and most obvious step, is to get a copy of Slackware. Simply head on over to http://www.slackware.com/getslack/ and retrieve the appropriate ISO(s) using whichever method you prefer. I downloaded the DVD version of Slackware. If you download the CD ISOs, you really only need the first 3 ISOs. The remaining 3 are source packages for the binary packages you install from the first three discs. Rarely do you need the source code for these packages.

After retrieving the Slackware ISO(s), you must burn them to a disc of some sort: ISOs that are ~650MB should be burned to CDs and anything larger should (obviously) be burned to a DVD. Be sure you burn each ISO using the "burn disc image" functionality in your disc writing software--simply burning the ISO file onto the disc in a regular data session will not do what we need.

Booting The Install Disc

After you have a good copy of the installation disc (the DVD or the first of the CDs), put the disc into your CD/DVD ROM drive and reboot your computer. To ensure that your computer boots from the disc rather than the hard drive, hit F2 when you see the initial boot screen. Then go to the "Boot" tab and verify that your external CD/DVD drive takes precedence over the internal SSD. While we're in the BIOS, let's hop over to the "Advanced" tab and set "OS Installation" to "Start". This will increase the chances that your external drive will be recognized or something.... mine didn't work until I made that change. When you're all done with that, exit your BIOS, saving your changes.

The computer will reboot, and it should access your installation disc immediately after the initial boot screen disappears. Once you boot from the installation disc, you should be presented with a screen which allows you to pass some settings to the installation kernel.

The installation boot screen

To make the installation go faster, use the following boot string:

hugesmp.s hdc=noprobe

This makes it so the installation will see the internal SSD as /dev/sda instead of /dev/hdc, which also boosts the read/write times by about 13 times.

During the boot process you will be asked to specify your keyboard map. Unless you want something special here, just hit the enter key to proceed.

Partition Your SSD

Next you will need to login as root and partition your SSD. You can do this using one of the following two commands:

fdisk /dev/sda
cfdisk /dev/sda

Here are some steps in case you're not familiar with these utilities:

  1. Remove all partitions (unless you know what you're doing)
    1. fdisk: d to delete (you may have to select multiple partitions to delete if you have more than one for some reason)
    2. cfdisk: Select all partitions individually with up/down arrow keys and use the left/right arrow keys to select delete from the menu at the bottom. Hit enter to run the delete command when it's highlighted.
  2. Create one partition that takes the whole SSD (again, unless you know what you're doing)
    1. fdisk: n (for new); enter; p (for primary); enter; 1 (for the first primary partition); enter; enter (to start at the beginning of the drive); enter (to select the end of the drive)
    2. cfdisk: Select the new command with the left/right arrow keys and hit enter when it's selected. Make it a primary partition, and have it take the whole SSD (3997.49MB in my case).
  3. Set the type of the new partition to be Linux
    1. fdisk: t (for type); enter; 83 (for Linux); enter
    2. cfdisk: Use the left/right arrow keys to select the type command at the bottom and hit enter when it's selected. Choose 83.
  4. Set the new partition (or the first, if you decided to make more than one) to be bootable
    1. fdisk: a (for bootable); enter; 1 (for primary partition 1); enter
    2. cfdisk: Select the bootable command from the bottom using the left/right arrow keys. Hit enter when it's selected.
  5. Write the changes to the partition table and quit
    1. fdisk: w
    2. cfdisk: Use the left/right arrow keys to select the write command from the bottom. Hit enter when it's selected. Type 'yes' to verify your intent, acknowledging that your previous data will be "gone". Then select the quit command.

Installing Slackware

As soon as your partitioning has finished, go ahead and run setup to begin the actual installation program.

The first screen of the installation program

Since we don't have a swap partition, can jump straight to the TARGET option. Use the arrow keys to highlight this option and hit enter. Select /dev/sda1 from the list, and format it with ext2. On the EeePC, most people prefer this format since it is a non-journaling filesystem. That means fewer writes to the SSD, which supposedly translates to a longer lifetime.

After the SSD is formatted, you will be asked to select the installation source. Again, I'm assuming that you want to use your fresh Slackware 12.2 disc, but you are free to choose what you want if you know what you're doing.

Selecting the installation source

I went with the default "Install from a Slackware CD or DVD" and told it to auto scan for my disc drive. It was found at /dev/sr0.

Choosing Your Packages

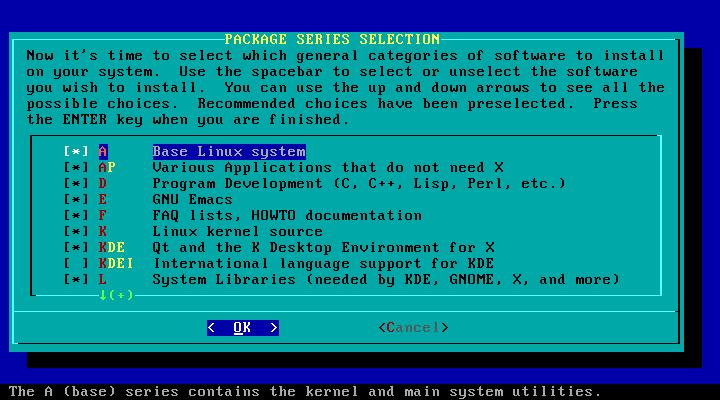
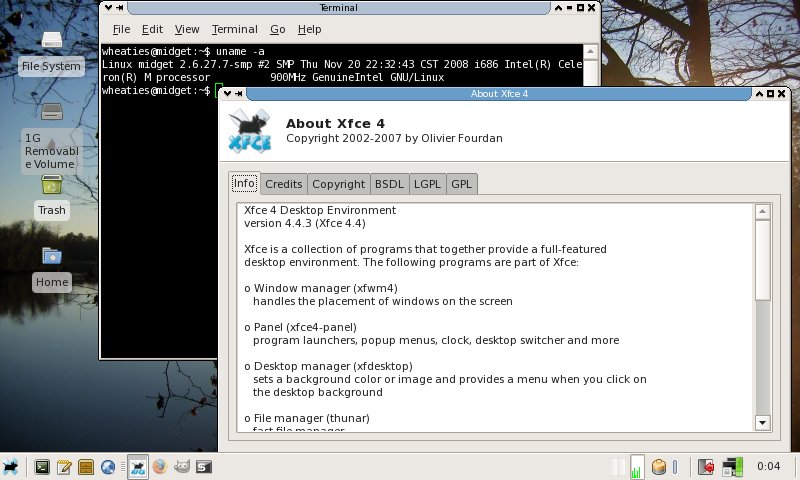
Next, you are given the opportunity to tweak the package series which will be installed on your EeePC. I chose the following series: A, AP, K, L, N, TCL, X, and XAP. I planned on using XFCE instead of KDE on my EeePC simply because it is much more light-weight and still capable of what I need. If you want KDE, be sure to check the appropriate series.

Selecting the packages to install

Once you mark each of the package series you wish to install, hit the "OK" button. You'll then have to choose which prompting mode to use. I chose menu, simply to be a little more picky about which packages I wanted installed. Installation took approximately 28 minutes with my package selection and setup.

Configuring Your System

When all of the packages are done being installed, you will be presented with some other screens to finish up the installation process.

  1. Choose whether or not you want to make a bootable USB... I skipped it.
  2. Choose how you wish to install LILO. I chose simple.
  3. Choose your frame buffer mode for the console. I chose 640x480x256.
  4. Specify any optional kernel parameters. Ensure that the hdc=noprobe from earlier is here to speed up your system considerably.
  5. Specify whether you wish to use UTF-8 on the console. I chose no.
  6. Specify where to install LILO. I chose MBR.
  7. Specify your mouse type. I chose imps2.
  8. Specify whether or not you wish to have gpm run at boot, which allows you to use your mouse in the console. I chose yes.
  9. Configure your network.
  10. Give your EeePC a hostname. This can be whatever you'd like.
  11. Specify the domain for your network. This can be whatever you'd like as well.
  12. Configure your IP address information. I just chose DHCP.
  13. Set the DHCP hostname. I left this blank.
  14. Review and confirm your network settings.
  15. Choose which services you wish to have running immediately after booting.
  16. See if you want to try custom screen fonts. I usually don't bother.
  17. Specify whether your hardware clock is set to local time or UTC.
  18. Choose your timezone.
  19. Select your preferred window manager. I chose XFCE.
  20. Set the root password.

At this point Slackware has been installed on your EeePC and you can exit the setup menu and hit Ctrl-Alt-Delete to reboot your computer.

First Boot

You should now go back into your BIOS and set "OS Installation" back to "Finished", exit and save changes, and reboot again.

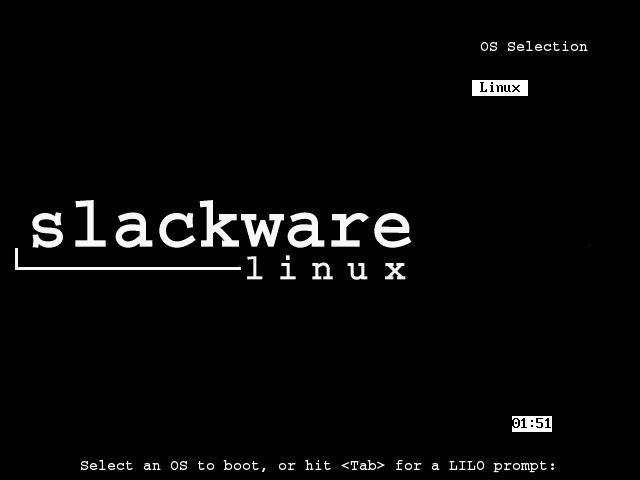
Slackware's default LILO boot screen

You should then see the Slackware boot screen. By default, it has a 2-minute timeout, which seems absolutely absurd to me, so we'll change that later. Just hit enter for now and watch your new Slackware boot. The first boot will usually take a bit longer than subsequent reboots because all sorts of things need to generate their first configuration file.

When your system is ready, you'll be presented with a login prompt. Just login as root, using the password you specified in the last step of the installation process.

Tweaking Your Slackware

Here are some of the first things I do when I install a new copy of Slackware:

Add An Unprivileged User

This step is very important, because one thing that sets Linux apart from other operating systems is security ;). If you run your Linux system as root all the time, you're begging for problems.

To create a new unprivileged user, I use the adduser command. It walks you through the process of creating a user. This is the user you should use to do your day-to-day computing. Only use the root user when performing system administration tasks. Trust me :)

Tell X Windows to Start Automatically

I have no problem with the command line interface in Linux. I actually enjoy it quite a bit. However, on a device such as the EeePC, not having a GUI just doesn't seem all that practical. It's also not very impressive to your potential converts when they look over your shoulder and see that your tiny gadget just displays a black and white screen when you turn it on...

So, to help ourselves be a little more productive and to impress our followers, let's tell X Windows to start up automatically when we turn on the computer. To do that, we want to edit /etc/inittab and change the following line:

id:3:initdefault:

to be:

id:4:initdefault:

You can use whatever program you feel comfortable with, such as vi or nano. The next time you reboot your computer, you should see a GUI as soon as all of the services are fully loaded.

Along with this step, I suppose we can mention the configuration of X Windows. I usually run xorgsetup as root to get things up and running. Usually there is also a bit of tweaking to get things like the scroll wheel on the mouse to function. This part in particular took quite some time for me to figure out.

Enable The Scroll Wheel on the Trackpad

Some of you might be able to live without being able to scroll a page or whatever without using the scroll feature on most mouse devices these days, but I'm not one of them. Here is my entire /etc/X11/xorg.conf file:

Section "ServerLayout"
    Identifier     "X.org Configured"
    Screen      0  "Screen0" 0 0
    InputDevice    "Mouse0" "CorePointer"
    InputDevice    "SynapticMouse" "AlwaysCore"
    InputDevice    "Keyboard0" "CoreKeyboard"
EndSection

Section "Files"
    RgbPath      "/usr/share/X11/rgb"
    ModulePath   "/usr/lib/xorg/modules"
    FontPath     "/usr/share/fonts/TTF"
    FontPath     "/usr/share/fonts/OTF"
    FontPath     "/usr/share/fonts/Type1"
    FontPath     "/usr/share/fonts/misc"
    FontPath     "/usr/share/fonts/75dpi/:unscaled"
EndSection

Section "Module"
    Load  "xtrap"
    Load  "GLcore"
    Load  "record"
    Load  "dri"
    Load  "dbe"
    Load  "extmod"
    Load  "glx"
    Load  "freetype"
    Load  "type1"
    Load  "synaptics"
EndSection

Section "InputDevice"
    Identifier  "Keyboard0"
    Driver      "kbd"
    Option       "XkbModel"  "pc104"
    Option       "XkbLayout"  "us"
EndSection

Section "InputDevice"
    Identifier  "Mouse0"
    Driver "mouse"
    Option "Device" "/dev/input/mice"
    Option "Protocol" "IMPS/2"
    Option "Buttons" "5"
    Option "zAxisMapping" "4 5"
    Option "SHMConfig" "on"
EndSection

Section "InputDevice"
    Identifier "SynapticMouse"
    Driver "synaptics"
    Option "Device" "/dev/input/mice"
    Option "Protocol" "auto-dev"
    Option "SHMConfig" "on"
EndSection

Section "Monitor"
    Identifier   "Monitor0"
    VendorName   "Monitor Vendor"
    ModelName    "Monitor Model"
EndSection

Section "Device"
        ### Available Driver options are:-
        ### Values: <i>: integer, <f>: float, <bool>: "True"/"False",
        ### <string>: "String", <freq>: "<f> Hz/kHz/MHz"
        ### [arg]: arg optional
        #Option     "NoAccel"               # [<bool>]
        #Option     "SWcursor"              # [<bool>]
        #Option     "ColorKey"              # <i>
        #Option     "CacheLines"            # <i>
        #Option     "Dac6Bit"               # [<bool>]
        #Option     "DRI"                   # [<bool>]
        #Option     "NoDDC"                 # [<bool>]
        #Option     "ShowCache"             # [<bool>]
        #Option     "XvMCSurfaces"          # <i>
        #Option     "PageFlip"              # [<bool>]
    Identifier  "Card0"
    Driver      "intel"
    VendorName  "Intel Corporation"
    BoardName   "Mobile 915GM/GMS/910GML Express Graphics Controller"
    BusID       "PCI:0:2:0"
EndSection

Section "Screen"
    Identifier "Screen0"
    Device     "Card0"
    Monitor    "Monitor0"
    DefaultDepth 24
    SubSection "Display"
        Viewport   0 0
        Depth     1
    EndSubSection
    SubSection "Display"
        Viewport   0 0
        Depth     4
    EndSubSection
    SubSection "Display"
        Viewport   0 0
        Depth     8
    EndSubSection
    SubSection "Display"
        Viewport   0 0
        Depth     15
    EndSubSection
    SubSection "Display"
        Viewport   0 0
        Depth     16
    EndSubSection
    SubSection "Display"
        Viewport   0 0
        Depth     24
    EndSubSection
EndSection

A lot of that stuff might not be necessary, but it's what works for me. Normally the process for enabling the scroll wheel is pretty easy, but something seems to have changed in this respect with the release of Slackware 12.2. I had to edit the /etc/modprobe.d/psmouse script to make this line:

options psmouse proto=imps

look like:

options psmouse proto=any

After making that change, things seemed to work a lot better.

Make LILO to Boot Faster

There are a couple tricks we can use to make LILO boot our EeePC slightly faster. The first is to add the compact option somewhere, and the second is to decrease the menu timeout.

Open up /etc/lilo.conf with a text editor of your choosing as root. Add a single line with the word compact somewhere. I put it under the line that says boot = /dev/sda so the top of lilo.conf looks like this:

# LILO configuration file
# generated by 'liloconfig'
#
# Start LILO global section
# Append any additional kernel parameters:
append="hdc=noprobe vt.default_utf8=8"
boot = /dev/sda
compact

I also changed the line that said timeout = 1200 to be timeout = 50 to make LILO only hang around for 5 seconds instead of 2 minutes.

After making these changes, we must reinstall LILO to the MBR with the new settings:

lilo -v

Here's my /etc/lilo.conf with most of the commented lines removed:

# LILO configuration file
# generated by 'liloconfig'
#
# Start LILO global section
# Append any additional kernel parameters:
append="hdc=noprobe vt.default_utf8=0"
boot = /dev/sda
compact

# Boot BMP Image.
# Bitmap in BMP format: 640x480x8
bitmap = /boot/slack.bmp
bmp-colors = 255,0,255,0,255,0
bmp-table = 60,6,1,16
bmp-timer = 65,27,0,255

prompt
timeout = 50
change-rules
reset
vga = normal
# End LILO global section
# Linux bootable partition config begins
image = /boot/vmlinuz
root = /dev/sda1
label = Linux
read-only
# Linux bootable partition config ends

Network Tweaking

While the wireless adapter seemed to work great for me out of the box this time, the ethernet adapter is still not functional. I compiled and installed the atl2 driver to solve the problem. You can get it from http://people.redhat.com/csnook/atl2/atl2-2.0.4.tar.bz2. Here are the steps I took to install it:

wget http://people.redhat.com/csnook/atl2/atl2-2.0.4.tar.bz2
tar jxf atl2-2.0.4.tar.bz2
cd atl2-2.0.4
make
cp atl2.ko /lib/modules/`uname -r`/kernel/drivers/net/
depmod -a
modprobe atl2
ifconfig

The next tweak I added for networking was to boost boot times... The DHCP address request hangs the entire boot process out of the box if you don't have an ethernet cable plugged in while booting. To remedy this problem, add the following line to the first section of your /etc/rc.d/rc.inet1.conf:

DHCP_TIMEOUT[0]="5"

This will tell your computer to continue booting if an IP address hasn't been assigned after 5 seconds of waiting.

Enable Frequency Scaling

We all like out battery to last a long time, right? Well, the EeePC 701 doesn't have the greatest battery in the world, but we can help increase the battery life by enabling the CPU frequency modules. I put this stuff in my /etc/rc.d/rc.local script:

#!/bin/sh
#
# /etc/rc.d/rc.local:  Local system initialization script.
#
# Put any local startup commands in here.  Also, if you have
# anything that needs to be run at shutdown time you can
# make an /etc/rc.d/rc.local_shutdown script and put those
# commands in there.

modprobe p4-clockmod
modprobe cpufreq_ondemand
modprobe cpufreq_conservative
modprobe cpufreq_powersave
modprobe cpufreq_performance

cpufreq-set -g ondemand -d 450Mhz -u 900Mhz

Add Your SD Card to /etc/fstab

I have an SD card that I leave in my EeePC all the time, and it's formatted with ext2 just like the internal SSD. Without this tweak, I have to mount the SD card each time I turn on the computer, which gets bothersome. My fix is to add the SD card to /etc/fstab, which takes care of mounting the device at boot.

First, you should make a directory that will be used to mount the device. I made one as such:

mkdir /mnt/sd

Now you need to determine your SD card's UUID. I started out by unmounting my SD card and taking it out of the slot. Then I executed this command:

ls /dev/disk/by-uuid

Next, I popped the SD card back in and executed that command again. The UUID that appears the second time but not the first time is your SD card's UUID.

It's time to add the magic line to your /etc/fstab. Add a line such as:

UUID=[your SD card's UUID] /mnt/sd ext2 defaults,noatime 1 1

somewhere in the file. While we're digging around in /etc/fstab, we might as well add the noatime option to the internal SSD to help reduce disk writes. Save the file and exit the editor. Then mount everything (using mount -a) or just the SD card (using mount /mnt/sd).

For posterity's sake, here's my entire /etc/fstab file:

/dev/sda1        /                ext2        defaults,noatime         1   1
UUID=30293ff4-5bee-457a-8528-ec296f099e9a /mnt/sd ext2 defaults,noatime 1 1
#/dev/cdrom      /mnt/cdrom       auto        noauto,owner,ro  0   0
/dev/fd0         /mnt/floppy      auto        noauto,owner     0   0
devpts           /dev/pts         devpts      gid=5,mode=620   0   0
proc             /proc            proc        defaults         0   0
tmpfs            /dev/shm         tmpfs       defaults         0   0

Preventing Shutdown Hangs

Sometimes the sound card seems to make Slackware hang when you're shutting down. Everything seems to turn off fine, but the little green power LED still shines bright. The solution to this problem appears to be adding the following line:

modprobe -r snd_hda_intel

to /etc/rc.d/rc.6 right before the "Unmounting local file systems." line (around line 195).

Enable Volume Hotkeys and Sleeping

Slackware 12.2 is already listening for ACPI events by default, so we just need to insert our custom stuff into /etc/acpi/acpi_handler.sh:

#!/bin/sh

IFS=${IFS}/
set $@

#logger "ACPI Event $1, $2, $3, $4, $5"

case "$1" in
    button)
        case "$2" in
            power) /sbin/init 0;;
            sleep) /etc/acpi/actions/lid.sh;;
            lid)
                if grep -q closed /proc/acpi/button/lid/LID/state
                then
                    /etc/acpi/actions/lid.sh
                fi
                ;;
            *) logger "ACPI action $2 is not defined";;
        esac
        ;;
    hotkey)
        case "$3" in
            # Fn+F2 Wireless/Bluetooth button
            # Fn+F7 Mute button
            00000013) amixer set Master toggle;;
            # Fn+F8 Volume down
            00000014) amixer set Master 10%-;;
            # Fn+F9 Volume up
            00000015) amixer set Master 10%+;;
        esac
        ;;
    *) logger "ACPI group $1 / action $2 is not defined";;
esac

And to handle the closing of the lid or pressing the sleep button, we need to create a new script in /etc/acpi/actions/ called lid.sh:

#!/bin/sh
# script by Fluxx from linuxquestions slackware forum
# discover video card's ID
ID=`/sbin/lspci | grep VGA | awk '{ print $1 }' | sed -e 's@:@/@'`

# securely create a temporary file
TMP_FILE=`mktemp /tmp/video_state.XXXXXX`
trap 'rm -f $TMP_FILE' 0 1 15

# switch to virtual terminal 1 to avoid graphics
# corruption in X
chvt 1

/sbin/hwclock --systohc

# remove the webcam module
rmmod uvcvideo

# write all unwritten data (just in case)
sync

# dump current data from the video card to the
# temporary file
cat /proc/bus/pci/$ID > $TMP_FILE

# suspend-to-ram
# (samwise) not using this it stuffs up the screen brightness
echo -n mem > /sys/power/state

# suspend-to-disk
#echo -n disk > /sys/power/state

# standby
#echo -n standby > /sys/power/state

# force on for now...
xset dpms force on

/sbin/hwclock --hctosys

# restore the webcam module
modprobe uvcvideo

# restore video card data from the temporary file
# on resume
cat $TMP_FILE > /proc/bus/pci/$ID

# switch back to virtual terminal 2 (running X)
chvt 6; sleep 2
chvt 2

# remove temporary file
rm -f $TMP_FILE

And we need to make sure the script is executable:

chmod +x /etc/acpi/actions/lid.sh

These scripts should enable us to use the mute key, the increase/decrease volume keys, and the sleep key. They should also allow us to close the lid of the EeePC to put it to sleep. Occasionally, when you wake up the computer, you will just see a blank black screen. To get around this, switch back to VT2 by using the keystroke Ctrl+Alt+F2.

Install Special Packages

Slackware comes with a lot of awesome stuff right out of the box, but it is missing some very important utilities at the same time. Included in this list, for me, is a program called wicd, or a network connectivity manager. This is similar to the "Network Manager" utility found in other mainstream distributions like Ubuntu, Fedora, and openSuSE. Slackware has yet to include such a utility by default.

Anyway, wicd can be found in the extra directory on the Slackware DVD or the 3rd (?) CD. To install it, find the package on the disc (or download it from the Internet) and execute the following command:

installpkg wicd-1.5.6-noarch-2.tgz

Be sure to check out the extra directory on the Slackware install disc. There are some neat tools in there. Some excellent resources for Slackware packages include:

There are some utilities out there to help you in your quest to resolve package dependencies. Two of the major ones that I've used in the past are swaret and slapt-get.

Using Slackware 12.2

My Slackware 12.2-powered EeePC 701 4G

I have to give the Linux kernel hackers props--the 2.6.27.7 kernel is amazingly fast! I'm sure the fact that I'm running a fairly stock Slackware installation (as opposed to something like Ubuntu) helps the speed quite a bit too. This past semester I had Linux Mint 5 (XFCE edition) installed on my EeePC, and that seemed fairly responsive. Slackware blew me away though, and I can still do everything I want to do!

The webcam and sound card work out of the box, just like the wireless. I rarely use the webcam, but it's fun to play with, and my mom appreciates seeing me on Skype occasionally. The wireless connection quality exceeds what it was with the madwifi driver I was using with Slackware 12.1 and other distros like Linux Mint. Programs are ultra speedy and responsive, even with the processor clocked at 450Mhz. I love it!!!

Boot times could be better, but I'm not too concerned with it. My setup takes approximately 50 seconds from boot to a useable desktop interface. Not horrible by any means, but perhaps not the best for a netbook when all you want to do is check your e-mail.

I would like to see the Network Manager that so many other distributions offer in Slackware some day. The wicd application is nice, but it's not nearly as intuitive as Network Manager, and it seems to be relatively limited in its capabilities in comparison. I know I'm not alone in my desire to see Network Manager included, or at least available, for Slackware. It would be tremendously beneficial in a world where wireless networking and laptops are more and more pervasive. Using the command line to adjust your wireless connection settings each time you have to hop to a new access point is just annoying.

In the end, I'm excited to have Slackware on my EeePC once again. I think it will be around for quite a while this time.

Please comment with any advice or problems that you have in regards to installing Slackware 12.2 on an EeePC.

Announcing django-axes 0.1.1-rc1

I've released a new version of django-axes this morning. This project allows you to keep track of failed login attempts on your Django-powered sites quickly and easily. It pays attention to the built-in login functions for the Django administration utility as well as the stock django.contrib.auth.views.login method. If a particular user fails to login successfully after 3 tries (this number is customizable), a record is made of the failure for the site admins to review.

This new version addresses what appeared to be related to some recursive function calls interpretting one failed login attempt as much more than that (sometimes more than 100 alleged failed login attempts for a single actual failed login attempt!). I also added a log file for easier access to the stuff that happens when django-axes kicks into action.

For more information, see the following links:

Please comment with any questions, suggestions, etc you have in regards to django-axes!

Project Release: django-axes 0.1-pre

Ever curious to see information about failed login attempts on your site? This morning I threw together a small, simple Django application that allows you to do just that. I'm calling this project django-axes, which is pronounced as "jango access".

I've only tested it on my own site, so it must still undergo some more in-depth testing before I can call it a stable application. From my testing, however, it works exactly as I expect it to.

For more information, check out the project homepage on Google Code.

How To Compile and Install a 2.6.x Series Linux Kernel

The Linux kernel is the core component in any Linux distribution. Without a kernel, your computer would be essentially useless. It is the piece of software which allows interaction between you, your computer's applications, and your computer's hardware. With such a powerful role in your computing experience, it is important to keep your kernel up-to-date. Each new release provides more hardware support and many performance enhancements. It is also important to keep your kernel up-to-date for security purposes.

Let's upgrade our Linux kernels together. I will walk you through each of the steps I take, from beginning to end, to upgrade my kernel. Just as a warning, I prefer to do the whole process on the command line, so you might want to pull up a terminal, konsole, xterm or whatever you prefer to use for your command line operations.

First you need to download the kernel source code. Many Linux distributions provide specialized editions of the Linux kernel. Typically, you don't want to manually compile and install a custom kernel for these distributions. This does not mean that you can't, it simply means that you might be better off using the "official" kernels for your distribution, which can usually be obtained through your distribution's package manager. You can get the official, 100% free, and complete Linux kernel source code from http://www.kernel.org/. Look for "The latest stable version of the Linux kernel is:" and click the link on the F on the same line. Currently, the latest stable version is 2.6.20, and that's what I'll be using for this tutorial. Please note that commands which begin with a dollar sign ($) are executed as a regular user and commands beginning with a pound sign (#) are executed as a superuser.

$ cd /home/user/download
$ wget http://www.kernel.org/pub/linux/kernel/v2.6/linux-2.6.20.tar.bz2

Now login as the superuser, and navigate to the /usr/src directory. Then extract the kernel source into that directory.

$ su -
# cd /usr/src
# tar jxf /home/user/download/linux-2.6.20.tar.bz2

You probably already have a symlink or shortcut called linux which points to your most recent kernel. If you do, delete the link and create another link to the new source tree. Then go into your kernel source tree.

# rm /usr/src/linux
# ln -s /usr/src/linux-2.6.20 /usr/src/linux
# cd /usr/src/linux

I like to identify each compile of my kernel uniquely, to make sure that I'm using the right one. To do that, you have to modify your Makefile

# vi Makefile

You will see the following lines, or something similar, at the very top of the file:

VERSION = 2
PATCHLEVEL = 6
SUBLEVEL = 20
EXTRAVERSION =
NAME = Homicidal Dwarf Hamster

Change the EXTRAVERSION property to something you want to use to identify this kernel. I will use -jcv1

EXTRAVERSION = -jcv1

The rest of the Makefile should be fine. In fact, I discourage editing Makefiles unless you know what you're doing. This next step is totally optional, but I like to do it to save some time. You can copy your existing kernel's configuration file in order to have a very similar kernel configuration. My previous kernel version was 2.6.19.1, so this is the command I use:

# cp /usr/src/linux-2.6.19.1/.config /usr/src/linux/

Then I run make oldconfig or make silentoldconfig to update my older kernel configuration file to be able to handle newer features. If you use oldconfig you are required to specify whether or not you want the new features included in your kernel, whereas silentoldconfig will use the defaults determined by kernel developers (they usually know best), asking for minimal input. Let's update our configuration file and then customize it by running make menuconfig (there are several options here, such as make xconfig and make gconfig, but I prefer the text-based menuconfig; there is another you can run by using make config, which runs through each and every option available--it's scary).

# make silentoldconfig
# make menuconfig

menuconfig is a graphical command line application which lets you navigate the features offered by the kernel. Each computer is considerably different from the next, so it really does no good to provide a list of things that I tweak. However, it is important to note what some of the symbols are in the menuconfig utility:

  • M = Module. Modules are loaded when they are required and can contribute to the speed of your system
  • * = built into the kernel. These are typically things which are necessary for your machine to function properly, such as support for your root file system.
  • X = exclusively selected. You'll see this when you select what type of processor you have, for example.

One thing to note before we go further is MAKE SURE YOU KERNEL HAS BUILT-IN SUPPORT FOR YOUR ROOT FILE SYSTEM!!!! My root file system is reiserfs. In my configuration, I made sure that reiserfs was marked with a star. If you don't do this, your kernel won't boot and you will be very frustrated. Trust me.

Your computer is probably quite different than mine, so you might want to just poke around and see if you recognize things that deal with your computer's hardware. Once you are done tweaking your kernel configuration, exit the configuration utility and make sure the configuration is stored in /usr/src/linux/.config

Next we get to build and install the kernel. After that, we have to add an entry to our boot manager so that we can try out our new kernel. The compilation part usually takes just about a half hour on my 2.2Ghz Turion64 processor with 1.25GB of RAM. It takes about 6 hours on my 300Mhz Pentium 2 with 32MB of RAM. Let's find out how long it takes for you to compile your kernel!

# time make
...
real    27m29.663s
user    23m34.476s
sys     2m56.575s

Now let's install the modules and install the appropriate files in the boot area:

# make modules_install
# make install

This is the part that always used to mess me up. I use Slackware Linux, which is more UNIX-ish than most distributions. It's actually the oldest surviving Linux distribution to date, but that's another story. For some reason, the make install command doesn't always work with Slackware. There is a process I use to setup my boot directory when I compile a new kernel. I wrote a simple shell script called fixkernelinstall to take care of it for me:

#!/bin/bash
# Configure my computer for a new kernel
# Author: Josh VanderLinden
# Assisted By: Dan Purcell

# if the user didn't supply a kernel number, ask for it
if [ $# -eq 0 ]; then
    echo -n "Kernel: "
    read kernel
else
    kernel=$1
fi

# determine root partition
echo "Determining root partition..."
rootpart=`mount -l | grep ' / ' | cut -f 1 -d\ `
echo "Root partition is $rootpart"

# copy kernel configuration file
cp /usr/src/linux/.config ./config-$kernel

# now rename everything
echo "Renaming files..."
mv System.map System.map-$kernel
mv vmlinuz vmlinuz-$kernel

# if the config file exists and it's a symlink, remove it
if [ -f 'config' -a `stat config | grep -c 'symbolic link'` = '1' ]; then
    echo "Removing link to configuration file"
    rm config
else
    # otherwise it might be important
    echo "Renaming configuration file"
    mv config config.bak
fi

# Link files
echo "Creating symlinks..."
ln -s System.map-$kernel System.map
ln -s config-$kernel config
ln -s vmlinuz-$kernel vmlinuz

# Update lilo
echo "Adding entry to /etc/lilo.conf for $kernel"
echo "image = /boot/vmlinuz-$kernel" >> /etc/lilo.conf
echo "  root = $rootpart" >> /etc/lilo.conf
echo "  label = $kernel" >> /etc/lilo.conf
echo "  read-only" >> /etc/lilo.conf
echo "Linux kernel $kernel has been configured."
echo "Please check your lilo configuration and run lilo before rebooting"

I'm not an expert on shell scripts, so please feel free to offer suggestions for doing things better if you know how. This script uses the kernel version (given by the user) to setup by /boot directory properly. In my case, I run the script as such

# cd /boot
# fixkernelinstall 2.6.20-jcv1

And the output is something like:

Determining root partition...
Root partition is /dev/hda5
Renaming files...
Renaming configuration file
Creating symlinks...
Adding entry to /etc/lilo.conf for 2.6.20-jcv1
Linux kernel 2.6.20-jcv1 has been configured.
Please check your lilo configuration and run lilo before rebooting

As you can see from the script, I use LILO instead of the arguably more popular GRUB. Either one works for me, but LILO is sufficient for my needs. If you want to use the same kind of script for a GRUB installation, just change the LILO part at the end to something like:

echo 'Adding entry to /boot/grub/menu.lst for $kernel'
echo '  title Linux on ($rootpart)' >> /boot/grub/menu.lst
echo '  root (hd0,4)' >> /boot/grub/menu.lst
echo '  kernel /boot/vmlinuz-$kernel root=$rootpart ro vga=normal' >> /boot/grub/menu.lst

Make sure you change the line with root (hd0,4) to fit your setup. With GRUB, you don't have to worry about applying changes to see the menu entry at boot. It's automatically there. With LILO, however, you have to actually apply changes each time you make them. You do this by running the lilo command as the superuser:

# lilo
Added Windows
Added Linux
Added 2.6.20-jcv1 *

The star (*) signifies the default kernel to boot. Make sure that your root partition is correctly specified in your boot loader configuration. My root partition is on /dev/hda5, but yours may be (and probably is) on a different partition. If you fail to specify the correct root partition, your system will not boot that kernel until the configuration is fixed. GRUB makes this a lot easier than LILO.

And this is the point when you start to cross your figures and hope that your computer doesn't blow up... We get to reboot our computer and hope that our configuration file plays well with our computer. So, let's do that! See you in a few minutes (hopefully).

# shutdown -r now

So here I am, back on Linux on my freshly-rolled kernel. I hope you are as successful as I have been this time around. Keep in mind that you have to reinstall custom kernel modules if you installed others while you were on your other kernel. For example, I use ndiswrapper to access wireless Internet. I have to recompile and reinstall the ndiswrapper module and device drivers before I can use wireless. Likewise, I have VMWare Server on my laptop, which installed special modules. I have to run vmware-config.pl to reconfigure VMWare Server for my new kernel before I can run any virtual machines.

To summarize, here are the commands that I used in this tutorial. Remember that lines beginning with a dollar sign ($) are executed as a non-privileged user, while lines beginning with the pound sign (#) are executed as the superuser (root).

$ cd /home/user/download
$ wget http://www.kernel.org/pub/linux/kernel/v2.6/linux-2.6.20.tar.bz2
$ su -
# cd /usr/src
# tar jxf /home/user/download/linux-2.6.20.tar.bz2
# rm /usr/src/linux
# ln -s /usr/src/linux-2.6.20 /usr/src/linux
# cd /usr/src/linux
# make clean
# vi Makefile (to change EXTRAVERSION to -jcv1)
# cp ../linux-2.6.19.1/.config .
# make silentoldconfig
# make menuconfig (just to ensure settings were good)
# time make
# make modules_install
# make install
# cd /boot
# fixkernelinstall 2.6.20-jcv1
# vi /etc/lilo.conf (to make sure things were good)
# lilo
# shutdown -r now

I hope that you are able to use this tutorial to successfully install or upgrade your kernel. Good luck! Any comments or suggestions are welcome!
Linux Basics

Filesystem

  • /bin - This is where basic Linux commands reside (ls, du, dd, cp, etc).
  • /boot - Your boot images are stored here.
  • /dev - Links to access your machine's devices.
  • /etc - Configuration files and boot scripts.
  • /home - User directories, equivalent to "Documents and Settings" in Windows XP.
  • /lib - System libraries, codecs, etc.. similar to Windows/System and Windows/System32.
  • /mnt, /media - Mount points. A mount point is a directory that the contents of your hard drives, cd/dvd drives, floppy drives, or jump drives will be accessible.
  • /opt - Optional packages and programs. Could be thought of as a "Program Files" directory.
  • /proc - Special dynamic information about your system.
  • /root - System administrator home. Could be thought of as a "Documents and Settings/Administrator" directory.
  • /sbin - Super-user binaries. These programs need super-user (root) privileges to execute.
  • /tmp - Temporary files. Every user usually has read, write, and execute permissions here.
  • /usr - The main place for programs to be installed. Most like "Program Files" in Windows.
  • /var - System logs, mail spools, default web server directory, databases, etc...

Basic Commands

  • cd - Change Directory: moves to a different directory.

    Usage: cd directory, cd .., cd /directory

  • cp - CoPy: Copy a file or directory. If you wish to copy recursively and retain all attributes associated with the file or directory, use the -a option.

    Usage: cp original original.backup, cp -a /home/user/directory /home/user/backup

  • df - Disk usage on Filesystem: Display an overall summary of disk usage on mounted mountpoints. If you want human-readable sizes, use the -h option.

    Usage: df, df -h, df /mnt/mountpoint

  • du - Disk Usage: Display the disk usage of each file (recursively, by default) in the current directory. If you want human-readable sizes (1024 bytes = 1Kb, 1024Kb = 1Mb, etc), use the -h option. If you want a summary of the total disk usage by a directory and everything inside, use the -s option.

    Usage: du, du -s, du -h, du -sh, du -s /directory

  • ln - LiNk: Create a link, or shortcut, to a file or directory. I prefer to do symlinks by using the -s option.

    Usage: ln original link, ln original /directory, ln original /directory/link, ln -s original /directory/link

  • ls - LiSt: lists the contents of a directory.

    Usage: ls, ls .., ls /directory/subdirectory

  • man - View the MANual page for a program or other file. Probably the most useful program ever.

    Usage: man program, man xorg.conf

  • mkdir - MaKe DIRectory: create a new directory/folder.

    Usage: mkdir dirname, mkdir /directory/newdirname

  • mv - MoVe: Move a file or directory to a new location, or rename a file or directory.

    Usage: mv file /directory/newhome, mv file newfilename

  • pwd - Print Working Directory: returns the full path of the directory in which you are working.

    Usage: pwd

  • rm - ReMove: Remove a file or directory. If you want to get rid of a directory and all of its contents, use rm -R or rm -Rf for recursive deletion.

    Usage: rm filename, rm /directory/filename, rm -Rf /directory/dirname

  • rmdir - ReMove DIRectory: remove a directory. The directory must be empty.

    Usage: rmdir dirname, rmdir /directory/dirname

  • whereis - Determine where a certain file exists (if it's in your path)

    Usage: whereis filename

  • whoami - Detemine which user you are currently logged in as

    Usage: whoami

Linux Permissions

Linux has a great permission scheme. Since its inception, three basic levels of security have existed: user, group, and everyone. A simple way to change the permissions on a file or directory is to use the chmod, or CHange MODe, command. Changes to the permissions can be either a symbolic representation or an octal number representing the bit pattern for the new permissions. I prefer the symbolic method, myself, but many others prefer to see the octal pattern.

When working with permissions in Linux, always remember the following orders: User, Group, All; Read, Write, Execute. Those are the orders you will put the permissions in. Let's say that we want to make a file readable and writable only to the owner, while no one else will even be able to read the file. Here are some examples:

NOTE: Commands that begin with $ are executed as a regular user. Commands that begin with # are executed by a superuser (root). These two symbols (when they are the very first character in the command) are not entered by the user.

Symbolic:

$ echo "Hi" >> testing
$ chmod a-rwx,u+rw testing

Octal:

$ echo "Hi" >> testing
$ chmod 600 testing

Let's now examine the commands individually.

$ echo "Hi" >> testing

This command will append "Hi" (without the quotes) to the end of the file called testing. The file will be created if it does not already exist, assuming that the user has write permissions in the current directory. If you didn't want to append, you could overwrite anything that may be in the file by using a single > rather than >>.

$ chmod a-rwx,u+rw testing

This command removes (the - in a-rwx) read (the r in a-rwx), write (the w in a-rwx), and execute (the x in a-rwx) permissions from all (the a in a-rwx) users on the file called testing. Next we add (the + in u+rw) permissions for the owner (the u in u+rw) of the file: read (the r in u+rw) and write (the w in u+rw) on the file called testing.

$ chmod 600 testing

This command sets the permissions for everyone in one shot. I think of the digits in binary:

  • 1 = execute only;
  • 2 = write only;
  • 3 = write and execute, but no read;
  • 4 = read, but no write or execute;
  • 5 = read and execute, but no write;
  • 6 = read and write, but no execute;
  • 7 = read, write, and execute.

A digit is required for each level of permissions (user, group, and all). It is also possible to put another digit before the 3 levels of permissions, but to be honest, I don't know what significance it has. A little bit of testing has shown that it puts either an S or T in place of the execute permissions (depending on the digit).

A couple more things about chmod: Directories must also be executable in order to list the contents. chmod is very powerful. Finally, you can recursively apply permissions to directories and everything underneath with the -R option.

$ chmod -R a+rx /home/user/share

A couple of commands closely associated with chmod are chgrp (CHange GRouP) and chown (CHange OWNer).

chown will change the user ownership of files or directories. This can be done recursively with the -R option. It also has the capability to change the group ownership built into it. The syntax is: chown [options] user[:group] file1 [file...]

chgrp will change the group ownership of files or directories. You can do this recursively with the -R option. The syntax is: chgrp [options] groupname file1 [file...]

Cronjobs

Cronjobs are similar to scheduled tasks in the Windows world. Schedule tasks or cronjobs are simply programs that you want to run regularly, without having to type in the command every time you want it to run. Most distributions come with a cron daemon of some sort installed by default. Generally speaking, you can edit your cronjobs by typing crontab -e. This will bring up an editor like vi (it usually is vi by default) in which you edit your cronjob file. Each user can have their own cronjobs (unless it's been disabled by the administrator, I would assume). Here is an example of a cronjob entry:

47 * * * * /usr/bin/run-parts /etc/cron.hourly 1> /dev/null

You'll notice the 47 with four *'s after it. This is how the daemon knows when to execute a job. This is what each of the stars represent in their order:

  1. Minute: 0-59
  2. Hour: 0-23 (0 = midnight)
  3. Day of month: 1-31
  4. Month: 1-12
  5. Day of week: 0-6 (0 = Sunday)

So the example above will run after 47 minutes every hour of every day of the month of every month. You can also do some fancy things like having a job run every 5 minutes, after 15 and 45 minutes, etc. Let's say that we want to grab our mail every 5 minutes. The cronjob entry would look something like:

*/5 * * * * /usr/bin/fetchmail

If we wanted to grab our mail every 2 hours but only on Mondays, we would use the following:

0 */2 * * 1 /usr/bin/fetchmail

To have a job run after 15 and 45 minutes, we could do this:

15,45 * * * * /usr/bin/fetchmail

Pretty nifty, eh?

Make

This fancy utility is usually the means used for compiling programs from source. The usual sequence of commands for compiling and installing a program from the source in Linux is as follows:

$ ./configure
$ make
# make install

Most packages will follow this convention, but some require special procedures. Sometimes you can even get away with skipping the make and jump straight from ./configure to make install. It is always a good idea to read the README and INSTALL files included in source packages. They will generally tell you about anything out of the ordinary when compiling the source. Obviously, there is a lot more to this utility, but I'm not the person to explain it to you.

Package Management

There are several different types of package managers. The most popular these days are .rpm (RedHat Package Manager) and .deb (Debian). There are some other kinds of packages, but they aren't as popular as RPM and DEB. Slackware uses a straight .tgz (gzipped tarball) as its package system. Frugalware uses .fpm, which are bzipped tarballs. In the end, packages are almost always gzipped or bzipped tarballs.

Each package system has its ups and downs. I've personally found RPM-based distributions to be overly slow, especially with the package management. DEB-based distributions seem to be a lot more speedy when put up against RPM-based distros. However, I have found Slackware's TGZ-based system the most efficient and the fastest. Both RPM's and DEB's have dependency checking. In other words, the package manager will attempt to locate all entities upon which a program may depend in order to function properly before installing or upgrading that program.

A lot of people claim that .tgz packages are inferior to RPM and DEB because of the lack of dependency checking. By default, Slackware does not have dependency checking, but if you know what you're doing, you can get your dependencies a lot easier than you can with RPM or DEB (in my opinion).

RPM packages usually seem quite large compared to other package systems like DEB and TGZ. As far as I have seen, TGZ packages are smaller than both RPM and DEB packages. Here are a few options to help you use the RPM and TGZ package managers. I am not sure on Debian packages, so I won't attempt that one:

  • RPM:
    • rpm -q or rpm --query: look for a package on your system
    • rpm -i or rpm --install: install a new package on your system
    • rpm -U or rpm --upgrade: upgrade a package which is already installed on your system
    • rpm -e or rpm --erase: remove a package from your system
  • TGZ:
    • pkgtool: a text-based package manager
    • installpkg: install a package onto your system
    • upgradepkg: upgrade a package which is currently installed on your system
    • removepkg: remove a package from your system

You can also get some other programs that are VERY useful for package management. I think the latest craze for RPM's is YUM. I have not had great luck with this utility, but a lot of people really like it. Debian packages have used apt-get for ages now. My favorite add-on for Slackware packages is called swaret. Other distributions use the pacman utility, which is very efficient. Each one of these applications has several options and operation procedures.

Secure Shell and Secure Copy

One of my favorite aspects of Linux and other UNIX-derived systems is their secure shell capability (which is usually installed by default). Secure shell, or SSH, is a way for users to log into a remote computer and work on the remote computer as though it were right in front of them. Granted, it's all text-based unless you have X11 forwarding setup properly on both machines. But the command line interface (CLI) is extremely powerful--you should not be afraid to learn and use it. If you need to SSH from a Windows machine, you can use PuTTY.

In order to ssh into another computer, you simply type:

$ ssh hostname

or use the computer's IP address:

$ ssh xxx.xxx.xxx.xxx

By default, ssh on Linux machines will use the username of the account that you are running ssh from. Sometimes you need to login as a different user than the one you're currently using. To do that, you use the -l (lowercase L) or make it look like an e-mail address:

$ ssh hostname -l differentuser
$ ssh differentuser@hostname

Once your ssh session begins with the remote host, you will be asked to enter the password associated with the account with which you are attempting to login. If you do a lot of ssh'ing between machines, typing in your password several times is not only annoying but it could also pose a security risk--some wandering eyes might be watching you each time you enter your password. A great way to get around this is to generate a public and private key for your account. Once you do this, you can use the private key file on the machine you're ssh'ing out of and the public key on the remote machine.

To generate a public/private key, you can use ssh-keygen:

$ ssh-keygen -t rsa

You will be asked to enter and verify a passphrase for your private key. If you were aiming to get around not typing in your password, just hit enter twice for this part. It's still not secure, but it is a lot less hassle if you're only working on machines that no one else has "access" to. Usually your keys will be stored in ~/.ssh/ (or your /home/username/.ssh/ directory: ~ refers to your /home/yourusername).

The next step is to create your identification:

$ cd ~/.ssh
$ echo "IdKey private_key_file" > identification

Now you have to copy your public key (usually the one that ends in .pub) to the remote host:

$ scp public_key_file.pub username@xxx.xxx.xxx.xxx:/home/username/.ssh

And finally you should add your public key to the list of authorized users on the remote host by adding a line like the following to the ~/.ssh/authorization file:

Key public_key_file.pub

At this point you should be able to log into your remote host without your password (assuming you skipped the passphrase part of the key generation above).

As for the secure copy utility, you can get an idea of how to use it from the scp command above. This program uses the SSH system to securely copy files between two computers. This is how I use the scp command:

$ scp [-r] user@remote:/path/to/remote/file /local/destination/path/
$ scp [-r] /path/to/local/file user@remote:/remote/destination/path/

If you have setup public key authorization, you will not have to enter your password each time you use scp. Otherwise, you are asked for a password each time you run scp.

Archiving and Backup

There are many different kinds of compression and archiving tools in Linux. The most common types are tarballs, gzipped, and bzipped files. Below is a list of purposes for each of the three and some of the options:

  • tar - multiple files, little or no compression
    • c, --create - create a tarball
    • f, --file - specify the tarball's filename
    • x, --extract, --get - extract the contents of a tarball
    • j, --bzip2 - use bzip2 compression/decompression
    • v, --verbose - show verbose output
    • z, --gzip, --ungzip - use gzip compression/decompression
    • to create a tarball called filename.tar which contains all of the files in /dir/to/archive: $ tar cf filename.tar /dir/to/archive
    • to create a tarball called filename.tar.gz which contains all of the files in /dir/to/archive and gzip it: $ tar zcf filename.tar.gz /dir/to/archive
    • to create a tarball called filename.tar.bz2 which contains all of the files in /dir/to/archive and bzip it: $ tar jcf filename.tar.bz2 /dir/to/archive
    • to extract the contents of a tarball called filename.tar.gz to the current directory: $ tar zxf filename.tar.gz
    • to extract the contents of a tarball called filename.tar.bz2 to the current directory: $ tar jxf filename.tar.bz2
  • gzip - single file compression
    • To gzip a file called filename to make it filename.gz: $ gzip filename
    • To gunzip a file called filename.gz to make it filename: $ gunzip filename.gz
  • bzip2 - single file compression
    • To bzip a file called filename to make it filename.bz2: $ bzip2 filename
    • To bunzip a file called filename.bz2 to make it filename: $ bunzip2 filename.bz2

Installing Slackware 11.0 on An HP Pavilion dv8000

First of all, I have to tell everyone how great of a distribution Slackware is. I have personally sampled (meaning that I downloaded, installed, and ran for a trial period) at least 50 different distributions. It seems that, no matter how fancy a new distribution is, I always find myself returning to Slackware. I have to admit, it doesn't have a lot of the eyecandy and user-friendly features of other mainstream distributions right off the bat, but you could add them if you wanted to. Among my reasons for liking Slackware so much are:

  • It's the fastest (by default) I've used
  • Stability
  • Security
  • Educational value

Now that we have a little background as to why I like Slackware so much, let's move on to the installation, shall we? To make it a little more simple, I'm just including the notes that I took while installing.

  • Insert disc 1

  • Boot Menu: Hit enter to boot with default options

  • Select keyboard map: Enter for default US

  • Login as root

  • Check partition scheme: # fdisk /dev/hda

    Here are some useful commands to get around in fdisk:

    • p to print partition table
    • d to delete, followed by parition number
    • c to create; primary/extended; start sector; end sector
    • a to toggle bootable flag
    • w to write parition table
    • q to quit
  • # setup

  • ADDSWAP to activate swap partition

    • select your swap partition and hit ok
    • choose whether you wish to check for bad blocks while preparing the swap partition [no]
    • hit ok when your swap partition has been configured
  • Choose your root (/) parition

    • Select the proper partition from the list and hit select
    • Choose your formatting type
      • Format: Quick format with no bad block checking
      • Check: Slow format that checks for bad blocks
      • No: No, do not format this partition
      • [ FORMAT ]
    • Choose filesystem
      • ext2: Standard Linux Ext2 Filesystem
      • ext3: Ext3 Journaling Filesystem
      • reiserfs: ReiserFS Journaling Filesystem
      • [ REISERFS ]
    • Add other paritions and follow the same process as above, specifying the mount point
    • Hit ok when the partitions have been setup successfully
  • Specify whether you'd like any existing FAT or NTFS partitions to be mounted in Linux

    • [ YES ]
    • Select the partition
    • Specify the mount point
  • Hit ok when the FAT and NTFS partitions have been setup

  • Choose your installation source

    • Install from a Slackware CD or DVD
    • Install from a hard drive partition
    • Install from NFS (Network File System)
    • Install from a pre-mounted directory
    • [ CD or DVD ]
  • Choose the CD/DVD device

    • auto: Scan for the CD or DVD drive (recommended)
    • manual: Manually specify CD or DVD by device name
    • [ AUTO ]
  • Select the package sets you'd like to install and hit ok

  • Select prompting mode

    • full Install everything (3+ GB of software, recommended)
    • expert Choose individual packages from interactive menus
    • menu Choose groups of packages from interactive menus
    • newbie Use verbose prompting (and follow tagfiles)
    • custom Use custom tagfiles in the package directories
    • tagpath Use tagfiles in the subdirectories of a custom path
    • [ FULL ]
  • Specify your kernel

    • bootdisk Use the kernel from the installation bootdisk
    • cdrom Use a kernel from the Slackware CD or NFS mount
    • floppy Install a zimage or bzimage from a DOS floppy
    • skip Skip this menu (use the default /boot/vmlinuz)
    • [ CDROM ]
  • Re-insert disc 1

    • Select your kernel
    • [ /cdrom/kernels/sata.i/bzImage ]
  • Make a bootdisk

    • Create Make a Linux bootdisk in /dev/fd0
    • Skip Skip making a bootdisk
    • [ SKIP ]
  • Modem configuration [ NO MODEM ]

  • Specify whether you'd like to start hotplug/udev at boot [ YES ]

  • Install the bootloader, LILO

    • simple Try to install LILO automatically
    • expert Use expert lilo.conf setup menu
    • skip Do not install LILO
    • [ SIMPLE ]
  • Choose your frame buffer mode for LILO [ standard ]

  • Pass the kernel a parameter if you have an IDE CD/DVD-RW drive

    • [ hdc=ide-scsi ]
  • Select LILO destination

    • Root Install to superblock (not for use with XFS)
    • Floppy Install to a formatted floppy in /dev/fd0 (A:)
    • MBR Install to Master Boot Record (possibly unsafe)
    • [ MBR ]
  • Select your mouse type [ IMPS2 ]

  • Specify whether you'd like to start GPM at boot [ NO ]

  • Specify whether you'd like to configure your network

    • [ YES ]
    • Enter your hostname
    • Enter your domain name
    • Specify IP setup
      • static IP Use a static IP address to configure ethernet
      • DHCP Use a DHCP server to configure ethernet
      • loopback Set up a loopback connection (modem or no net)
      • [ DHCP ]
    • Specify DHCP parameters
    • Verify and accept network configuration
  • Specify services to start at boot time

    • rc.cups
    • rc.httpd
    • rc.mysqld
    • rc.pcmcia
    • rc.samba
    • rc.scanluns
    • rc.sendmail
    • rc.syslog
    • rc.sshd
  • Specify whether you'd like to try out some screen fonts [ NO ]

  • Specify whether your machine's clock is set to local time or UTC/GMT [ NO ]

  • Select timezone

  • Select your default desktop [ KDE ]

  • Set a root password

  • Reboot

  • Login as root

  • Add a new (normal) user: # adduser

  • Configure XWindows

    • # xorgcfg
    • save the configuration to /etc/X11/xorg.conf
  • Logout and back in as the new user

  • Bring up the GUI

    • $ startx

Begin using your system!!