Django-Tracking 0.3.5

I've finally gotten around to looking at a bunch of tickets that had been opened for django-tracking in the past year and a half or so. I feel horrible that it's really taken that long for me to get to them! Every time I got a ticket notification, I told myself, "Okay, I'll work on that this weekend." Many have weekends have passed without any work on any of my projects. I'm going to get better about that!

Anyway, several fixes have gone into the latest version of django-tracking. Some have to do with unicode problems (thanks ramusus!). Others have to do with overall performance, while yet others have to do with overall stability.

The first interesting change in this release is that django-tracking no longer relies on the GeoIP Python API. Instead it's now using django.contrib.gis.utils.GeoIP. I had hoped that this would remove the dependency on the GeoIP C API, but it appears that I was mistaken. Oh well.

Perhaps the biggest improvement in this new release is the use of caching. With caching in place, the middleware classes don't slam the database nearly as badly as they used to. There's still more that could be done with caching to improve performance, but I think what I've got now will be a big help.

Another noteworthy change, in my opinion, is the use of logging. I've sprinkled mildly useful logging messages throughout the code so you can learn when something bad happens that is silently handled. I hope that this will help me improve the quality of the code as it will allow anyone who uses the project (and pays attention to the log messages, of course) to tell me when bad things are happening.

Finally, the packaging code has been updated to be much more simple. Version 0.3.5 has been uploaded to PyPI and is available via pip or easy_install. If you prefer to have the latest copy of the code, the official code repositories are (in order of my personal preference):

I can't wait for your feedback!

Vim Tip: Global Delete

Today I was asked to help debug a problem with our product's patcher. All of the debug information for the entire product goes into a single log file, and some processes are quite chatty. The log file that contained the information I was interested in for the patcher problems was some 26.5MB by the time I got it.

All of the lines I was interested in were very easy to find, because they contained specific strings (yay). The problem was that they were scattered throughout the log, in between debug output for other processes. At first, I tried to just delete lines that were meaningless for me, but that got old very quickly. This is how I made my life easier using Vim.

It's possible to do a "global delete" on lines that don't contain the stuff you are interested in. The lines I wanted to see contained one of two words, but I'll just use foo and bar for this example:

:g!/\v(foo|bar)/d

This command will look for any line that does not contain foo or bar and delete it. Here's the breakdown:

  • :g - This is the command for doing some other command on any line that matches a pattern
  • ! - Negate the match (perform the pending command on any line that does not contain the pattern)
  • /\v(foo|bar)/ - The regular expression pattern
    • \v - Use of \v means that in the pattern after it all ASCII characters except '0'-'9', 'a'-'z', 'A'-'Z' and '_' have a special meaning (very magic). Basically, it removes the need to escape almost everything in your regex.
    • (foo|bar) - Find either foo or (|) bar
  • d - The command to perform on matching lines, which is delete in this case

So, executing that command in the Vim window with the log file wiped out all of the lines that didn't have my magical keywords in them.

When I showed my co-worker how awesome Vim was, he was mildly impressed, and then he asked, "What about multiline log messages?" My particular case didn't have any multiline messages, but I wanted to figure it out anyway. I haven't been able to figure out an exact method for deleting the lines that don't match, but I have found a way to show only the lines that match:

:g!/\v^".+(foo|bar)\_.{-}^"/p

This command is pretty close to the previous one.

  • :g - Global command on lines that match a pattern
  • ! - Negate the match (seems a little backward this time)
  • /\v^".+(foo|bar)\_.{-}^"/ - The regular expression pattern
    • \v - Very magic
    • ^" - Find a line that starts with a double quote ("). Each of our individual log messages starts with a double quote that is guaranteed to be at the beginning of the line, so this is specific to our environment.
    • .+ - One or more characters between the " and foo or bar
    • (foo|bar) - Find either foo or (|) bar
    • \_.{-}^" - Non-greedy multiline match. Matches any character, including newlines (because of the \_), and continues matching until it reaches the next line that begins with ^". Again, that double quote is specific to our environment. The {-} is what makes this a "non-greedy" match--it's like using *, but it matches matches as few as possible of the preceding atom.
  • p - The command to perform on matching lines, which is print in this case. This brings up a separate little window that displays each match (which is why I mentioned the negation seemed a bit backward to me). Navigation and whatnot in this window appears to be similar to less on the command line.

And there you have it! I hope you find this information as useful as it has been for me!

Monitor Multiple Remote Files Using Multitail

There comes a time in each of our individual lives that we just learn to love log files. We learn to love utilities like tail and grep as we pore over countless lines of information, seeking out the stuff that really matters. We like to show off our debugging prowess as innocent bystanders look on in absolute wonderment.

While that's all fine and dandy, I'm always on the lookout for utilities to make my log monitoring less painful. A few weeks ago, my supervisor introduced me to a program that he's been using for quite some time: multitail. In essence, it's tail with some really neat features, such as the ability to:

  • "tail" multiple files (or commands, like netstat) independently in the same terminal
  • highlight text using regular expressions
  • search log messages and see only the matching lines
  • merge multiple files into one log window
  • scrolling back in the history of a log file
  • highlighting "themes"

I've been using multitail for a couple of weeks now (it took me a while to warm up to it after my supervisor introduce it), and I'm quite satisfied with it. One thing I really, really like about multitail is that I can kinda sorta almost monitor multiple remote files. What does that mean, you ask?

Well, my development environment includes at least 5 virtual machines, each of which will be logging different but equally important information. I want to be able to "tail" a specific log file on each of the virtual machines in one window. Now, it took me a while to learn how to do this, which is why I'm sharing the information with you.

And here comes my usual disclaimer: this may not be the most efficient way to do what I want to do, but it's currently working for me. I'm open to other solutions too!

Anyway, I can run a command like the following to monitor multiple remote log files:

multitail -l 'ssh user@host1 "tail -f /path/to/log/file"' -l 'ssh user@host2 "tail -f /path/to/log/file"'

Such a command would ssh into two computers, host1 and host2, and run tail -f /path/to/log/file on each. Multitail allows you to monitor the output of both tail commands in a single window, reducing clutter on your desktop. You can also arrange the files/commands you're "tailing" into various rows and columns. I tend to have a 2x2 grid of log files when I use multitail at work.

I've also started using multitail to monitor the access and error logs for my Django sites on WebFaction. I simply ssh into my account, run an alias for a ridiculous multitail command, and watch as both log files scroll on by.

Again, this is just another aspect of my work environment that is fun and useful to me, and I wanted to spread the joy. Multitail may or may not be a utility you like to use, but it suits my current needs and desires quite well. YMMV. And, once again, I'm always on the look-out for other tools to make my work life more interesting and productive!

Automatic Config Replication With Mercurial

I've done a lot of neat things since I started my new job earlier this month. I'm really excited about the things I've learned and experimented with, and I would like to share some of the concepts with my visitors.

At work we use a lot of virtual machines in our individual development environments. Most of these virtual machines use very similar configuration settings, but the settings are not a standard part of the installation. That is because we build our virtual machines using the same installation tools that our customers would use. The configuration I'm talking about is just stuff specific to our development environment.

Creating and configuring these virtual machines is one of the first things my mentor showed me how to do my first day on the job. He commented on how quickly I would probably start learning all of the configuration tasks because we tend to setup our development VMs several times a month. That was all fine and dandy, and I did get a pretty good feel for what needed to go into a development VM that first day.

However, after doing it so many times, I realized how much time I was using just trying to get the VM set up just right. It wasn't hard to configure--it was just time-consuming. It wasn't long before I started thinking of ways to optimize the process.

One of the ideas I came up with, which seems to be serving my purposes perfectly, is that of using Mercurial to quickly and easily get the exact same configuration from one box to another. It also has the added benefit of keeping a history of the changes I make to my configuration as time goes on.

I won't go into exact detail on how I have things setup at work, but I would like to try to describe a similar scenario that should illustrate my goal just as well.

Getting Started

One of the first things I would encourage you to do is follow along. It will make the concept sink in much faster, and you will probably see other applications very quickly. Please note, however, that if you're following along exactly, it could be a very time-consuming process. I will be using 3 virtual machines as I write this, but you could just as easily use 5, 10, or 100,000. Likewise, you could eliminate the virtual machines altogether if you're in an environment with several physical computers.

One virtual machine will act as the "master" server, or the one that will be configured first. The other virtual machines will act as "slave" servers, which will simply receive configuration updates that happen on the master server. We will also modify this behavior to be a bit more interesting toward the end of the article.

Virtual Machines Galore!

First off, I will create some basic virtual machines using the net install version of Debian 5.0.3. I really only need to create 1 VM and then clone it a couple of times. I am willing to furnish my virtual machines to those who are interested in using them. I will install some additional software in the VM to make sure the demo works smoothly. Among the packages that I will install are:

  • Python
  • Mercurial
  • OpenSSH server

Initialize a Repository

Once I have all of that set up in my virtual machines, I will initialize a Mercurial repository on the master server to maintain the configuration files that I am interested in. Let's just use the /etc directory for the time being. There's a pretty good chance that most of our system-wide configuration will all be contained somewhere beneath /etc.

cd /etc
hg init

Now let's have a gander at the files that we can have Mercurial manage for us:

hg st

Wow! That is quite a set of files, isn't it? Thankfully, they should mostly be plain text files. Mercurial is very efficient at managing text files. Let's now add all of the files in /etc to our repository, so they can be tracked and easily pushed out to other systems.

hg add

That command will happily add everything that hg st printed. Obviously, we can get a little more picky about what we do and do not add to our repository, but that's not the goal of this article. Now, this step merely tells Mercurial that it needs to pay attention to changes in these files. The files have not yet been committed to the repo. Let's do that, so we have a backup of our configuration files in their pristine state:

hg ci -m "Initial import"

The -m "Initial import" is just a comment, to describe what happened to warrant a commit to the repository. It is for your use and the use of anyone who has access to your repo.

Clone The Configuration

Now let's try to push the configuration we just committed on the master server to one of the slave servers. Since my virtual machines are all essentially in the same state, there should be no conflicts, right? Try running the following command on the master server:

hg push ssh://root@slave1//etc
root@slave1's password:
remote: abort: There is no Mercurial repository here (.hg not found)!
abort: no suitable response from remote hg!

Blast! We can't simply push the configuration files out to another computer. For that to work, we'd first have to have the repository itself exist on the slave server. Let's try this another way. One the slave server, run this command:

hg clone ssh://root@master//etc /etc
root@master's password:
abort: destination '/etc/' is not empty

Doh! Mercurial won't let us clone the repository from the master server! That's because Mercurial wants to clone to a new directory, with nothing already in it. One way to get around this hairball of a show-stopper is to just copy the repo using conventional UNIX utilities. Execute this command on one of your slave servers:

scp -r root@master:/etc/.hg /etc/

The .hg directory contains all of the repository information, and it's really all we need to snag in order to clone the repository. This might not be the most elegant solution in the world, but it will suffice for the time being. Once the scp command completes, we should have a full copy of the configuration file repository. Run this command to verify:

hg st

If your setup is anything like mine, you'll probably have a few files that are listed as being modified. Chances are that these files will vary from host to host anyway, and they are probably not worth keeping in a version control system. That would just be begging for conflicts.

I wrote an extension for Mercurial that should make this part of my tutorial a little less hacky. On your other slave server, run the following commands:

hg clone http://bitbucket.org/codekoala/hgext /root/hgext
echo "[extensions]" >> /root/.hgrc
echo "neclone = /root/hgext/neclone.py" >> /root/.hgrc

This extension gives you a new Mercurial command called neclone (N. E. Clone, or "not empty clone"). As we saw earlier, Mercurial doesn't let us clone a repository into a directory that is not empty. This extension allows us to do that. It works almost identically to the regular clone command... takes the same options and everything.

Still on your second slave server, run these additional commands:

hg neclone ssh://root@master//etc /etc
cd /etc
hg up -C

The last step is optional, and soon to be included as part of the extension. It will update your working copy to the latest revision in the repository. Beware that it overwrites any uncommitted changes you may have made to files that are tracked by Mercurial.

So now both slave servers should have a clone of the configuration repository from the master server.

Being Picky

Let's start to be a little picky about the files we are tracking in our repository. Some of the files appears as being modified on my slave server after copying the .hg directory from the master server are:

  • adjtime
  • alternatives/pager
  • alternatives/pager.1.gz
  • mailcap
  • network/run/ifstate
  • udev/rules.d/70-persistent-net.rules

I think it's safe to remove these from the repository, to avoid conflicts with other systems. To tell Mercurial to stop tracking files it is tracking, without actually deleting the file from the filesystem, you can use the following command:

hg forget adjtime
hg forget mailcap

And so on. Go ahead and do that for each of the files that appeared to be modified on your slave server immediately after copying the .hg directory. I'm going to add /etc/hostname to the list of files to forget too.

After doing that, each of those files should appear as being marked for removal when you run hg st. Don't worry, this is normal. The files will not be deleted from the filesystem, but they will be deleted from the repository. Go ahead and commit those changes to the repository on your slave server.

hg ci -Am "Removed some files from version control"

Now let's push those changes out to the master server:

hg push
abort: repository default-push not found!

Since we copied the .hg directory directly using scp, our slave won't know where the changes need to go when we run the push command with no explicit destination repository. To fix that, let's create a file in /etc/.hg/ called hgrc on the slave server. In that file, put the following text:

[paths]
default = ssh://root@master//etc

The hg push command should now push directly to the master server. Yay! The problem we face now is that every other slave server in the group is out of date. How can we fix that? We'll use Mercurial hooks.

Automating Config Replication

Mercurial offers some very useful hooks that we can use to automatically push configuration changes out to each of our slave servers. We will use the commit and changegroup hooks to do the magic. Let's create a script that will live on the master server to take care of pushing our changes out to each slave server. Create a new file in /etc/ on the master server called propagate.sh:

#!/bin/bash
hg up
for node in 'slave1' 'slave2'
do
    ssh root@$node "cd /etc; hg pull -u"
done

Let's also make sure this script is executable:

chmod +x /etc/propagate.sh

This script assumes that your /etc/hosts file or your nameserver are configured appropriately to allow slave1 and slave2 to be resolved to IP addresses. The reason we're SSH'ing into each slave server and using hg pull instead of simply using hg push ssh://root@$node//etc is because you can't force an update on a remote server using push. You can, however, request an update when you're using pull.

Obviously, this script is not the most sophisticated of scripts. It might work well for my demonstration, with only a few servers, but once you get beyond that it would be a nightmare to maintain the list of servers the script has to connect to. You can use whatever means you'd like to keep track of the servers you want to replicate your configuration to. I don't want to bother with all of the crap I'd get for suggesting one thing over another, so it's now your call.

Now it's time to configure the Mercurial hook to execute that script when the master server sees a changeset get into its repository. Open up /etc/.hg/hgrc on the master server, or create it if it doesn't exist. Make sure it has at least the following in it:

[hooks]
commit.propagate = /etc/propagate.sh
changegroup.propagate = /etc/propagate.sh

Let's try it out! Run these commands on your master server:

echo "" >> /etc/hosts
hg ci -m "Added a blank line to the hosts file"
root@slave1's password:
remote: Permission denied, please try again.
remote: Permission denied (publickey,password).
abort: no suitable response from remote hg!
Connection closed by slave2
warning: commit.propagate hook exited with status 255

Blast! The script failed because it wanted us to type in a password, but it was not in interactive mode. Let's fix that with a little preshared key magic. I won't go into the details about how this works, but the following commands on your master server should get us rolling:

ssh-keygen
cat ~/.ssh/id_rsa.pub >> ~/.ssh/authorized_keys2
scp -r ~/.ssh root@slave1:~
scp -r ~/.ssh root@slave2:~

Warning

Keep in mind this is not secure and should probably not be how your production machines are configured, especially with the root user.

For simplicity's sake, just accept all of the details and don't set a passphrase. These commands enable us to SSH into our slave servers without using a password. If you get an error such as:

remote: Host key verification failed.
abort: no suitable response from remote hg!

...it just means you need to manually log into your master server from the slave machine that threw that error. When doing so, you will have to answer "yes" to a question about the authenticity of the host you're logging into.

Testing It Out

It is now time to see if we can make a configuration change on one slave server and have it show up on the other slave server. Let's update the hosts file a little bit. Let's add the following line on the second slave server:

10.0.0.5        nonexistanthost

Now let's commit the change and push it off to the master server:

hg ci -m "Added a dumb line to the hosts file"
hg push

My system actually told me that that it had copied the change out to another host. I know because I saw these lines:

remote: pulling from ssh://root@master//etc
remote: searching for changes
remote: adding changesets
remote: adding manifests
remote: adding file changes
remote: added 1 changesets with 1 changes to 1 files

Now when I look at the first slave server, I should see that new line in my /etc/hosts file. Also, the log on each server should have the same entry that I just made about adding "a dumb line to the hosts file."

Seem Like A Lot of Work?

A lot of what we just did probably seemed like more work that it is worth, right? Well, being a nerd typically comes with a few qualities. One quality which I have observed many a time in my most geeky of friends is that they will spend hours and hours up front on a program or script just so they can save 2 minutes in the future. They work hard to be lazy.

There is a lot of boilerplate configuration that takes place in this particular scenario. I realize that. What I haven't shared with you, though, is how I automated the boilerplate configuration as well as the propagation of configuration. I'm tired of putting this article off, so I will have to leave those details for another article. Sorry!

Why?! There's a Better Way (tm)

There is always a better way. Always. Go ahead and use whatever you feel is the most efficient method for keeping configuration files in sync across several computers. This is just one more option to add to your toolkit. Don't worry, I won't be offended if you don't like it or don't use it. It works perfect for me and it's free, and I just wanted to share!
My Fedora 11 Adventures: Part V

Fedora 11 has been treating me pretty well now that I don't have Firefox installed. I am considering the head of manually installing Firefox 3.0.11 in my home directory to see if that fares any better. Another goal I have for today is to change some of the settings for the login screen. So far I haven't been able to figure out how to access that one.

The Login Manager

Surfing a few sites this morning has suggested that I'm not the only one struggling to rid myself of the stock Fedora login manager preferences. One person did suggest a trick for changing the background image, though. I tried it out, but I'm not so sure it worked as planned--I got a ton of SELinux notifications, and I'm not prepared to log out and back in at this time.

Well that's cool. I was just playing around in the terminal looking for any commands that might help me change the settings for the login screen. One command, gdmflexiserver, seemed to lock my screen and show the login screen again. Sure enough, the background I had chosen before was there instead of the nasty default image. Logging in as myself at this screen unlocked my session, and I had everything just as I left it.

Installing Firefox

I tried to download the .tar.bz2 archive of Firefox straight from their website, but that is only i686. My computer didn't know how to execute the program. Time to look into alternatives.

After a while I decided to try to compile my own Firefox. That didn't go very well--nearly an hour into the compile, it farted out complaining about floats or something. I don't have the time to dedicate to making Firefox work.

My Fedora 11 Adventures: Part III

Alrighty folks. Good night's rest? Check. Need to get work done? Check. Today's adventure will be about getting my computer set up for the regular development tasks that I need to do every day for my work and hobbies.

Getting Work Done

The first thing I noticed this morning when I turned on my computer was that it took exactly 1 minute from the time I hit the power button to the time I hit the enter key to log into my computer. Logging in took an additional 15-20 seconds. That was quite nice.

The next thing I noticed was that I was not connected to my network as I should be. Clicking the system tray menu item as I did last night did the trick, but I'm going to have to investigate how to make it connect automatically at boot.

Automatic Network Connectivity

It looks like I can have my Ethernet be activated automatically by right clicking on the network manager icon in my system tray, selecting "Edit Connections," selecting "System eth0," clicking the "Edit" button, and finally checking the "Connect automatically" option in the subsequent window. We'll see if this truly activates my connection next time I boot.

In an effort to get my wireless working, I poked around a little more in the "Edit Connections" screen, but I didn't see anything that seemed useful. I did find something that seemed a bit more interesting by selecting Applications > Administration > Network Configuration from the KDE menu. This utility suggested that my wireless adapter was actually wlan1 instead of the wlan0 that the tray icon seemed to think it was.

I tweaked a few settings about my wireless adapter, such as marking the "Activate device when computer starts" and "Allow all users to enable and disable the device." In the Hardware Device tab, I selected my actual Broadcom wireless adapter instead of the non-existant wlan0. I also hit the probe button next to the "Bind to MAC address" box.

My network manager tray icon still shows no wireless networks (of which there is no shortage around here), and running iwlist scan as root says "Network is down" next to wlan1. I think I will just mess with it later. Maybe it will "just work" when I reboot next time.

Installing/Configuring The Tools

As I previously mentioned, I prefer to use things that work well without getting in my way. When talking about text editors, VIM is just fine for me, and VIM 7.2.148 is already installed on my Fedora 11. One less thing to install.

Next up comes the installation of all of the goods for Firefox. It turns out that Fedora comes with Firefox 3.5 Beta 4--a bold move. I hope my extensions all work! The extensions I will be installing right now include:

  • AdBlock Plus: get rid of pesky ads that slow down my computer
  • Firebug: an amazing tool when debugging Web pages
  • Web Developer: has some niceties that Firebug doesn't come with
  • Screengrab: fantastic for taking screenshots of full Web pages
  • 2Zeus: my own little extension that allows me to quickly get short URLs a la tinyurl.com and is.gd

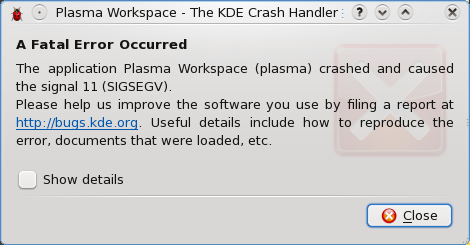
When I plugged in my external 1TB Seagate hard drive, I got a delicious Fatal Error message:

/images/fedora/p3/fatal_error.png

All appears to be in order, however, as I have access to all of the partitions on the external drive.

Next I want to install Opera. It appears that the place to look is Applications > System > Software Management in the KDE menu. Let's see what we have. Searching for Opera in the only obvious search box sent my computer into a crazy "let me do something without telling you" cycle. I have no idea what's really going on, but my processor has been maxed out for the past 3 minutes and my network has been working a little here and there. Can it really be that difficult to find a simple package? Oh! It finished! It took 6 minutes and 54 seconds to find nothing. Excellent. Let me look somewhere else.

Awesome. My computer is non-responsive. The hard drive is still working, but my GUI is doing nothing. I love it. Attempts to drop back to a trusty console using Control, Alt, and F1-F6 rendered no results. I wonder if I can SSH in from here... I sure can! Fantastic. Let's see what's happening.

It appears that X is taking up 90% of my processing power, but my computer is still not responding to any of my input. Dang it! Now my SSH session isn't working. Looks like the only option I have now is to do a hard reset. Joy of joys. Thank you for this opportunity, Fedora. Last time I did a hard reset, I was in Windows and it trashed my 1TB external.

So far rebooting seems to be going well. I wonder if my network will be setup properly still... Fantastic! It works! Wireless is still not available though. I can live without that for the time being.

Back in the Software Management utility, searching for Opera again proved to work much more quickly, but I didn't get any results. I suppose I'll just go download it from their site. The download for Opera 10 beta 1 is a mere 7.2MB, and it looks like it will open in the same Software Management utility that I've been dinking around in.

When I downloaded the Opera package, I asked it to open directly in the default program, KPackageKit. That doesn't seem to be working in the least, so I am going to try to just save it to my home directory and install it some other way. Sorry guys and gals, I ended up just dropping back to a terminal to run rpm -Uvh opera-10.00-b1.gcc4-shared-qt3.x86_64.rpm and that seemed to work fine. Opera appeared in my KDE menu, and it runs well now.

Next up is Pidgin. Pidgin 2.5.5 is installed by default, and getting it up and running was as trivial as ever.

Now to test Flash... YouTube, here I come!! Beh, Flash is not installed by default, and it's also not in the Software Management tool. What use is that thing?! Maybe if I apply all of the updates in the "Software Updates" section it will feel more useful... Here it goes.

Cool. System is unresponsive again. Let's see if I can reboot from here. Nope! Thank you, Fedora, for making me hard reset my system more in 2 hours than I have had to in YEARS. Yeah, thanks buddy.
10:50 AM So the software updates continue to not work. It appears that a ypbind package is the culprit which is causing everything to hang... I disabled it and tried to install the software updates again.

10:53 AM GUI is non-responsive again. Yay.

10:56 AM Third hard reset in 3 hours. Maybe I will have to modify my original parameters and try GNOME to see if that makes the computer usable for more than an hour at a time.

11:00 AM That's it! I'm getting rid of KDE 4... sorry folks, GNOME is my only hope of getting work done. Second clean shutdown out of 5 since the installation completed last night.
My Fedora 11 Adventures: Part II

The Uneventful Installation

The installation for Fedora 11 went pretty smoothly. I began the installation around 11:10PM on June 10th, 2009. I did a fair amount of customization with my partitions and package selection, so the exact timing for installation is probably not a very fair figure to place here. But I'll share some numbers anyway, for my own benefit more than yours.

  • The "Starting installation. This may take several minutes..." took about 4 minutes
  • Installing 1,443 packages took 33 minutes

The timing seemed pretty typical of an RPM-based distribution to me.

First Boot

After the installation succeeded, it asked me to reboot. I noticed that the installer didn't eject the DVD when it was ready to actually reboot, so I just left it in there for kicks. When the DVD's boot menu came up, it showed a list of a few boot options, one of which was to boot from a local drive.

I selected the local drive option, but it failed--it apparently decided to look for a non-existant PXE server. Ejecting the DVD and rebooting again rendered the actual Fedora bootloader that was installed to my hard drive. It automatically launched Fedora after 5 seconds or so.

The boot screen is nice and pretty... none of the classical progress bar business, but rather the circular shape that makes up the Fedora logo. As the boot process proceeded, this shape was filled in a diagonal, bottom-left to top-right fashion. I like that.

Next, it presented me with a "Welcome" screen that said something about there being a few more steps before my system would be ready to use. These steps included a license information page, creating a regular, unpriviledged user, setting up the date and time, and an optional "send hardware profile" page. I opted to send my hardware profile just because I know what it's like to not have information like this when you're trying to figure out problems your users are having. You should be aware that opting in on the hardware profile submission enables a monthly submission, not just a one-time submission during setup.

First Login

After all that was done, I was presented with a login screen and a fairly ugly background. I will probably be changing that one. After logging in, the loading screen seems pretty slick... It has a fancy little progress dealy unlike no other I've seen before. Almost as impressive as the boot up screen, if not more so.

The sound levels after logging in were pretty obnoxious. If I were in a crowded workplace, I'm sure I would have been attacked with rotten lettuce and tomatoes because of that sound. That will also have to change...

The default Fedora 11 KDE 4 desktop

My default background was the same that was used on the login screen. It was the first thing I decided to try to change.

Changing The Background

System settings

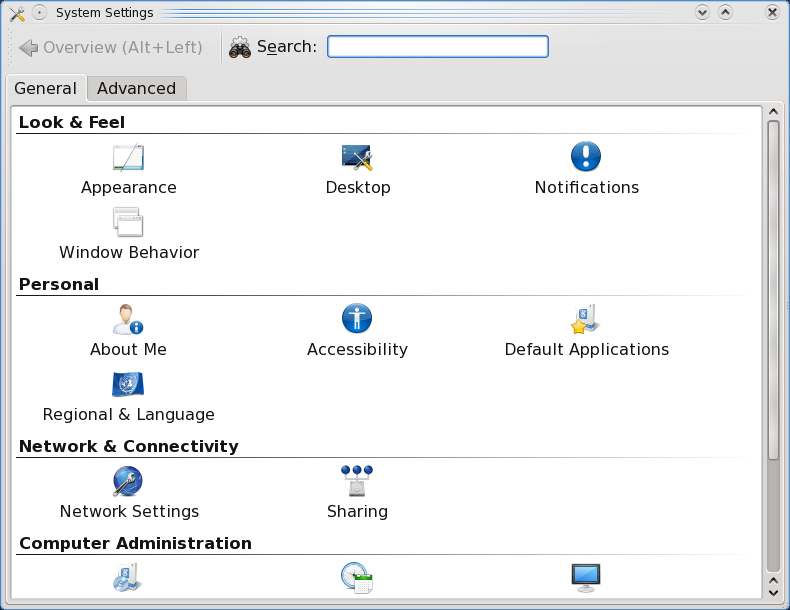
Clicking the Fedora button in the bottom-left corner of the screen pulls up the new KDE menu (which is going to take some getting used to for me). The initial menu showed a "System Settings" option, which is what I used to change the background image. On the screen that loaded immediately after selecting "System Settings," I was presented with several icons that seemed like they would do the trick.

Appearance settings

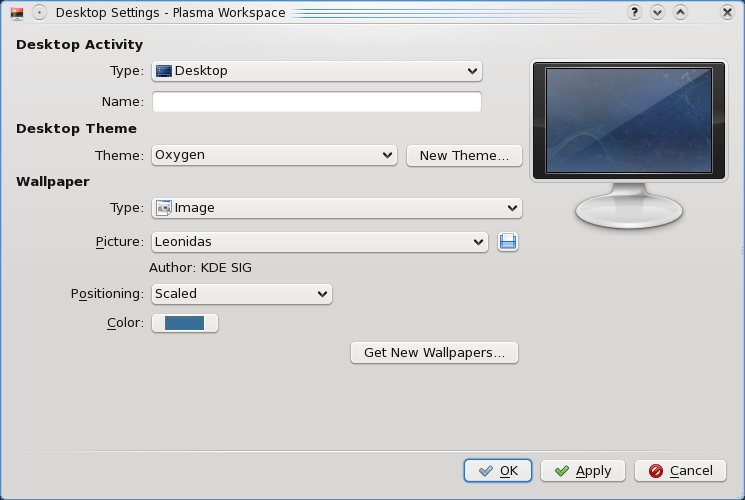
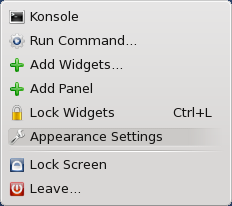
Well, after a little poking around, I decided it might be easier to just right click the desktop to see if the context menu had any suspicious items for changing the background. Lo and behold, I found an "Appearance Settings" item. That was the ticket.

The desktop context menu

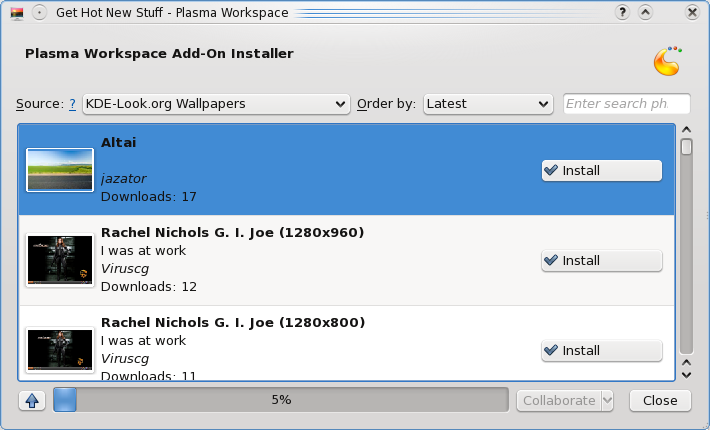
Disappointment. Utter disappointment. When I went to select a new background image, I discovered that there was only one to choose from--the nasty default one! I tried clicking the "Get New Wallpapers..." button, but all that did was tell me I had network problems.

Connecting To The Network

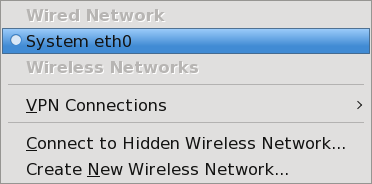
There was a nice little icon in my system tray that suggested it was a network manager, so I clicked on it. I suppose Fedora detected my Ethernet adapter just fine, as it was an option in the menu that popped up when I clicked the icon. My Broadcom wireless adapter apparently was not detected. Still, I find it curious that Fedora didn't connect to my Ethernet automatically (the cable was plugged in the entire time). Clicking the eth0 item in the menu was painless, though. It connected me directly to my network with no additional fuss.

The network manager menu

Back To Backgrounds

The "Get New Wallpapers..." button that I mentioned previously seemed to work a bit better after having connected to the network. When I clicked it, though, I was presented with a screen that apparently wanted me to do something before it would do anything for me. After waiting for a few seconds (because I was typing this), things started happening. New backgrounds started to appear, but there was no indication of any activity. I found that rather strange.

Getting new backgrounds

Selecting a few background images that looked appealing from their thumbnails was pretty straight-forward. The actual download, however, was less than impressive... either the server is overloaded with activity, or the images are very large, because my connection is quite idle right now.

It seems that all of the backgrounds that appeared are all of the classics from kde-look.org that were available in my trusty KDE 3.5. This is good.

Font Sizes

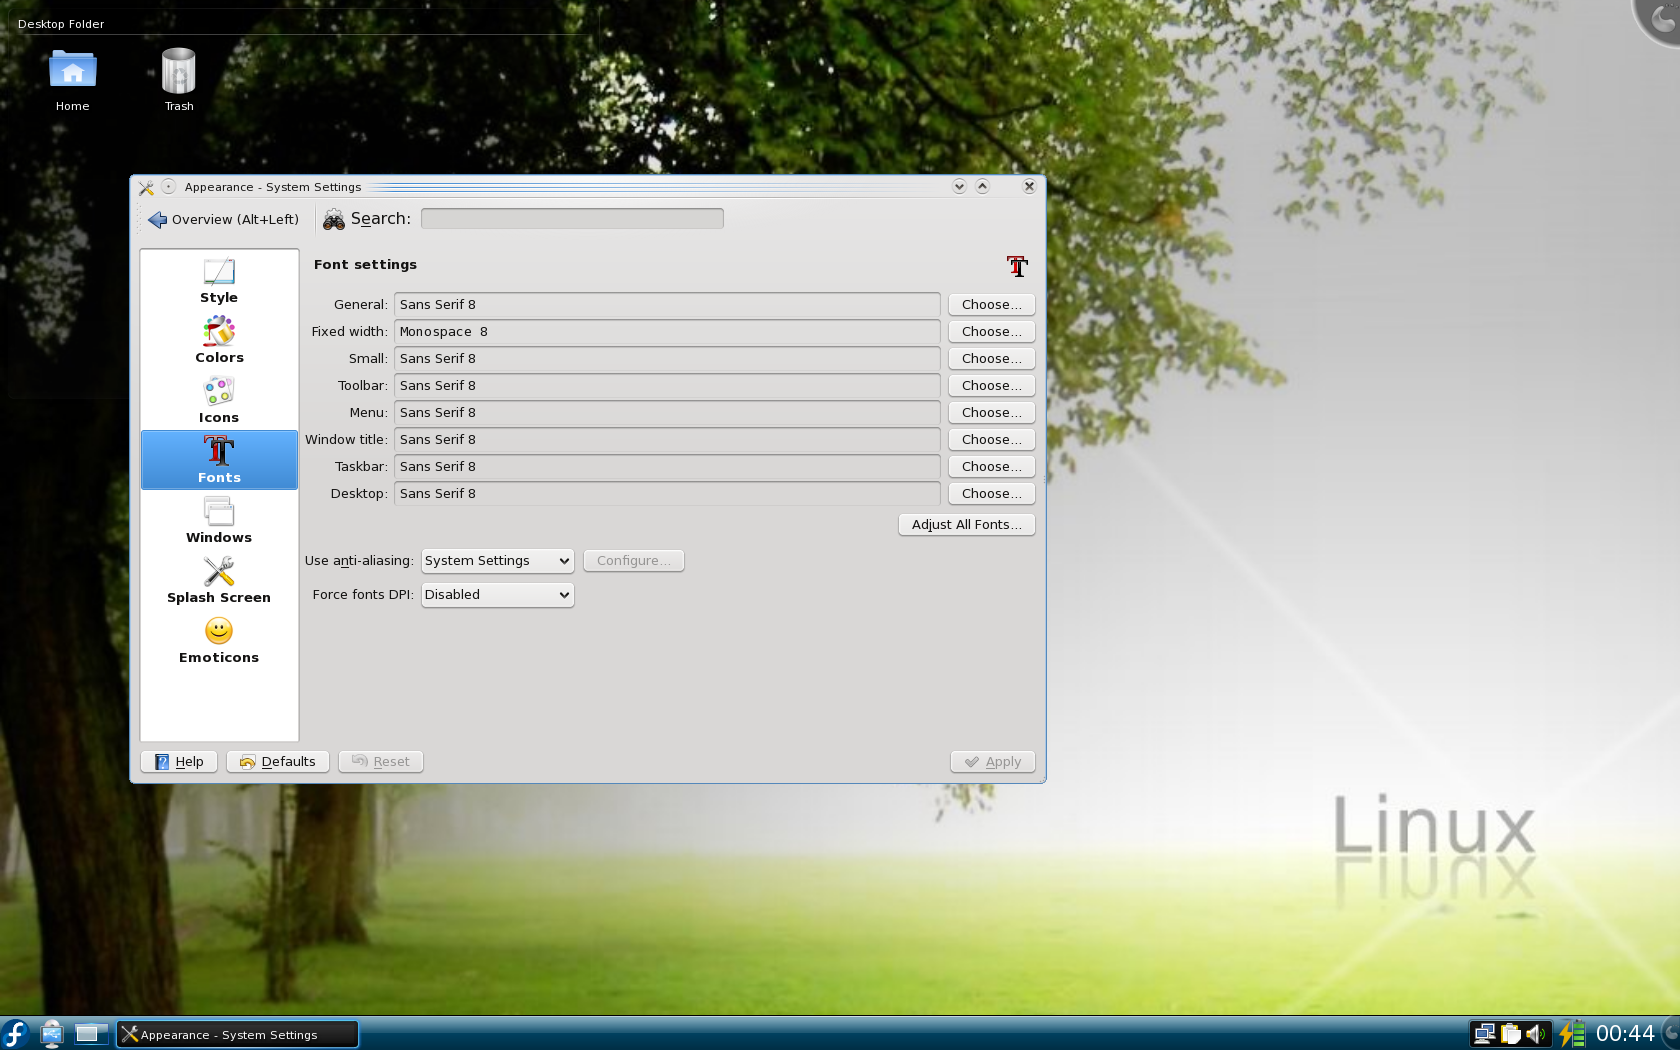
The next change I felt I must make before proceeding was reducing the size of the fonts. They are much too large for my preferences. Back to the System Settings I went. This time, the "Appearance" icon was the one that proved to be pertinent. Fedora's default font size was 10-point. I changed them all to 8-point. Things felt a lot better after doing that.

Things after changing the background and the fonts

Playing Sudoku

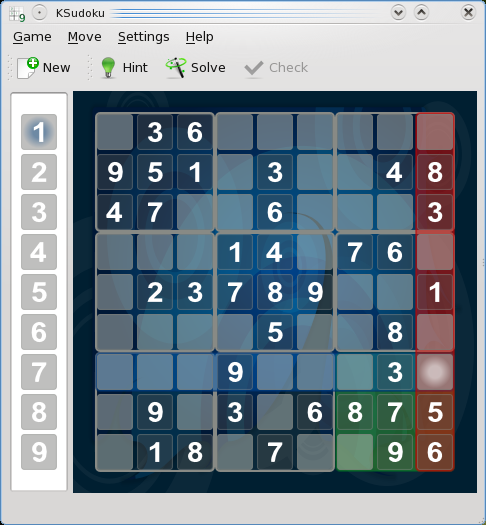
The new sudoku game

Now that it's close to bed time, I feel I must close this section with the requisite game of Sudoku :) The new KDE menu setup is really, really going to take some getting used to. I found Sudoku under Applications > Games > Logic Games > Sudoku Game.

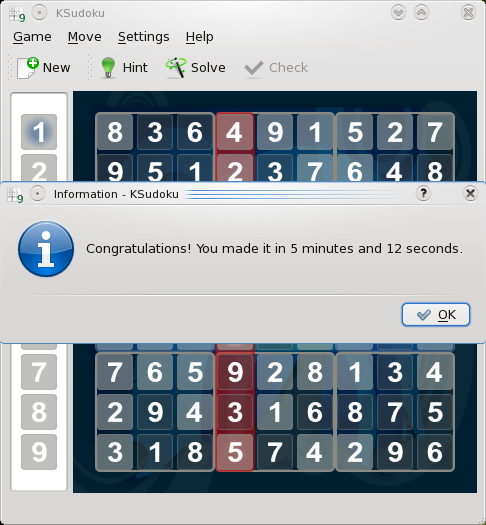
I beat sudoku!

Tomorrow will be an interesting day, because I'm going to get my system setup for work! (By the way, Fedora 11 shuts down insanely fast!! It also blares another nasty sound when you begin the shutdown sequence... ugh)

Windows 7 Public Beta Screenshots

Here are some screenshots of the Windows 7 public beta. I installed it in a VirtualBox virtual machine and allocated 600MB of RAM to it.

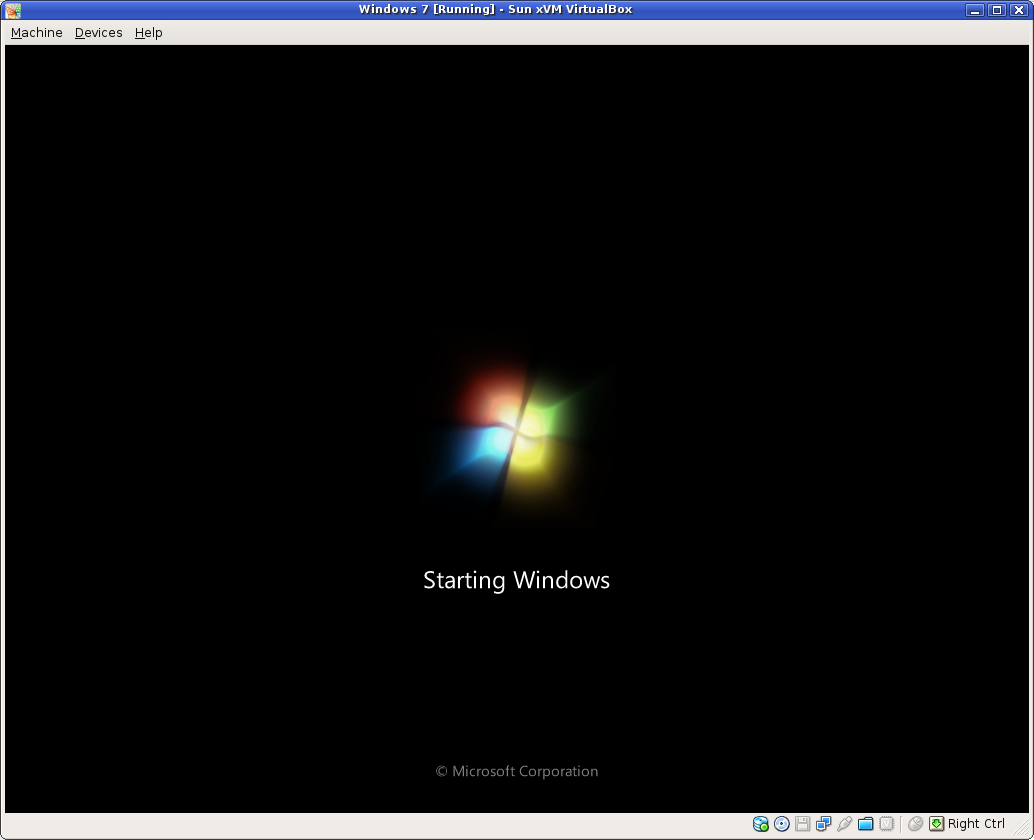
The new and improved sloading screen

The new and improved sloading screen.

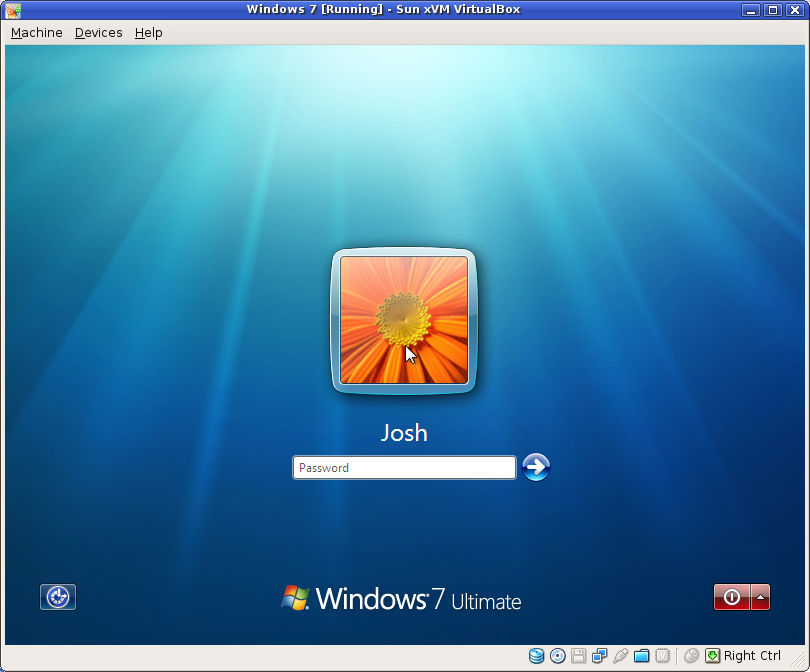
The login screen

The login screen

Logging in....

Logging in....

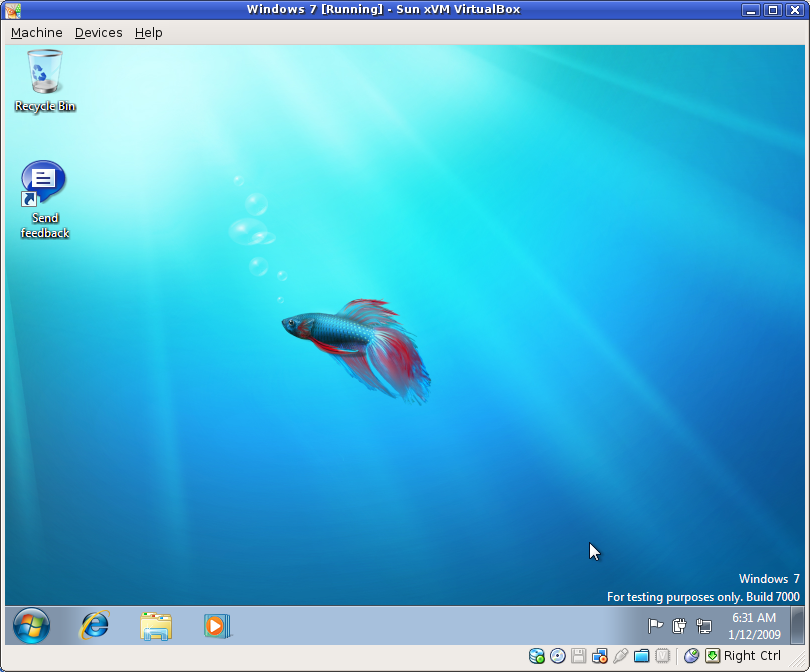
The desktop.... and a fish!!

The desktop.... and a fish!!

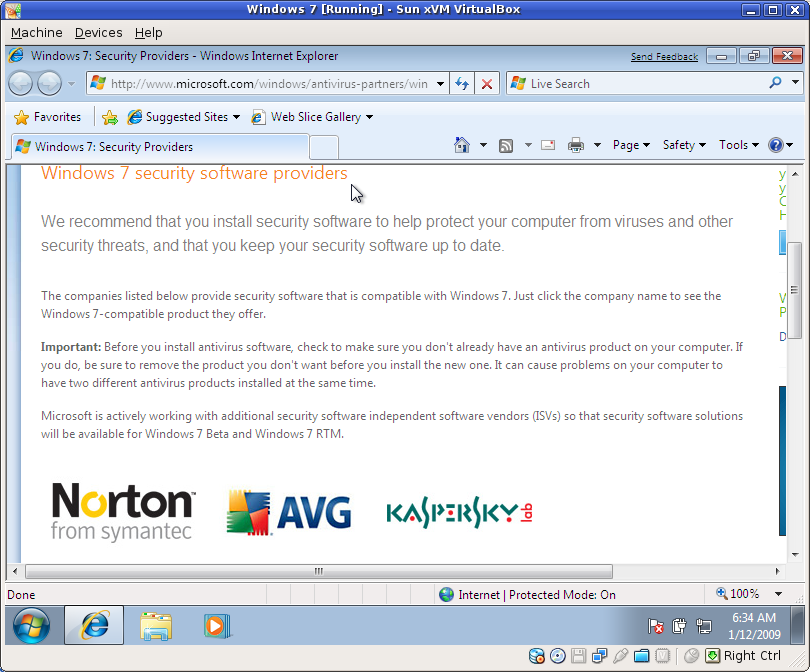
Your choices of Microsoft-sponsored security--the ones that will slow down your computer the most

Your choices of Microsoft-sponsored security--the ones that will slow down your computer the most!

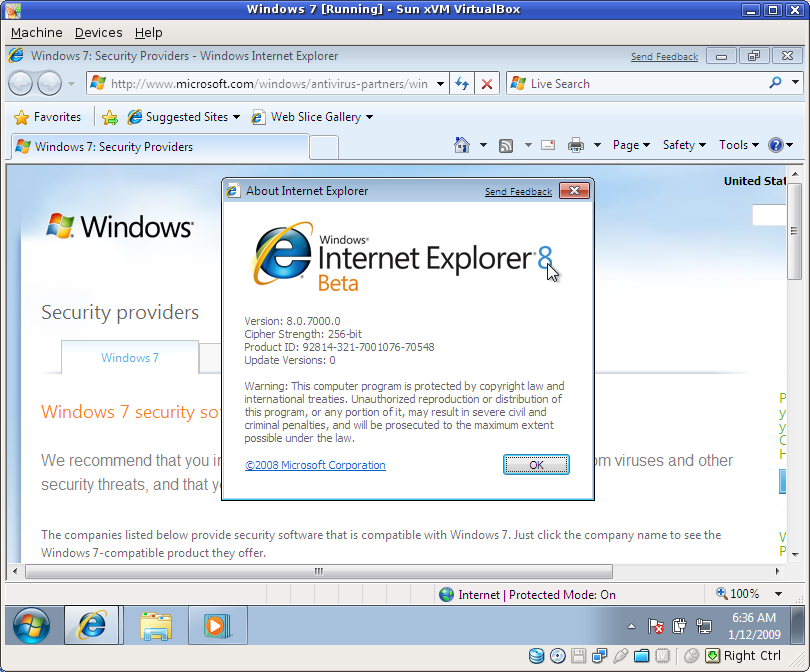
Oh oh!!  It's Internet Explorer 8!  Chews up my site like a charm.

Oh oh!! It's Internet Explorer 8! Chews up my site like a charm.

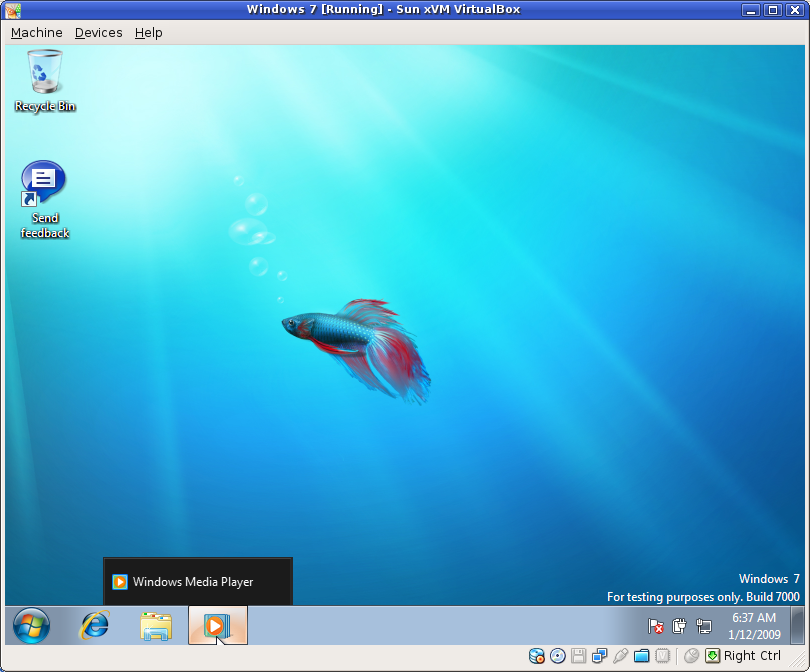
Captionless taskbar icons until you hover.

Captionless taskbar icons until you hover.

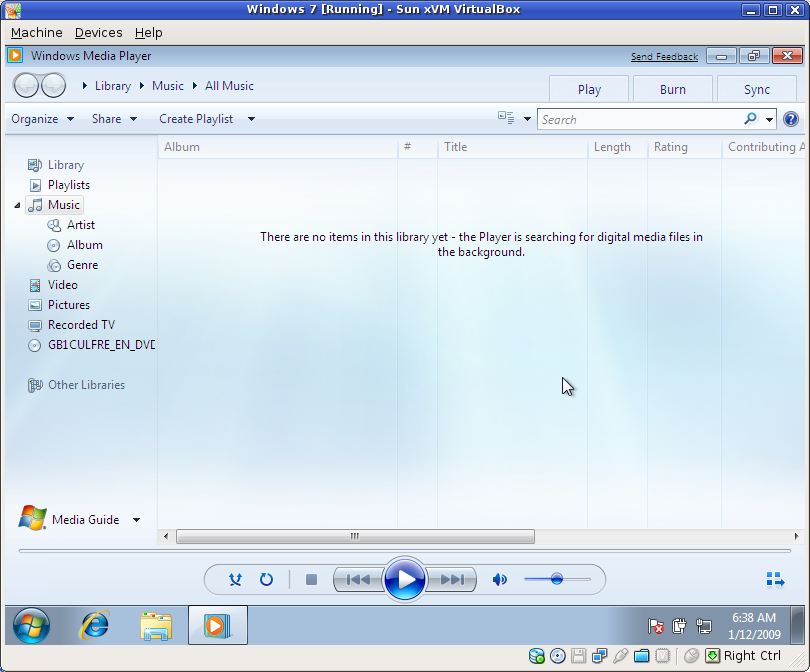
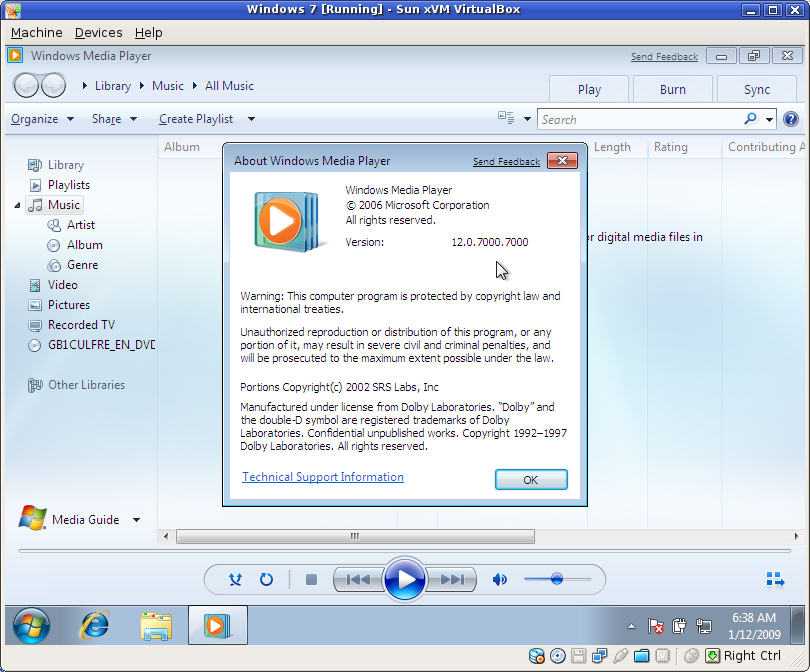
The new Windows Media Player

The new Windows Media Player.

It's version 12!

It's version 12!

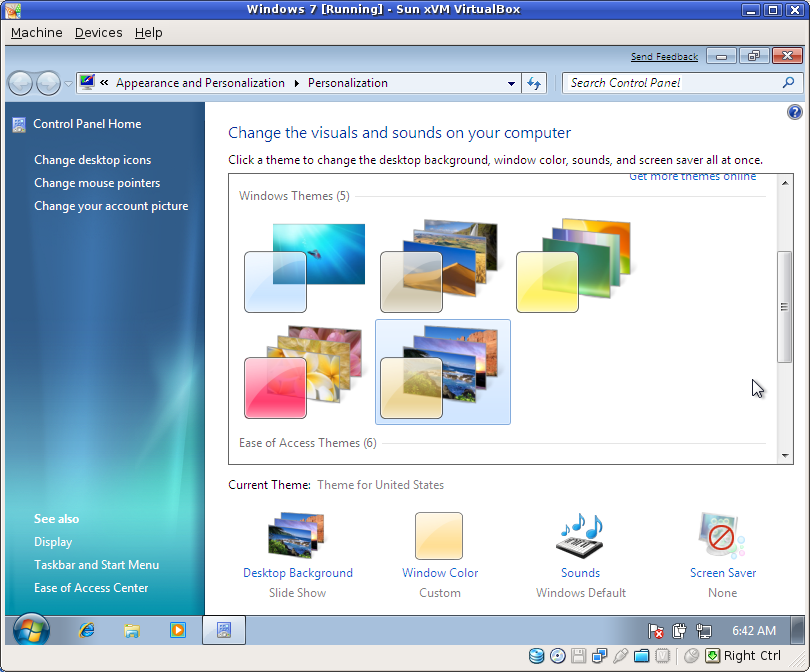
Setting your desktop theme

Setting your desktop theme.

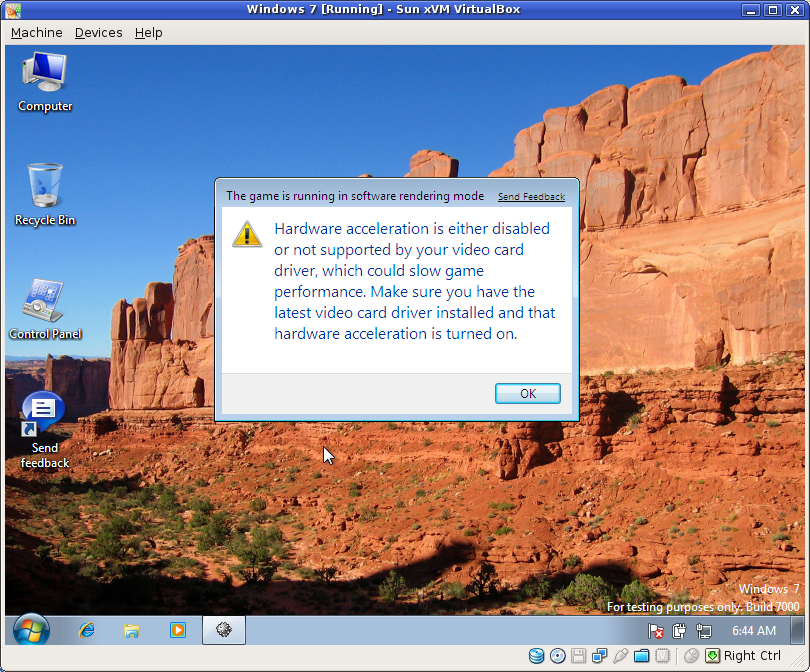
Minesweeper wants hardware accelerated graphics

Minesweeper wants hardware accelerated graphics.... why??

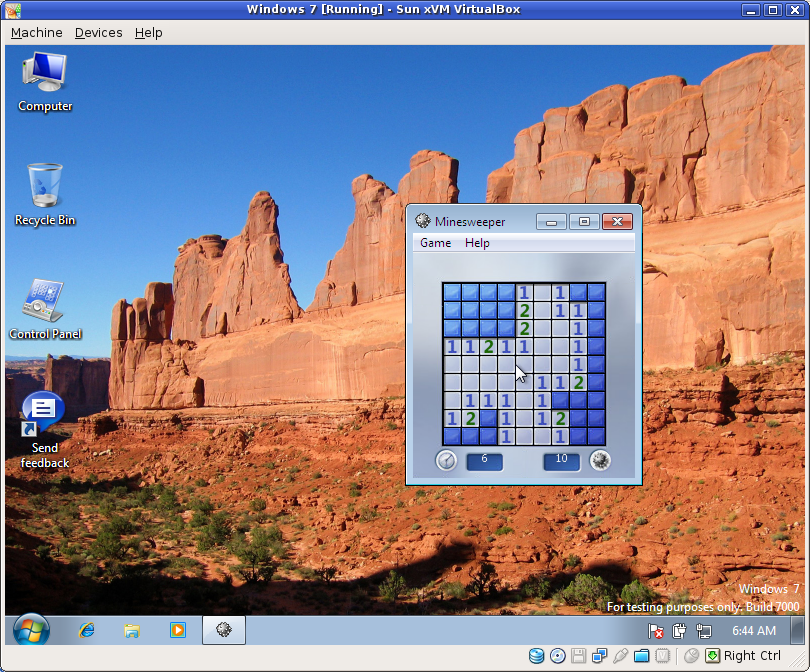
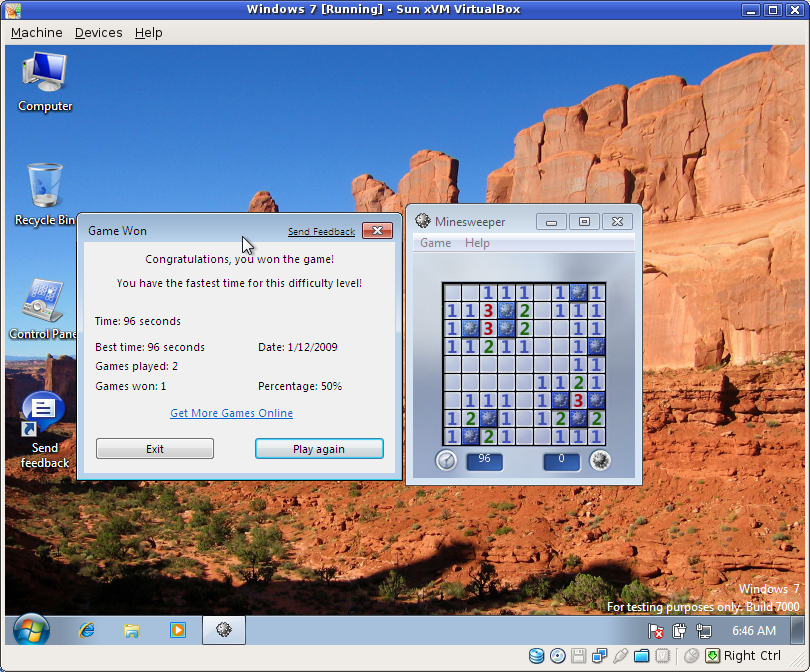
All-new Minesweeper

The all-new Minesweeper.

I won!

I won!

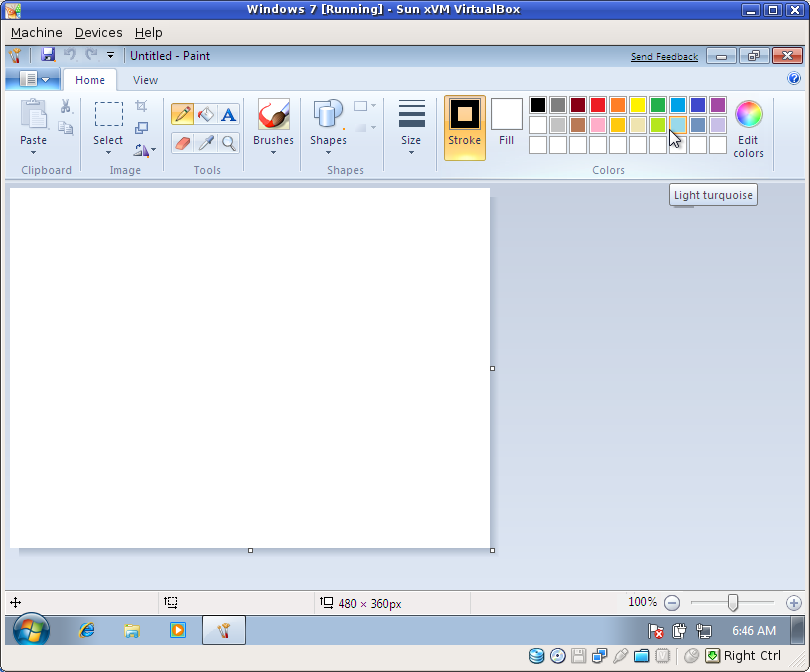
Paint

Paint. Very perty.

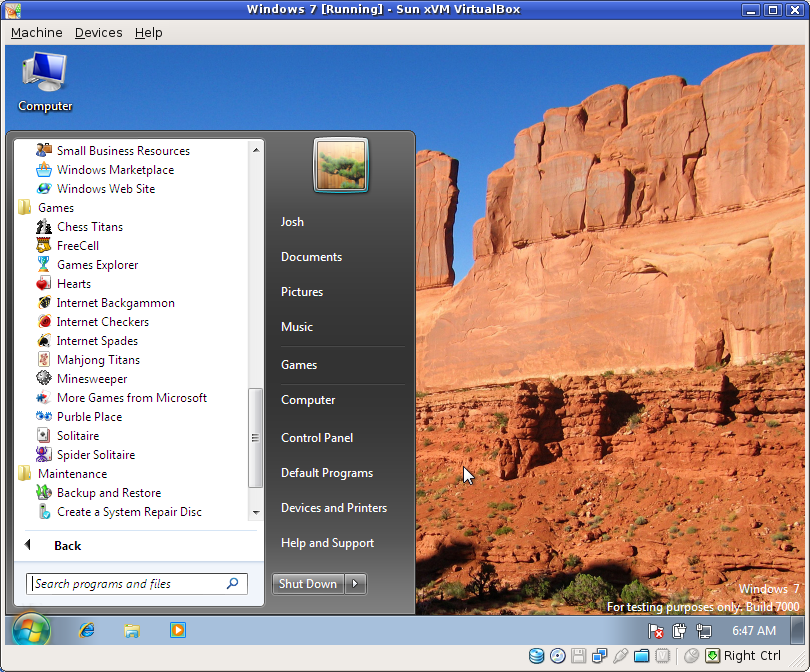
The start menu

The start menu.

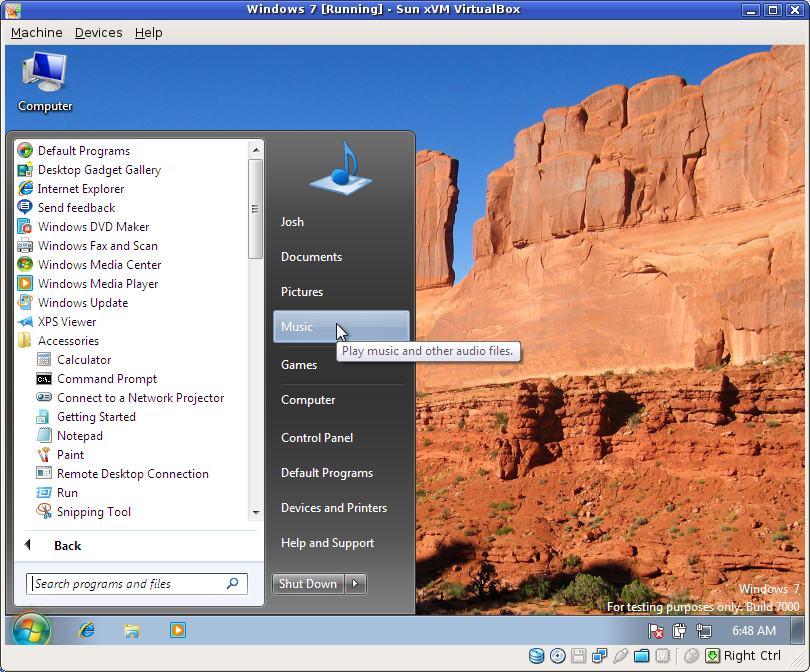
All programs in the start menu

Looking at all programs in the start menu.

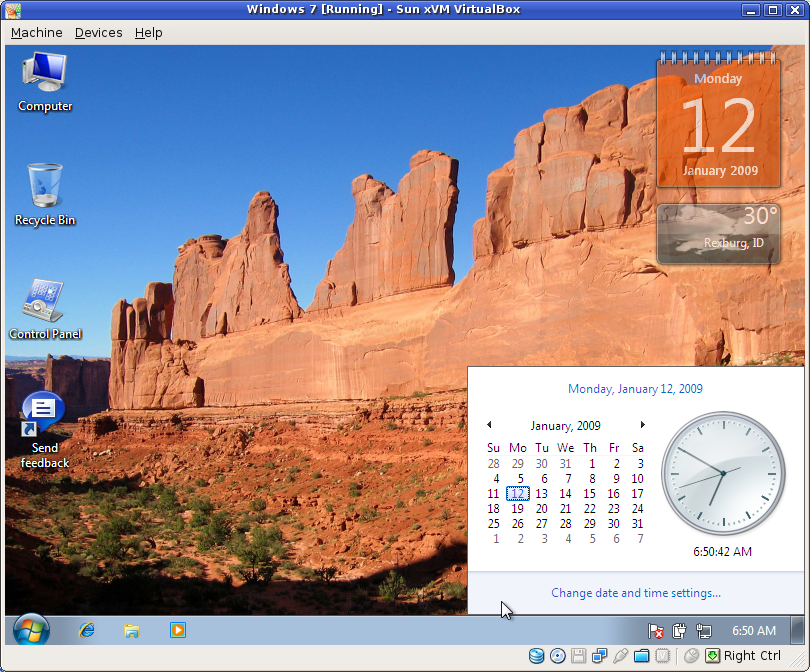
Gadgets and the clock thingy

Some desktop gadgets and the clock thingy.

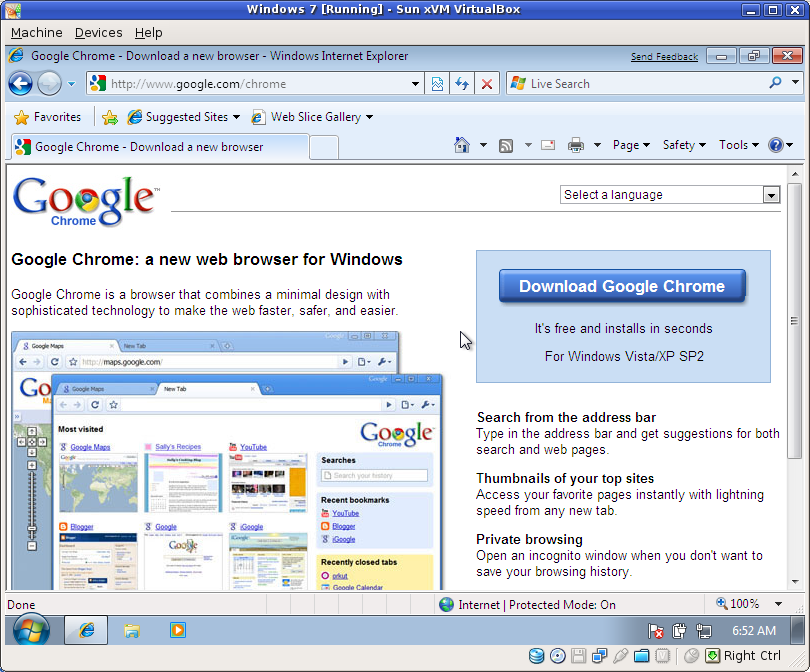
Slashdot

Slashdot in IE 8.

Chrome

Downloading Google Chrome.

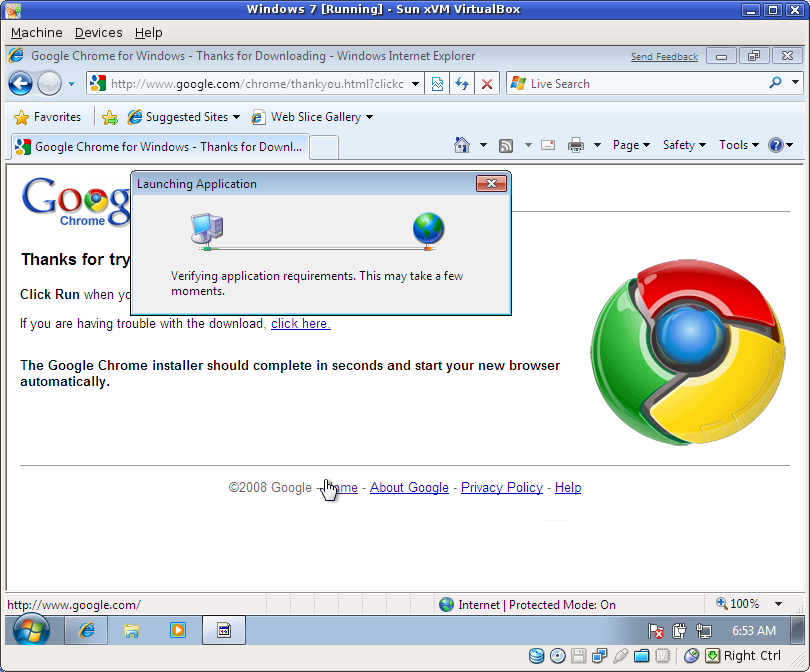
WTF?  Verifying application requirements??

What the....? Verifying application requirements??

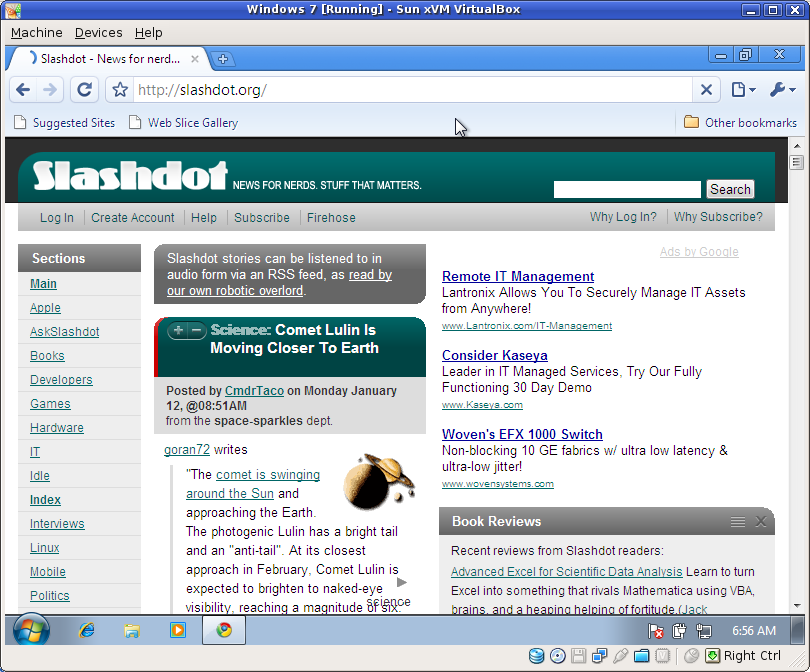
Ahh... Chrome.

Ahh... Chrome.

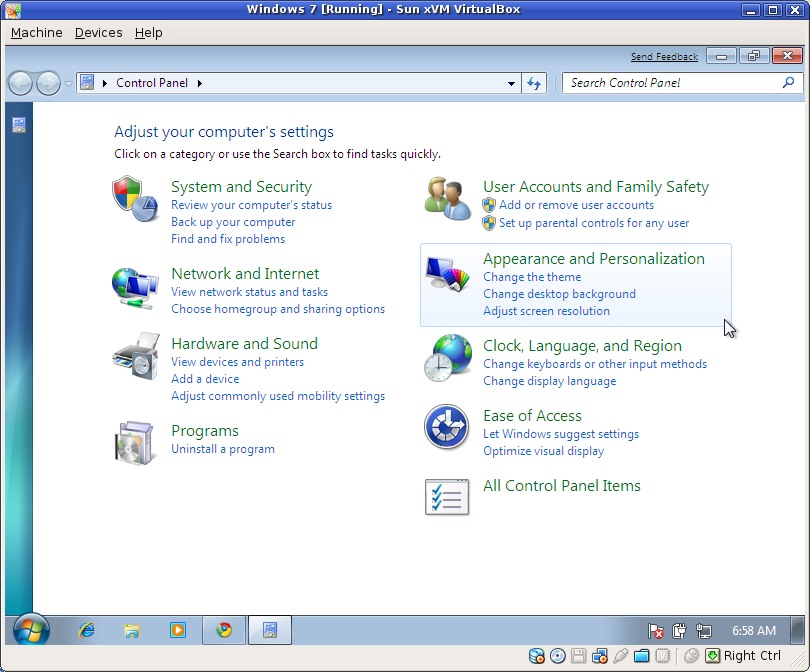
Control Panel--stupid people's version

Control Panel--stupid people's version

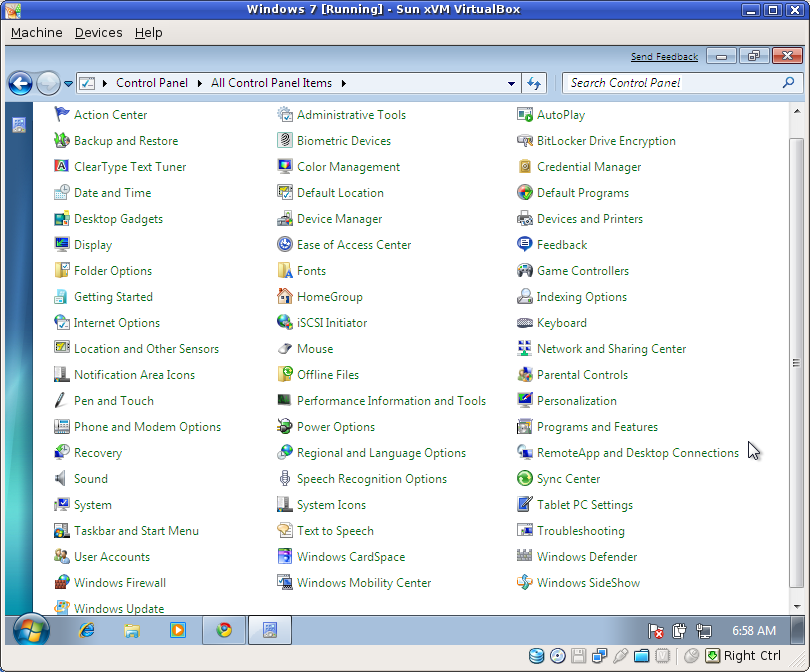
Control Panel--all options

Control Panel--all options

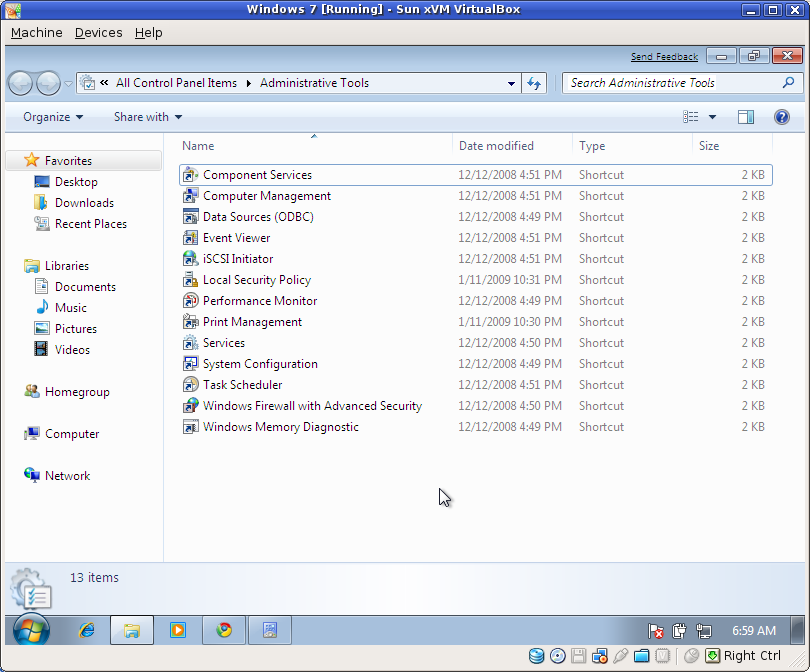
Administrative tools

Administrative tools

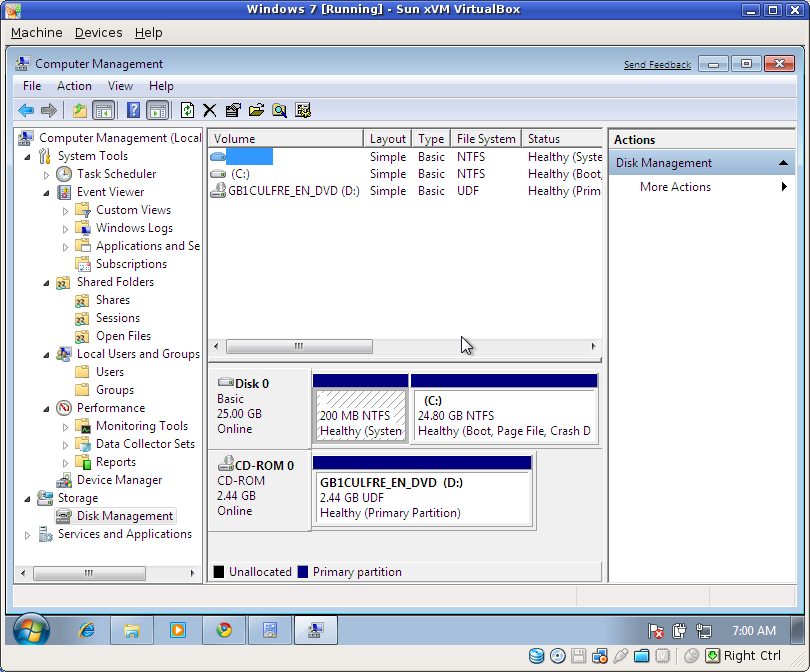
Some things never change... but what's up with the 200MB partition??

Some things never change... but what's up with the 200MB partition??

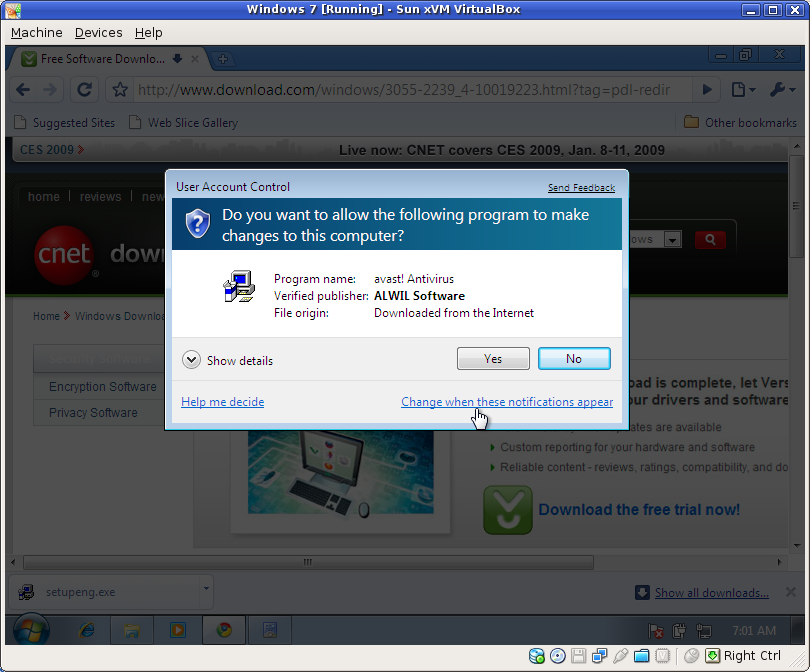
First UAC popup...

First UAC popup...

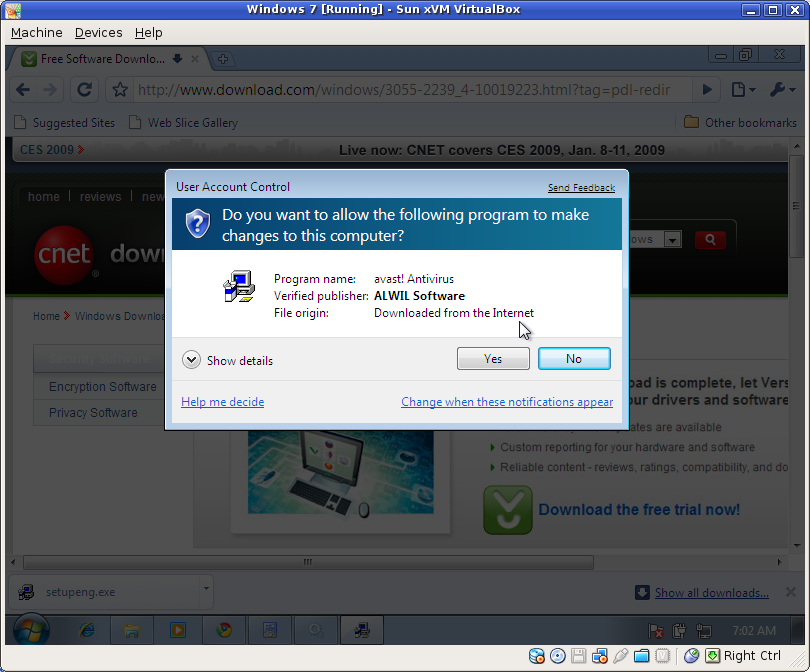
Second UAC popup...

Second UAC popup...

Installing Avast

Installing Avast Antivirus.

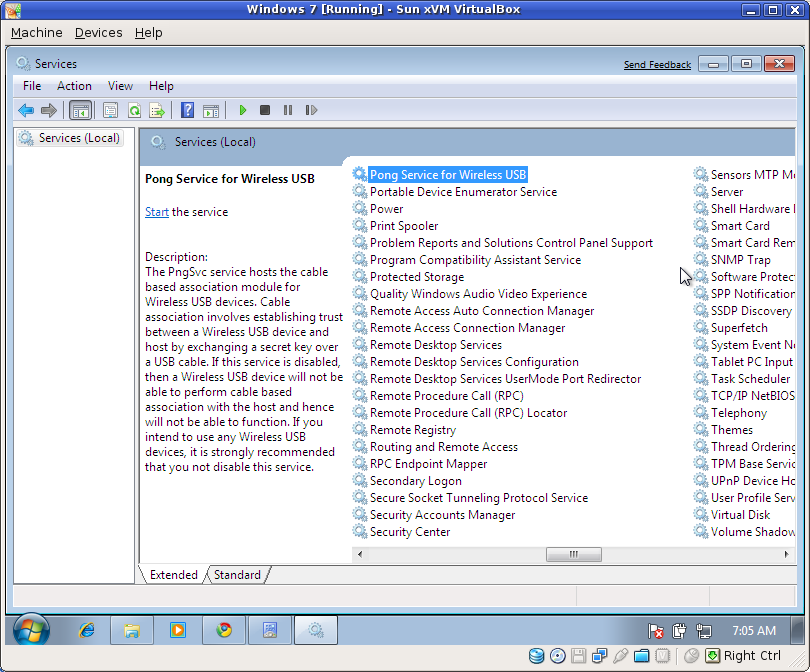
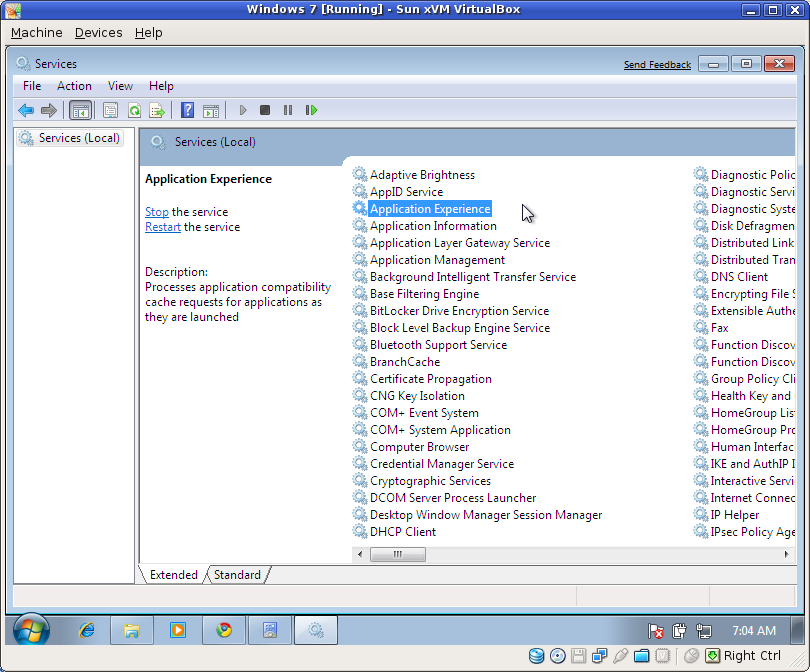
Windows services

Windows services.... there are a ton of these as usual.

Pong Service for Wireless USB??

Pong Service for Wireless USB??

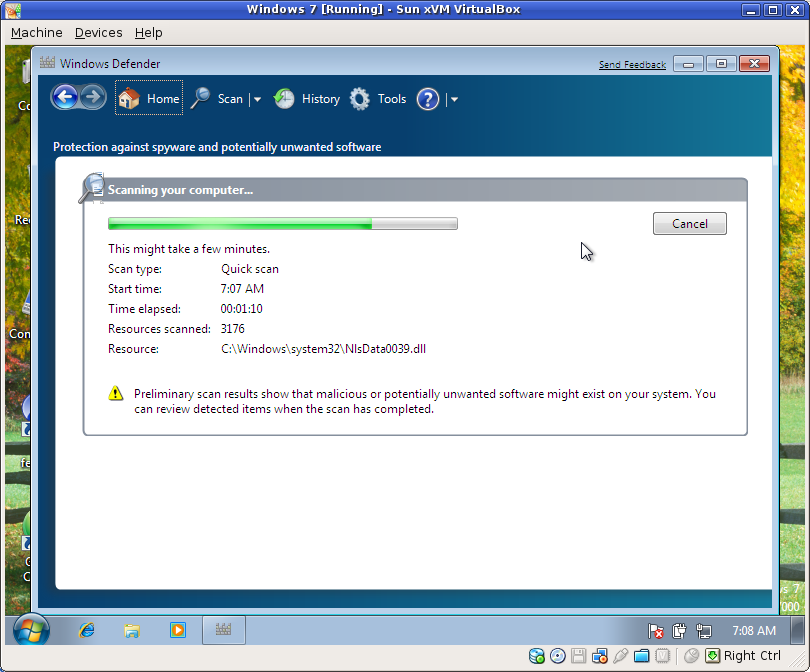
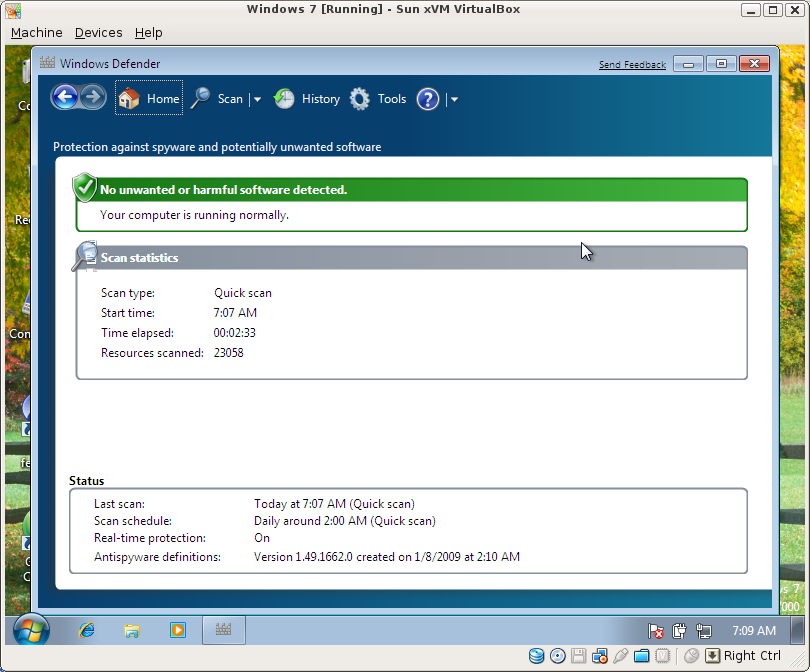
Heh... Preliminary scan results show that malicious or potentially unwanted software might exist...

Heh... Preliminary scan results show that malicious or potentially unwanted software might exist...

Oh, nevermind... we're good.

Oh, nevermind... Windows says we're good now.

Shutting down... took long enough to get a delayed screenshot.

Shutting down... took long enough to get a delayed screenshot. Could have probably shot 20 more.

Stage 1 of the sloading screen

Stage 1 of the sloading screen.

Stage 2 of the sloading screen

Stage 2 of the sloading screen.

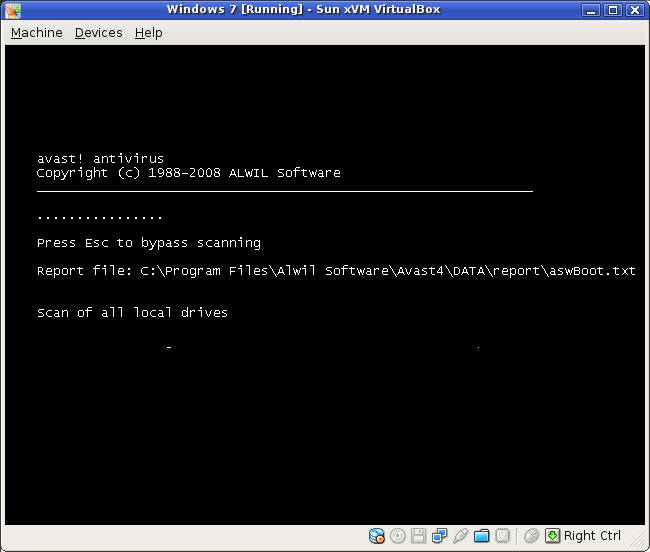
Avast has started its scan

Avast has started its scan.

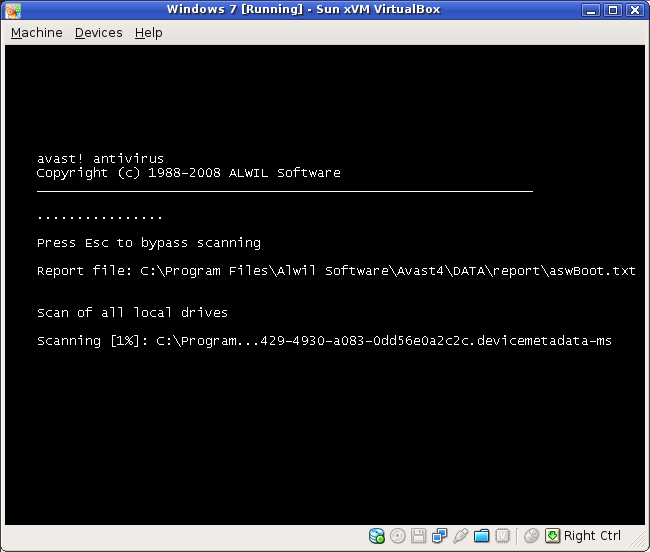
1% complete... after a few minutes!!

1% complete... after a few minutes!!

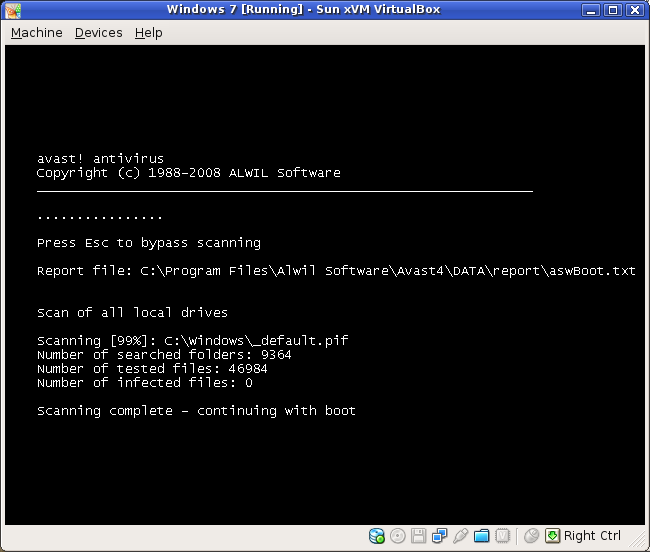
Done! after about 30 minutes...

Done! after about 30 minutes...

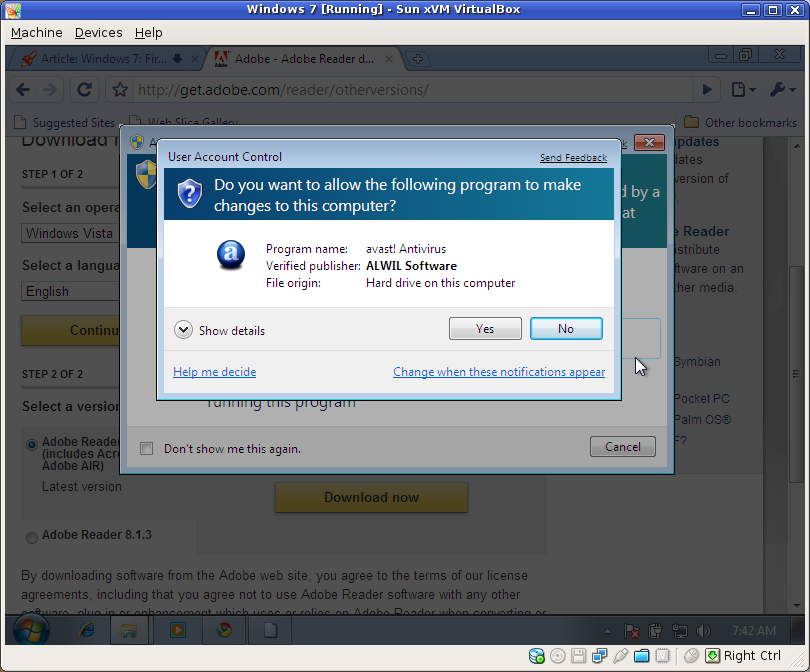
Third UAC popup...

Third UAC popup...

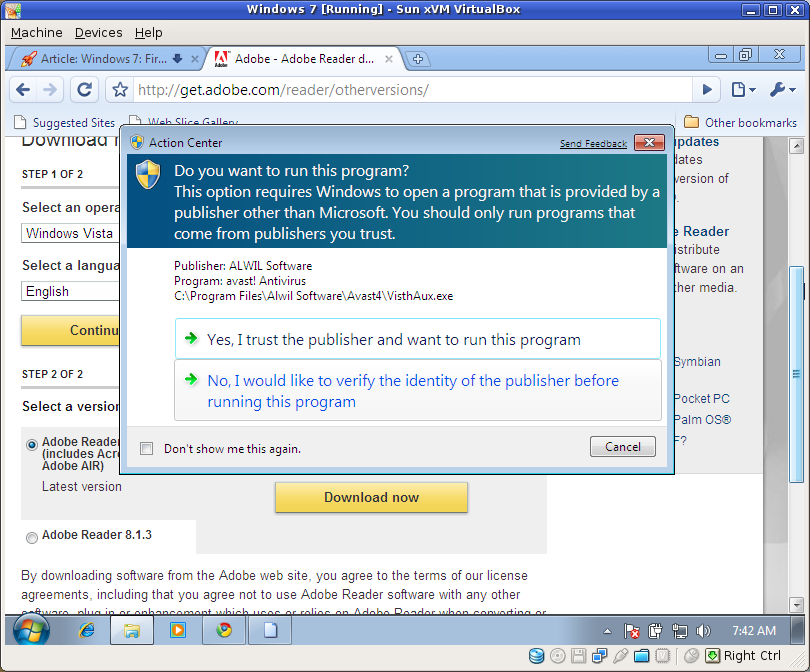
Trusted publishers?

Trusted publishers? These two screens kept coming up each time I would try to update Avast's antivirus database...

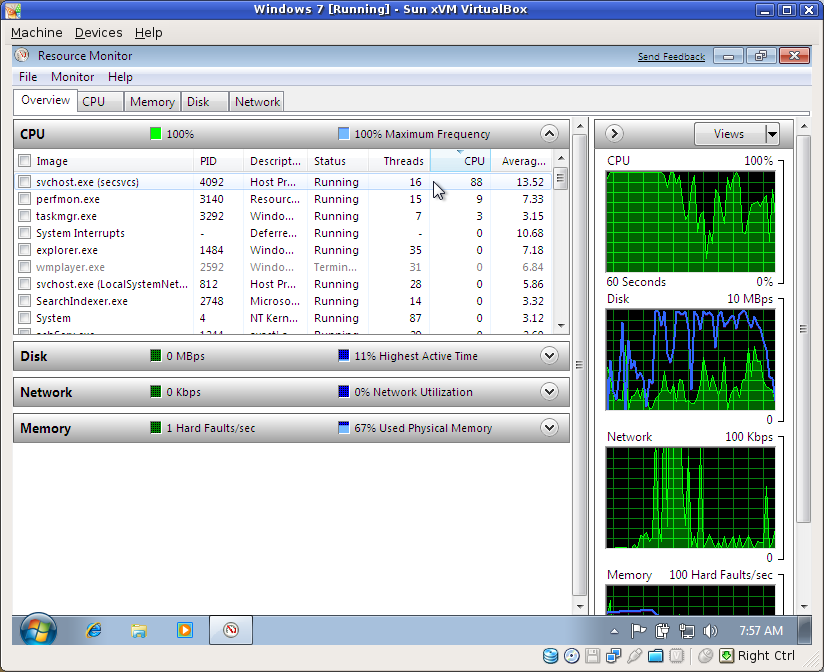
The Resource Monitor.  I was doing nothing at the time.

The Resource Monitor. I was doing nothing at the time.

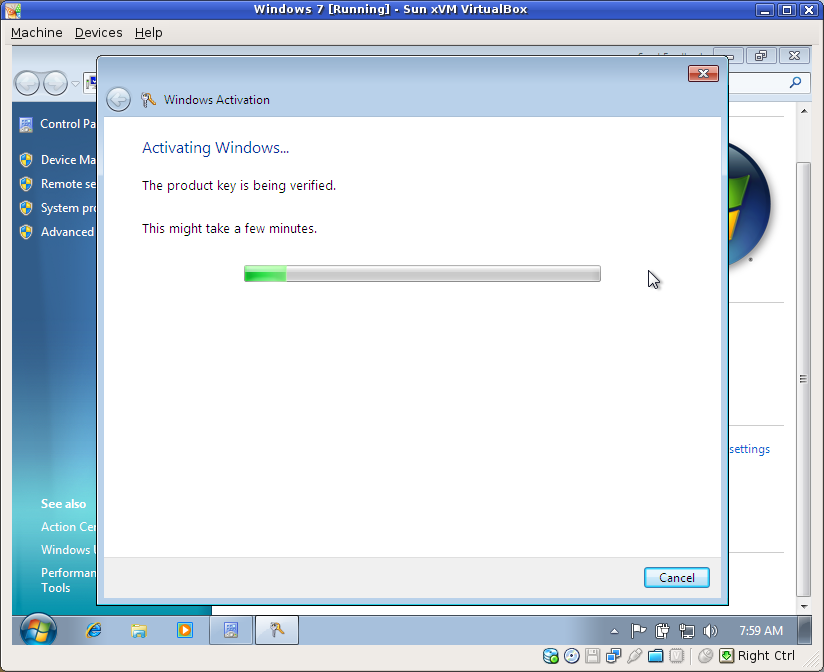
Activating my copy of Winders 7

Activating my copy of Winders 7

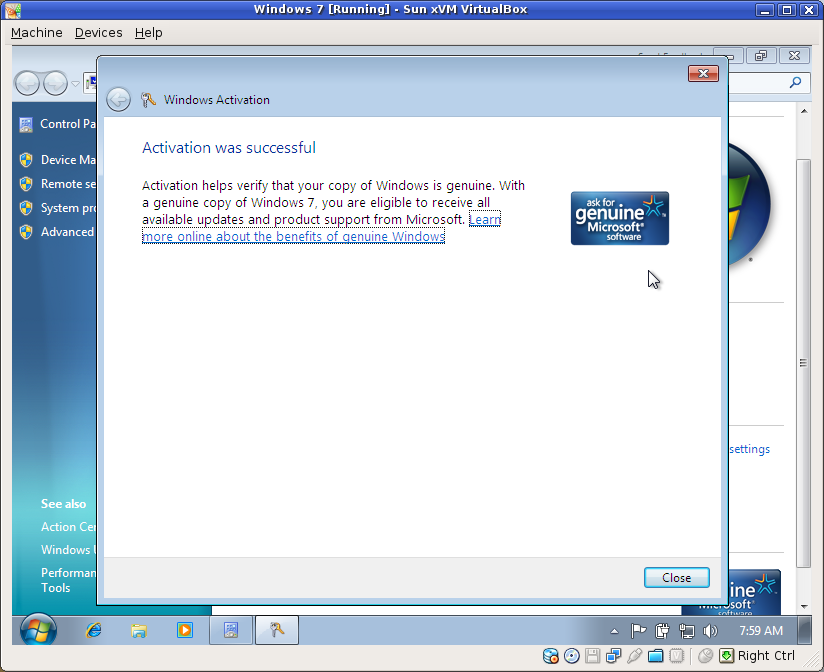
w00t.  I'm legit.

w00t. I'm legit.

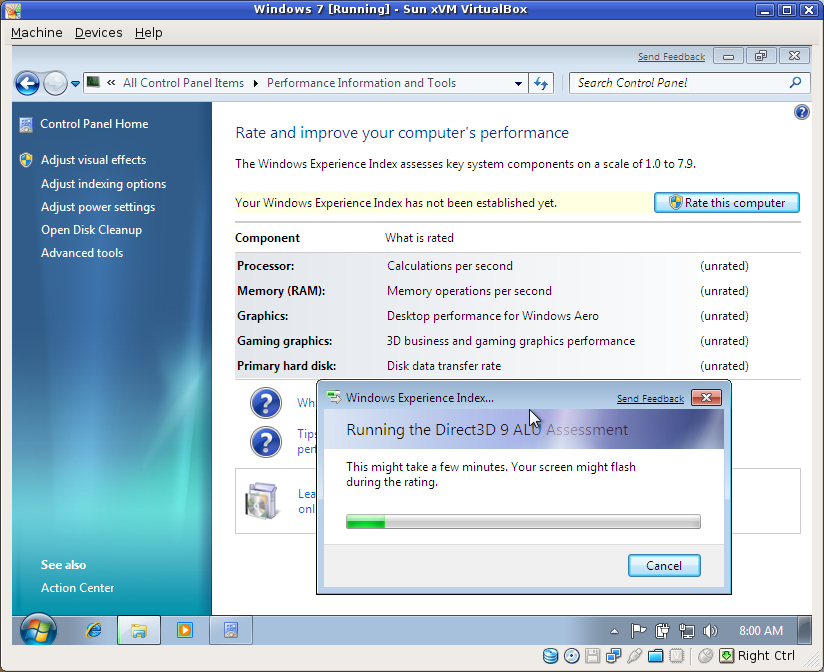
Benchmarking my system.

Benchmarking my system.

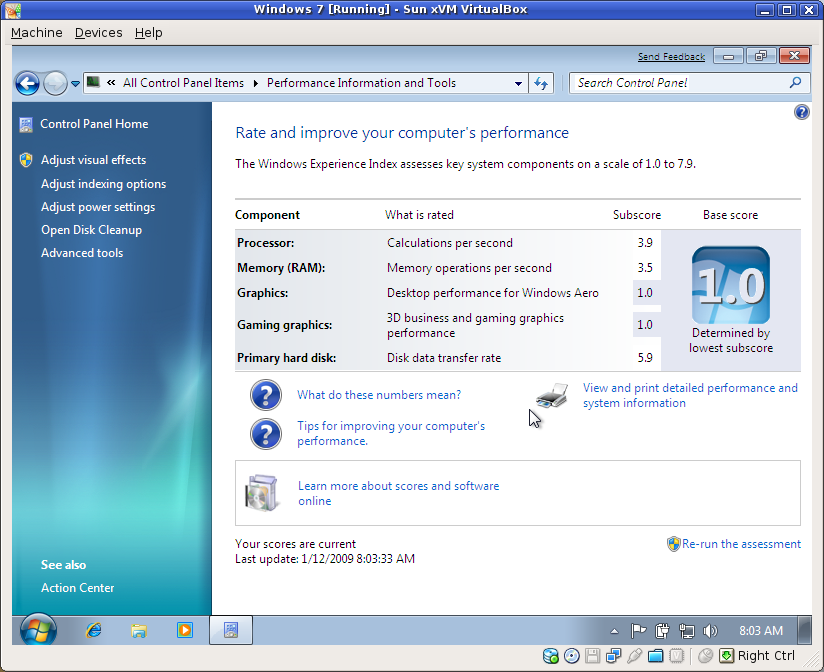
My VM ranks in at a solid 1.0!

My VM ranks in at a solid 1.0!

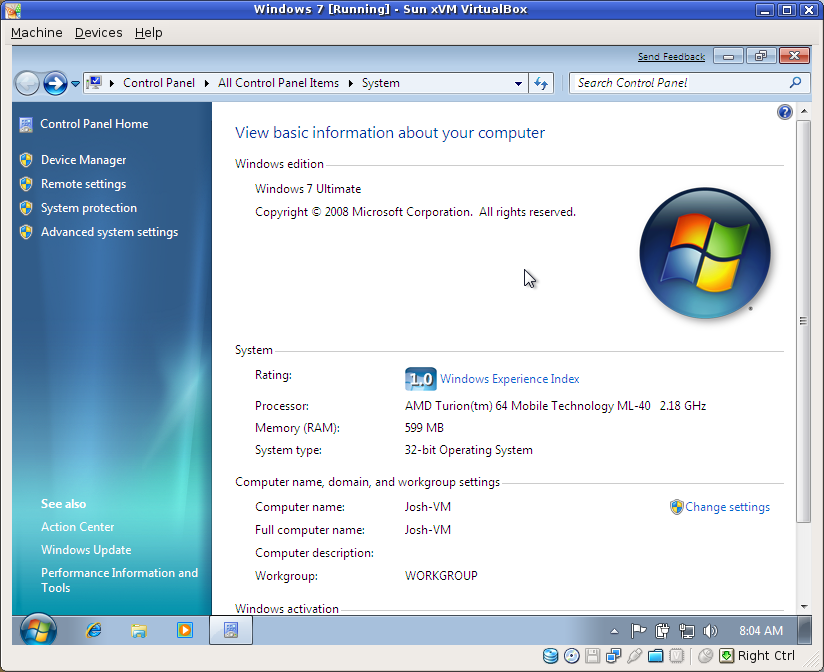
Details, details...

Details, details...

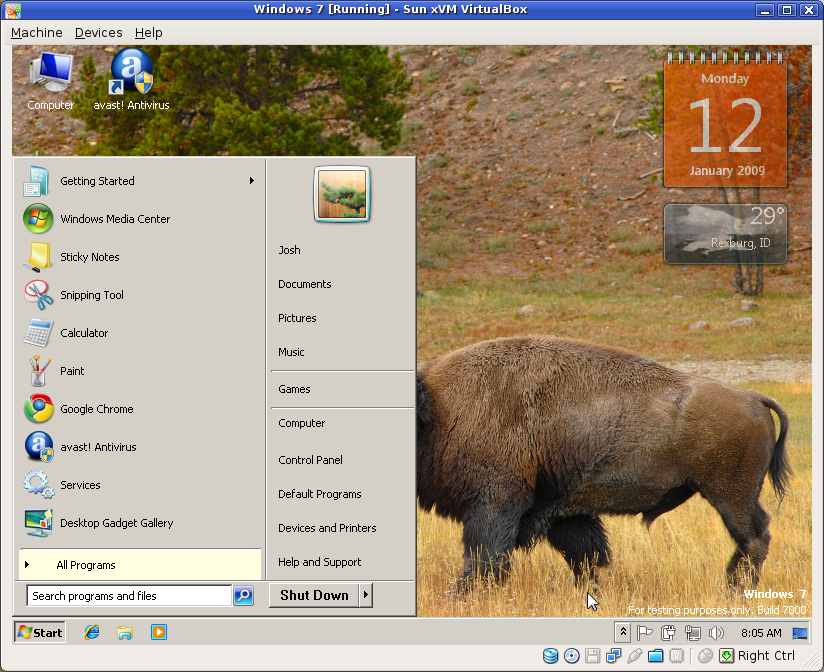
The classic Windows theme and a buffalo butt

The classic Windows theme and a buffalo butt...

Why all the games??

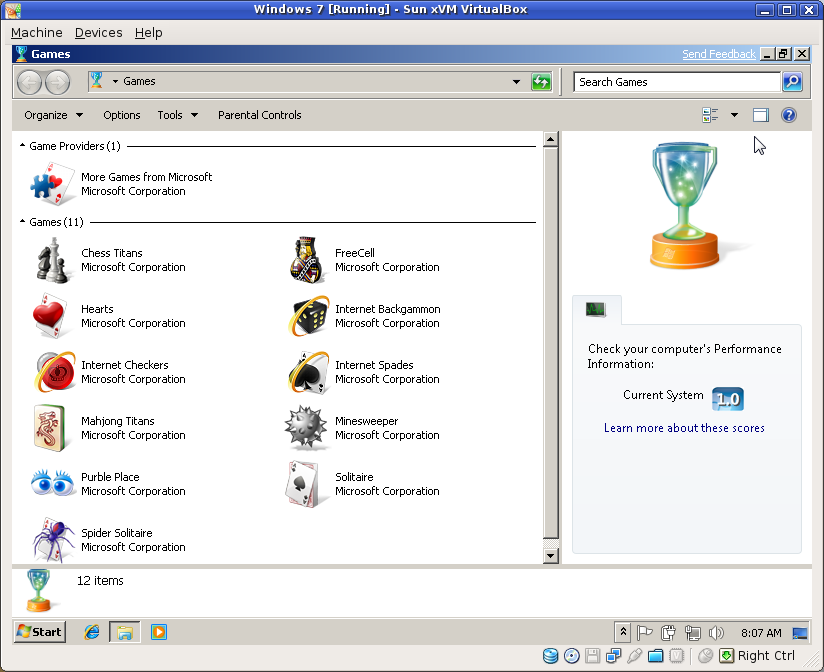
Why all the games?? Why not include something a little more productive??

Giving OpenSUSE 11.1 An Honest Chance

I've decided that if I ever want to really understand Linux, I'll have to give as many distributions as possible a chance. In the past, I've tried to use OpenSUSE on my HP Pavilion dv8000 laptop, but it never seemed quite as robust or useful as many other distributions that I've tried on the same machine.

With the recent release of OpenSUSE 11.1, I downloaded the final 32-bit DVD ISO as I normally do for newly released distributions (even if I don't plan on using them--it's an addiction). I proceeded to install the GNOME version of it in a virtual machine to see what all the hubbub was about. Evaluating an operating system within a virtual machine is not the most effective way to do things, but everything seemed fairly solid. As such, and since I have always had difficulties keeping any RPM-based distro around for any length of time, I plan on using OpenSUSE 11.1 through March 2008 (perhaps longer if it grows on me). If it hoses my system, I will go back to something better. If it works, I will learn to use and appreciate it better.

The Installation

The first step when the installation program starts is to choose what language to use, after which you choose the type of installation you're going to be doing. Your choices are:

  • New Installation
  • Update
  • Repair Installed System

You also have the option of installing "Add-On Products" from another media. At this step, I chose to do a new installation.

Next, you get to choose your time zone. The interface is very intuitive. You get a map of the world, and you click on the region you want to zoom in on. Once you're zoomed in, you can select a city that is near you to specify your time zone. Alternatively, you can choose your region and time zone from a couple of drop down lists.

After setting your time zone, you get to choose which desktop environment you want to install. Your choices are:

  • GNOME 2.24.1
  • KDE 4.1.3
  • KDE 3.5.10
  • XFCE 4.4
  • Minimal X Window
  • Minimal Server Selection (Text Mode)

I will choose to install GNOME because it seems to be the desktop of the future, especially with the hideous beast that KDE has become in the 4.x series...

Now you get to play with the partitioning. Usually the installer's first guess is pretty good, but I've got a different arrangement for my partitions, so I'm going to customize things a bit.

The next step is to create a regular, unprivileged user account for your day-to-day computing needs. This screen is pretty self-explanatory if you've ever registered for an e-mail address or installed any other operating system.

One thing that seems to have been added to OpenSUSE 11.1 is the option to use your regular user password as the root password. This is probably a nice addition for a lot of people, but I'd rather feel like my computer is a little more secure by having a different password for administrative tasks.

You're also give a few other options, such as being able to receive system mail, logging in automatically, and modifying your authentication settings. Other than the administrative password option, I left everything the same. If you're like me, and choose to have a different administrative password, you will be prompted to enter the new password at the next step.

Finally, you're shown a summary of the installation tasks that will take place. I'm going to customize my software selection just a bit so I don't have to do it manually after the installation is complete. For example, while I do like GNOME to a degree, I prefer to use KDE 3.5.x, so I will choose to install that environment as well just in case I need the comfort of KDE programs. Also, since I like to use the command line interface for a lot of things, I will choose to install the "Console Tools" package, just because it sounds useful. Lastly, I will choose to install a few development packages, such as C/C++, Java, Python, and Tcl/Tk. These changes bumped up my installation size from about 2.8GB to just over 4GB.

After reviewing the remaining tasks, all you need to do is hit the "Install" button. You will be prompted to verify your desire to install OpenSUSE, after which the package installation will begin. While the installation is taking place, you have the option of watching a brain-washing slideshow, viewing the installation details as it progresses, or reading the release notes.

The actual installation took nearly 40 minutes on my laptop. While this isn't necessarily a great improvement over past releases, I'm sure the story would have been much different had I not customized the software I wanted to have installed. The introduction of installation images a few releases ago drastically improved installation times. If you don't customize your package selection, you'll probably notice the speed difference.

When all of the packages have been installed, the installation program begins to configure your newly installed OpenSUSE for your computer, with a "reboot" in between. This is when all of your hardware, such as your network adapters, graphics adapter, sound card, printers, etc are probed and configured. Strangely enough, this step seems to take a lot longer than it does in Windows, which is usually not the case with Linux. What is OpenSUSE up to I wonder?

When all is said and done, the installation program finishes on its own and loads up your desktop.

Annoyances

There are a couple things that really annoyed me right off the bat about OpenSUSE 11.1. The first was that the loading screen and installation program didn't use my laptop's native resolution. My screen is capable of 1680x1050. The installation program chopped off about 1.25 inches of screen real estate on either side of the program. I don't know if this was an intentional occurrence or not. It seems like the artwork in the installation may have been limited to a non-widescreen resolution. If so, that's completely retarded. I'd like to think that more computer users these days have a widescreen monitor than not, at least the ones who would be playing with Linux.

The second annoyance was that the installation program wouldn't use my external USB DVD drive, which I like to think more reliable than my internal DVD drive. I mean, everything would start up fine--I got the boot menu, the installation program loaded fine, and things seemed like they would work. That's up until the package repositories (the DVD) were being built. Then the USB drive just kept spinning and spinning. Once I popped the disc into my internal drive the program proceeded as expected.

Your Desktop

I thought it was interesting that I chose to install GNOME, but since I chose to install KDE 3.5.10 alongside it that's what it booted me into after the installation was completed. No real complaints, though, since I prefer KDE anyway. Nonetheless, I switched back to GNOME to stretch my limits all the more. At least the desktop took up the full resolution that my screen can handle, unlike the installation program and boot screen.

Things seem fairly responsive... nothing like Slackware though. I just received a little popup notification with an excuse for the lag I might be experiencing: the daily indexing has commenced and should be finished soon. Whatever it's up to, it's taking up a consistent 100% of my CPU. How nice. I hope whatever it's indexing ends up being useful.

Sound worked right from the get-go, which is nice. Hardware acceleration for my Radeon Xpress 200M doesn't work, nor does my Broadcom wireless card. These will be fixed soon.

The Wireless

It looks like the most important step in getting my wireless to work was executing these commands as root:

/usr/sbin/install_bcm43xx_firmware
modprobe b43

I did a lot of stuff to try to get my wireless to work before I executed those commands, but nothing did the trick until I tried them. Also, to make the wireless available each time you reboot without requiring the modprobe b43 command, you need to edit your sysconfig.

To do that, open up YaST and find the "/etc/sysconfig Editor" option. Expand the "System" node, and navigate to Kernel > MODULES_LOADED_ON_BOOT. Then put b43 in the value box. Apply the changes. The next time you reboot your computer, the wireless should be available from the get-go.

The Video Card

This section only really applies to folks with ATI graphics adapters.

I found a tutorial on ubuntuforums.org, strangely enough, which described the process for getting ATI drivers to work on OpenSUSE 11.1. The first step is to download the official ATI drivers for Linux. Each of these commands should be executed as root:

wget https://a248.e.akamai.net/f/674/9206/0/www2.ati.com/drivers/\
linux/ati-driver-installer-8-12-x86.x86_64.run

Next, you need to download the kernel source and ensure that you have a few other utilities required for compiling a kernel module:

zypper in kernel-source gcc make patch

Now you should be able to run through the ATI driver installation utility, accepting all of the defaults:

sh ati-driver-installer-8-12-x86.x86_64.run

If you're on 64-bit OpenSUSE, you need to take an extra step to make the driver available:

rm /usr/lib/dri/fglrx_dri.so && ln -s /usr/lib64/dri/fglrx_dri.so \
/usr/lib/dri/fglrx_dri.so

Backup your existing xorg.conf configuration file and configure Xorg to use the new driver:

cp /etc/X11/xorg.conf /etc/X11/xorg.conf.orig
aticonfig --initial -f

Finally, configure Sax2 with the ATI driver:

sax2 -r -m 0=fglrx

Upon rebooting your computer, you should be able to use the hardware-accelerated 3D capabilities of your ATI card. To verify that things are up and running, execute fglrxinfo as a normal user. This command renders the following output on my system:

display: :0.0  screen: 0
OpenGL vendor string: ATI Technologies Inc.
OpenGL renderer string: ATI Radeon Xpress Series
OpenGL version string: 2.1.8304 Release

Other Thoughts

After having played with OpenSUSE 11.1 for a couple hours, I think I might be able to keep it around for a little while. Despite the lack of speed exhibited by other Linux distributions, the "stability" that OpenSUSE seems to offer is attractive to me. It will likely take some time to get used to RPMs over DEBs for package management.

How bad can it be? I mean, it comes with OpenOffice 3.0.0, which is nice. It can handle dual-head mode on my laptop thanks to Xinerama, which no other distro to date has been able to do. This gives me a little more screen real estate to work with, which helps out a lot when I'm developing a Web site or working in an IDE. The package managers are slow, but how often do you really install software anyway?

Again, we'll just have to see how things pan out. Let's hope it turns out to be a positive experience.

openSUSE 11.0: Round 2

Ok, ok... I decided to give openSUSE 11.0 another shot. Since my last blog post, I have read some reviews posted by some other people who encountered similar problems when attempting to actually use KDE4. Some of these people opted to install the KDE 3.5.9 remix after that and had more promising result. So, instead of letting my bias get the best of me, I am going to try openSUSE 11.0 one more time using KDE3. The following are the steps I took while going through this process:

  1. Booted from DVD (openSUSE 11.0 x86_64)

  2. Chose "Installation" from the boot menu

  3. After the installer is completely loaded, I selected "English (US)" for both the language and the keyboard layout, read the license agreement, checked the "I Agree to the License Terms" box, and clicked Next.

  4. I waited for a few seconds while the installer probed my hardware and updated some package lists, then I chose "New Installation" and clicked Next.

  5. The next step was to choose my timezone. They have a very simple interface for this--much less frustrating than the counterpart in the most recent release of Ubuntu (8.04 LTS). My system clock is set to Mountain time, so I left that stuff alone and clicked Next.

  6. This step is probably where I screwed up the most last time. It's where you choose which desktop environment you want. You can choose from GNOME 2.22, KDE 4.0, KDE 3.5, and XFCE Deskop. Last time I chose KDE 4.0. This time I chose KDE 3.5 and clicked Next.

  7. After choosing the desktop environment, the installer took me to the disk partition section of the installation. This should be pretty easy for most people, but I changed a few things. Namely, I put the root and home partitions together, and I deleted one of my Windows partitions because Windows is stupid and bloated. Once I verified the disk partition settings, I clicked Next.

  8. This part is where you get to enter the primary system user's information. You can specify the user's name, login, and password. You may also specify a few options including whether or not the root user will have the same password, whether that user will receive system mail, and whether or not that user will be logged in automatically. If you need to, you may change the authentication settings here too. I just entered the information and got on with it. (If you uncheck the box for the root user having the same password, you're prompted for the root password after this screen)

  9. Finally, we get to the step where you get to verify all of the installation settings. I think I'll just go with the configuration for now. When you click Install, you're prompted to verify that you really want to install. Use your head on this one.

  10. After all of that, it began to format my partitions. One neat thing that I noticed while it was installing was the fact that they rolled commonly-installed packages into what they call "images." This seems to increase installation speed considerably. In the past, I've had most RPM-based distribution installations take as long as (or longer than) Windows takes to install. Granted, the difference there is that you actually get useful stuff once Linux is installed, whereas with Windows, you're stuck with something barely usable and you still have to install drivers for every piece of hardware except your monitor.

    Anyway... the openSUSE folks seem to have addressed that problem recently (maybe just in this release). This went a LOT faster than I've ever seen (on any computer). Despite the use of those images, though, there were still nearly 500 packages that needed to be installed. It seems to be quite evident that the packages are working faster than ever before. It's refreshing (though it did still take quite a bit longer to install than most Debian-based distributions I've tried).

  11. After all of the packages are installed, the system does some configuration and then reboots itself. When it comes back up, the installer will appear, do some more hardware detection and configuration, and then go straight into your desktop.

openSUSE actually didn't detect my 1680x1050 resolution (I didn't know any modern distribution wouldn't anymore), so I just went into YaST and set the resolution to what it should be. And then it locked up, and I had to do a hard reboot. Let's hope I can stop that from happening again. I suppose so long as I can still see things other than my mouse, I should be good.

Upon rebooting into my desktop, the resolution was still crappy. When I went to change it this time, though, I noticed that dual-head mode was enabled. That's stupid. I never plug a second monitor into my laptop. I disabled that, then tried to change the resolution. After logging out and back in, it seems to have changed the resolution properly. While I realize that I do have an extremely crappy video card, Ubuntu and others have been able to offer me 3D acceleration. This option is currently unavailable with openSUSE. Perhaps a little research will solve that problem.

After a few minutes of configuration and preference setting, my system locked up yet again. And another hard reset did the trick of getting it operational again. One more and it's outta here!! I do have to say... Minus the quirks with the resolution and drivers, the distribution does not seem bad at all. It might be worth trying out on a different computer--maybe I'd have better luck.

Alright, now I'm going to check the software management tool for a real driver for my video card. Looks like I may have found some. I hope they work. I'm using a "1-click installer" that I found from a Google search. The installation went fine, but after logging out and back in (to have the drivers take effect), it locked up again.

So, round two folks. Again, it might just be user error. It might just be my computer. Or openSUSE really might just suck. I don't think I'll be trying it on my computer again for a while. I might try on a different system altogether, but not on my main laptop.