2Ze.us Updates

There has been quite a bit of recent activity in my 2ze.us project since I first released it nearly a year ago. My intent was not to become a competitor with bit.ly, is.gd, or anyone else in the URL-shortening arena. I created the site as a way for me to learn more about Google's AppEngine. It didn't take very long to get it up and running, and it seemed to work fairly well.

AppEngine and Extensions

I was able to basically leave the site alone on AppEngine for several months--through about September 2009. In that time, I came up with a Firefox extension to make its use more convenient.

The extension allows you to quickly get a shortened URL for the page you're currently looking at, and a couple of context menu items let you get a short URL for things like specific images on a page. Also included in the extension is a preview for 2ze.us links. The preview can tell you the title and domain of the link's target. It can tell you how much smaller the 2ze.us URL is compared to the full URL. Finally, it displays how many times that particular 2ze.us link has been clicked.

That as all fine and dandy. It was the second Firefox extension I had ever written, and it's still running strong. In June or July of 2009, I started working on a little program to make it easier for me to interact with Twitter the way I wanted to. This was a great opportunity for me to incorporate 2ze.us into the application so any URL I wanted to post to Twitter would automatically be shortened for me, using my own shortener.

Porting to WebFaction And PHP

Anyway, around the end of September 2009, I noticed that there were a lot of problems with 2ze.us. It was slow and sometimes completely unresponsive. Certain URLs would redirect to their full URLs, while others wouldn't. The Firefox extension stopped working nicely. Oh yeah, and AppEngine rolled back to a previous revision of the code without me telling it to. That's when everything just died. It didn't take long for me to decide to migrate my project from AppEngine onto my awesome WebFaction hosting.

At this point, I was faced with a small dilemma: keep the code in Python, or port it to PHP. I opted to port it over to PHP, because I didn't want all of the overhead of a full Django instance for a site that needed to be very zippy. And I was unacquainted with other Python options.

By early October 2009, I had managed to turn the project into a PHP beast, running on Apache. It was a lot more responsive than AppEngine ever let 2ze.us be. There were a few bumps along the road, what with the extension and Twitter client relying on various parts of the site. Eventually it got to a point where I could just let it sit and work.

Chromium Extension

Sometime around the end of December, I decided to write another extension for 2ze.us, only for Google Chrome and Chromium this time. This extension isn't quite as feature-packed as its Firefox brother, but it gets the job done.

Clip2Zeus

Shortly after "completing" the Chromium extension, I had what seemed like a pretty original idea. Who knows if it really is, but I still haven't seen another tool quite like the one that I made as a result of this idea. I thought, "Now, why should I need to install an extension in each Web browser I use on each computer I use? Is there a better way?"

The answer came quickly: a standalone, desktop application. Write one program that handles shortening URLs for you. My laziness told me to make a program that monitors your system clipboard for URLs. If a URL is detected, try to shorten it, and update the clipboard contents in place. Boom. Done. All extensions become useless beyond things like the URL preview (which is very useful, imo).

The next question I asked was, "Do I make it platform-dependent? Should I stick it to the majority of computer users and write my tool for Linux only? For OSX only? For, uh... Windows only?" Again, an easy question to answer. Support them all or don't even bother writing the application.

A week's worth of midnight hacking saw the birth of Clip2Zeus 1.0a. It's a cross-platform compatible desktop application that does exactly what I just mentioned. When it's running and detects a URL on your system clipboard, it will try to shorten it and update it in your clipboard. If you copy a block of text, the application will only modify the URLs in that block of text--meaning the block of text will still be in your clipboard, but it will have shorter URLs.

I use the program every day at work (on OSX). It's been very fun for me to see a short URL any time I copy a nasty URL to my clipboard. Imagine that; I'm a big fan of my own work...

Tornado

Lately, I've noticed that the site was getting kind of slow again. Sometimes it would take several seconds for Clip2Zeus to shorten URLs in my clipboard, when it was normally instantaneous. Every once in a while, Clip2Zeus would completely fail to connect to the website.

One of my friends has asked me a lot of questions about the Tornado framework in the past months. I had read a few things about Tornado when it was open-sourced last year, but I didn't really feel the need to dabble with it. These questions prompted me to tinker a little.

Last night I re-ported 2ze.us to Python, using the Tornado framework this time. So far I'm very impressed with its responsiveness. The framework offers a lot of neat little utilities, and it is very fast (as reported by dozens of other reputable sources).

On top of the speed increase that came with the transition to Tornado, my RAM usage on WebFaction has come down by nearly 100MB. Just by turning off the one Apache-backed website. Now I'm nowhere near my RAM cap! Wahoo!!

Enough rambling. Like I said at the beginning of this article, a lot has been happening with this project in the past year. I didn't even think about all of the time I put into projects related to my simple little side project. Looking back, I'm quite satisfied with how things have unfolded.

Statistics

Here are some simple statistics for 2ze.us. Since March 2009...

  • 5,252 URLs have been shortened using 2ze.us
  • 2ze.us links have been clicked 198,267 times
  • 315,951 URL characters have been turned into 11,532 characters

In April 2009...

  • 217 URLs were shortened
  • 2ze.us links were clicked 617 times

In February 2010...

  • 1,182 URLs were shortened
  • 2ze.us links were clicked 32,830 times

Not too shabby for a side project.

Monitor Multiple Remote Files Using Multitail

There comes a time in each of our individual lives that we just learn to love log files. We learn to love utilities like tail and grep as we pore over countless lines of information, seeking out the stuff that really matters. We like to show off our debugging prowess as innocent bystanders look on in absolute wonderment.

While that's all fine and dandy, I'm always on the lookout for utilities to make my log monitoring less painful. A few weeks ago, my supervisor introduced me to a program that he's been using for quite some time: multitail. In essence, it's tail with some really neat features, such as the ability to:

  • "tail" multiple files (or commands, like netstat) independently in the same terminal
  • highlight text using regular expressions
  • search log messages and see only the matching lines
  • merge multiple files into one log window
  • scrolling back in the history of a log file
  • highlighting "themes"

I've been using multitail for a couple of weeks now (it took me a while to warm up to it after my supervisor introduce it), and I'm quite satisfied with it. One thing I really, really like about multitail is that I can kinda sorta almost monitor multiple remote files. What does that mean, you ask?

Well, my development environment includes at least 5 virtual machines, each of which will be logging different but equally important information. I want to be able to "tail" a specific log file on each of the virtual machines in one window. Now, it took me a while to learn how to do this, which is why I'm sharing the information with you.

And here comes my usual disclaimer: this may not be the most efficient way to do what I want to do, but it's currently working for me. I'm open to other solutions too!

Anyway, I can run a command like the following to monitor multiple remote log files:

multitail -l 'ssh user@host1 "tail -f /path/to/log/file"' -l 'ssh user@host2 "tail -f /path/to/log/file"'

Such a command would ssh into two computers, host1 and host2, and run tail -f /path/to/log/file on each. Multitail allows you to monitor the output of both tail commands in a single window, reducing clutter on your desktop. You can also arrange the files/commands you're "tailing" into various rows and columns. I tend to have a 2x2 grid of log files when I use multitail at work.

I've also started using multitail to monitor the access and error logs for my Django sites on WebFaction. I simply ssh into my account, run an alias for a ridiculous multitail command, and watch as both log files scroll on by.

Again, this is just another aspect of my work environment that is fun and useful to me, and I wanted to spread the joy. Multitail may or may not be a utility you like to use, but it suits my current needs and desires quite well. YMMV. And, once again, I'm always on the look-out for other tools to make my work life more interesting and productive!

Afloat: Window Management For OSX

Today I wanted to be able to watch the PyCon Live Stream while using OS X at work. A quick Google search returned an awesome program: Afloat. It lets me change the window settings for just about any OS X application. Right now I've got the live feed just lingering there in the background, pinned to my desktop. Loving it!

How I Have A Mobile & Desktop Site With Django

Part of the latest version of my site included the deployment of a mobile-friendly site. Up until recently, I hadn't even attempted to create a mobile site because I thought it would take more time than it was worth. I wanted something beyond just using CSS to hide certain elements on the page. I wanted to be able to break down the content of my site into its most basic pieces and only include what was necessary. Also, I wanted to figure it out on my own (instead of reusing wheels other people had invented before me--horrible, I know).

With these requirements, I was afraid it would require more resources than I could spare on my shared Web host. My initial impression was that I would have to leverage the django.contrib.sites framework in a fashion that would essentially require two distinct instances of my site running in RAM. Despite these feelings, I decided to embark on a mission to create a mobile-friendly site while still offering a full desktop-friendly site. It was surprisingly simple. This may not be the best way to do it, but it sure works for me, and I'm very satisfied. So satisfied, in fact, that I am going to share my solution with all of my Django-loving friends.

The first step is to add a couple of new settings to your settings.py file:

import os
DIRNAME = os.path.abspath(os.path.dirname(__file__))

TEMPLATE_DIRS = (
    os.path.join(DIRNAME, 'templates'),
)

MOBILE_TEMPLATE_DIRS = (
    os.path.join(DIRNAME, 'templates', 'mobile'),
)
DESKTOP_TEMPLATE_DIRS = (
    os.path.join(DIRNAME, 'templates', 'desktop'),
)

For those of you not used to seeing that os.path.join stuff, it's just a (very efficient) way to make your Django project more portable between different computers and even operating systems. The new variables are MOBILE_TEMPLATE_DIRS and DESKTOP_TEMPLATE_DIRS, and their respective meanings should be fairly obvious. Basically, this tells Django that it can look for templates in your_django_project/templates, your_django_project/templates/mobile, and your_django_project/templates/desktop.

Next, we need to install a middleware that takes care of determining which directory Django should pay attention to when rendering pages, between mobile and desktop. You can put this into your_django_project/middleware.py:

from django.conf import settings

class MobileTemplatesMiddleware(object):
    """Determines which set of templates to use for a mobile site"""

    ORIG_TEMPLATE_DIRS = settings.TEMPLATE_DIRS

    def process_request(self, request):
        # sets are used here, you can use other logic if you have an older version of Python
        MOBILE_SUBDOMAINS = set(['m', 'mobile'])
        domain = set(request.META.get('HTTP_HOST', '').split('.'))

        if len(MOBILE_SUBDOMAINS & domain):
            settings.TEMPLATE_DIRS = settings.MOBILE_TEMPLATE_DIRS + self.ORIG_TEMPLATE_DIRS
        else:
            settings.TEMPLATE_DIRS = settings.DESKTOP_TEMPLATE_DIRS + self.ORIG_TEMPLATE_DIRS

Now you need to install the new middleware. Back in your settings.py, find the MIDDLEWARE_CLASSES variable, and insert a line like the following:

'your_django_project.middleware.MobileTemplatesMiddleware',

Finally, if you already have a base.html template in your your_django_project/templates directory, rename it to something else, such as site_base.html. Now create two new directories: your_django_project/templates/mobile and your_django_project/templates/desktop. In both of those directories, create a new base.html template that extends site_base.html.

Example site_base.html

<!DOCTYPE html PUBLIC "-//W3C//DTD XHTML 1.0 Strict//EN" "http://www.w3.org/TR/xhtml1/DTD/xhtml1-strict.dtd">
<html xmlns="http://www.w3.org/1999/xhtml">
<head>
<title>{% block base_title %}Code Koala{% endblock %} - {% block title %}Welcome{% endblock %}</title>
<link href="{{ MEDIA_URL }}css/common.css" rel="stylesheet" type="text/css" media="screen" />
{% block extra-head %}{% endblock %}

</head>
<body>
<div id="page-wrapper">
    {% block header %}
    <div id="logo">
        <h1><a href="/">Code Koala</a></h1>
    </div>
    <div id="header">
        <div id="menu">
            <ul>
                <li><a href="/" class="first">Home</a></li>
                <li><a href="/blog/">Blog</a></li>
                <li><a href="/about/">About</a></li>
                <li><a href="/contact/">Contact</a></li>
            </ul>
        </div>
    </div>
    {% endblock %}
    <div id="page">
        <div id="content">
            {% block content %}{% endblock %}
        </div>
        <div id="sidebar">
            {% block sidebar %}
            Stuff
            {% endblock %}
        </div>
    </div>
    <div id="footer">
        {% block footer %}
        Footer stuff
        {% endblock %}
    </div>
</div>
</body>
</html>

Example desktop/base.html

{% extends 'site_base.html' %}

{% block extra-head %}
<!-- stylesheets -->
<link href="{{ MEDIA_URL }}css/desktop.css" rel="stylesheet" type="text/css" media="screen" />

<!-- JavaScripts -->
<script type="text/javascript" src="{{ MEDIA_URL }}js/jquery.js"></script>
{% endblock %}

Example mobile/base.html

{% extends 'site_base.html' %}

{% block extra-head %}
<!-- stylesheets -->
<link href="{{ MEDIA_URL }}css/mobile.css" rel="stylesheet" type="text/css" media="screen" />
{% endblock %}

{% block sidebar %}{% endblock %}

Please forgive me if the HTML or whatever is incorrect--I butchered the actual templates I use on Code Koala for the examples. There are some neat things you can do in your pages to make them more mobile friendly, such as including something like <meta name="viewport" content="width=device-width; initial-scale=1.0; maximum-scale=1.0; user-scalable=0;" /> in your <head> tag. This is supposed to tell your visitor's browser to not scale your pages to make it all fit on the screen. You can find a lot of other such tips elsewhere on the interwebs, and I'm sure they'll be better explained elsewhere too. You can also find scripts to handle redirecting your visitors to a mobile site and whatnot. Google is your friend.

As for the Django side of things, that should be just about it. If you have other templates you want to customize based on the version of your site that visitors are viewing, simply add those templates to the your_django_project/templates/mobile or your_django_project/templates/desktop directories as necessary. For example, if you have an application called blog, and you want to override the entry_detail.html template for the mobile site, so it doesn't pull in a bunch of unnecessary information to save bandwidth, you could save your modified copy in your_django_project/templates/mobile/blog/entry_detail.html.

With this setup, all you have to do is point your main domain and a subdomain such as m.yourdomain.com to the same Django application, and the middleware will take care of the "heavy lifting". No need for an additional instance of your Django project just for the mobile site. No hackish hiding of elements using CSS. If you find this article useful and decide to use these techniques on your site, please let me know how it works in your environment and if you ran into any snags so I can update the information!

OSX, Growl, And Subversion

Today I found myself trying to figure out how to make a terminal window stay permanent on my desktop or dashboard on OSX, similar to what I've done in the past with Linux. I just wanted to have the terminal window monitoring things in the background for me. Actually, all I wanted to do was keep track of when my local working copy of our Subversion repository was out of sync. I wanted a solution that would keep out of my way, but I also wanted it to be easy.

My search for a solution seemed short-lived when a Google search suggested a dashboard widget for the Terminal application. The problem with it was that the download server was dead or simply blocked by my company's Internet filter. One way or another, it wasn't long before I went in search of another solution.

At that very instant, I received a Growl notification from some program. That's when it dawned on me--I could tell Growl to tell me when my working copy was out of sync. I had done stuff like that in the past, so I set out to write my solution. This is what I came up with:

#!/bin/bash
MY_BOX=[my IP address]
DEV_ROOT='/path/to/svn/working copy'
cd $DEV_ROOT

MY_REV=`svn log --limit 1 | awk '/^r/ {print $1}' | sed 's/[^0-9]//g'`
SVN_REV=`svn log --limit 1 -r HEAD | awk '/^r/ {print $1}' | sed 's/[^0-9]//g'`

if [[ $MY_REV != $SVN_REV ]]; then
    ssh username@$MY_BOX "growlnotify -s -d47111 -n 'iTerm' -t 'Out Of Sync' -m 'Your working copy is out of sync.  Repository is at revision $SVN_REV, and your working copy is at $MY_REV.'"
fi

Now, a little bit about my environment. As I've mentioned before, all of our development really takes place on Linux-powered virtual machines. We simply use our Macs as the system to interact with those virtual machines. That is why there's the ssh line in that script.

Basically, this script just checks the most recent revision in your local working copy. Then it checks the latest revision in the repository itself. It compares the two revision numbers, and if it finds a difference, it will SSH into my OSX box to send me a Growl notification. On the OSX side, I have Growl and growlnotify installed. Here's a summary of the options to growlnotify:

  • -s: make the notification sticky--don't hide the notification until the user specifically closes it.
  • -d47111: a unique identifier for the notification. This makes it so you can send the same message over and over and it would update any existing notifications with that ID instead of creating a new notification (unless one doesn't exist already).
  • -n 'iTerm': I believe this was supposed to be the "source" application. I don't remember right now.
  • -t 'Out Of Sync': The title for the notification.
  • -m 'Your working copy...': The message to send to my Mac.

This is a fabulous little reminder to me. I have it set up as a cronjob that runs every minute on my Linux-powered development virtual machine. Hopefully this will help others!

My Fedora 11 Adventures: Part II

The Uneventful Installation

The installation for Fedora 11 went pretty smoothly. I began the installation around 11:10PM on June 10th, 2009. I did a fair amount of customization with my partitions and package selection, so the exact timing for installation is probably not a very fair figure to place here. But I'll share some numbers anyway, for my own benefit more than yours.

  • The "Starting installation. This may take several minutes..." took about 4 minutes
  • Installing 1,443 packages took 33 minutes

The timing seemed pretty typical of an RPM-based distribution to me.

First Boot

After the installation succeeded, it asked me to reboot. I noticed that the installer didn't eject the DVD when it was ready to actually reboot, so I just left it in there for kicks. When the DVD's boot menu came up, it showed a list of a few boot options, one of which was to boot from a local drive.

I selected the local drive option, but it failed--it apparently decided to look for a non-existant PXE server. Ejecting the DVD and rebooting again rendered the actual Fedora bootloader that was installed to my hard drive. It automatically launched Fedora after 5 seconds or so.

The boot screen is nice and pretty... none of the classical progress bar business, but rather the circular shape that makes up the Fedora logo. As the boot process proceeded, this shape was filled in a diagonal, bottom-left to top-right fashion. I like that.

Next, it presented me with a "Welcome" screen that said something about there being a few more steps before my system would be ready to use. These steps included a license information page, creating a regular, unpriviledged user, setting up the date and time, and an optional "send hardware profile" page. I opted to send my hardware profile just because I know what it's like to not have information like this when you're trying to figure out problems your users are having. You should be aware that opting in on the hardware profile submission enables a monthly submission, not just a one-time submission during setup.

First Login

After all that was done, I was presented with a login screen and a fairly ugly background. I will probably be changing that one. After logging in, the loading screen seems pretty slick... It has a fancy little progress dealy unlike no other I've seen before. Almost as impressive as the boot up screen, if not more so.

The sound levels after logging in were pretty obnoxious. If I were in a crowded workplace, I'm sure I would have been attacked with rotten lettuce and tomatoes because of that sound. That will also have to change...

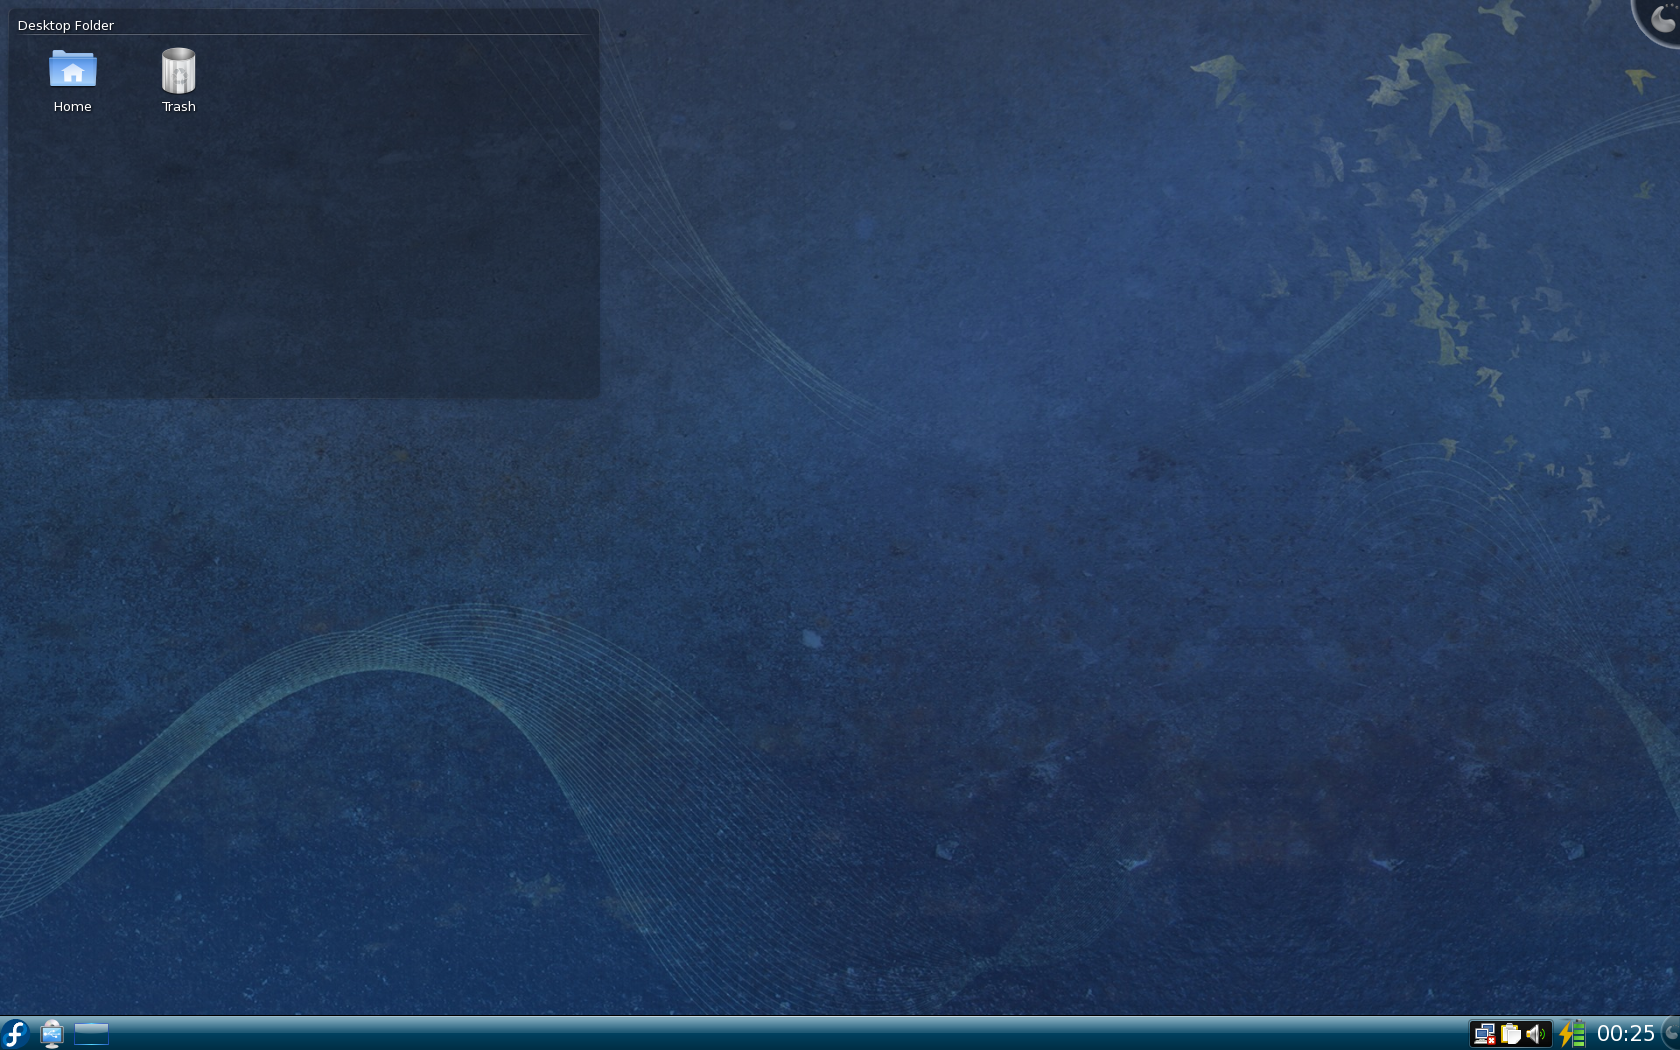
The default Fedora 11 KDE 4 desktop

My default background was the same that was used on the login screen. It was the first thing I decided to try to change.

Changing The Background

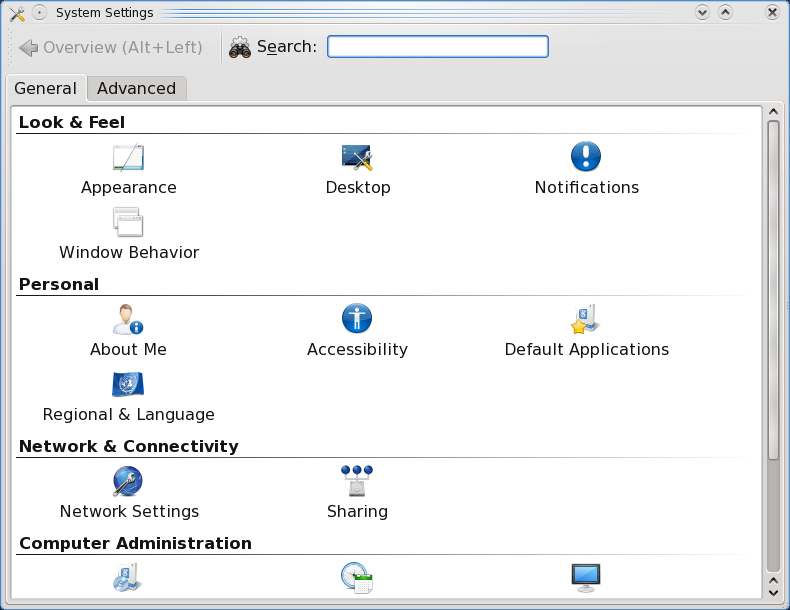
System settings

Clicking the Fedora button in the bottom-left corner of the screen pulls up the new KDE menu (which is going to take some getting used to for me). The initial menu showed a "System Settings" option, which is what I used to change the background image. On the screen that loaded immediately after selecting "System Settings," I was presented with several icons that seemed like they would do the trick.

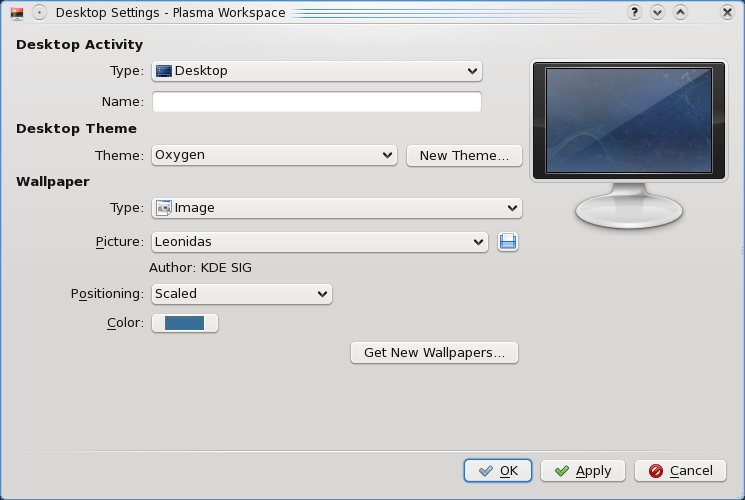
Appearance settings

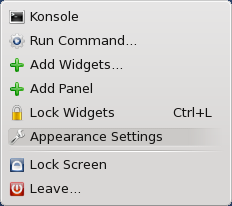
Well, after a little poking around, I decided it might be easier to just right click the desktop to see if the context menu had any suspicious items for changing the background. Lo and behold, I found an "Appearance Settings" item. That was the ticket.

The desktop context menu

Disappointment. Utter disappointment. When I went to select a new background image, I discovered that there was only one to choose from--the nasty default one! I tried clicking the "Get New Wallpapers..." button, but all that did was tell me I had network problems.

Connecting To The Network

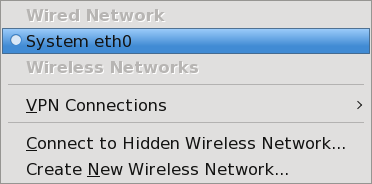
There was a nice little icon in my system tray that suggested it was a network manager, so I clicked on it. I suppose Fedora detected my Ethernet adapter just fine, as it was an option in the menu that popped up when I clicked the icon. My Broadcom wireless adapter apparently was not detected. Still, I find it curious that Fedora didn't connect to my Ethernet automatically (the cable was plugged in the entire time). Clicking the eth0 item in the menu was painless, though. It connected me directly to my network with no additional fuss.

The network manager menu

Back To Backgrounds

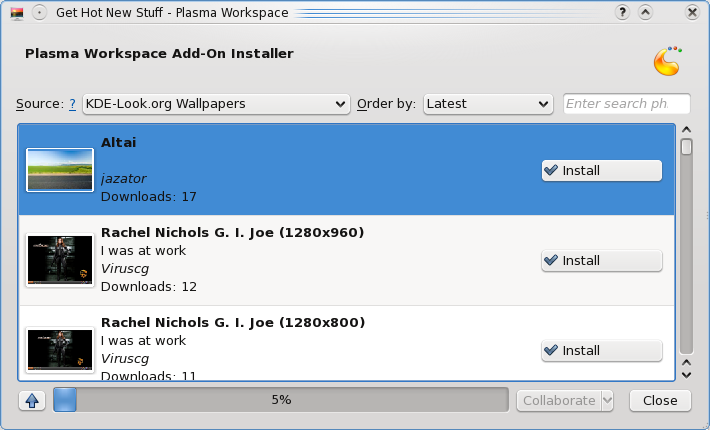
The "Get New Wallpapers..." button that I mentioned previously seemed to work a bit better after having connected to the network. When I clicked it, though, I was presented with a screen that apparently wanted me to do something before it would do anything for me. After waiting for a few seconds (because I was typing this), things started happening. New backgrounds started to appear, but there was no indication of any activity. I found that rather strange.

Getting new backgrounds

Selecting a few background images that looked appealing from their thumbnails was pretty straight-forward. The actual download, however, was less than impressive... either the server is overloaded with activity, or the images are very large, because my connection is quite idle right now.

It seems that all of the backgrounds that appeared are all of the classics from kde-look.org that were available in my trusty KDE 3.5. This is good.

Font Sizes

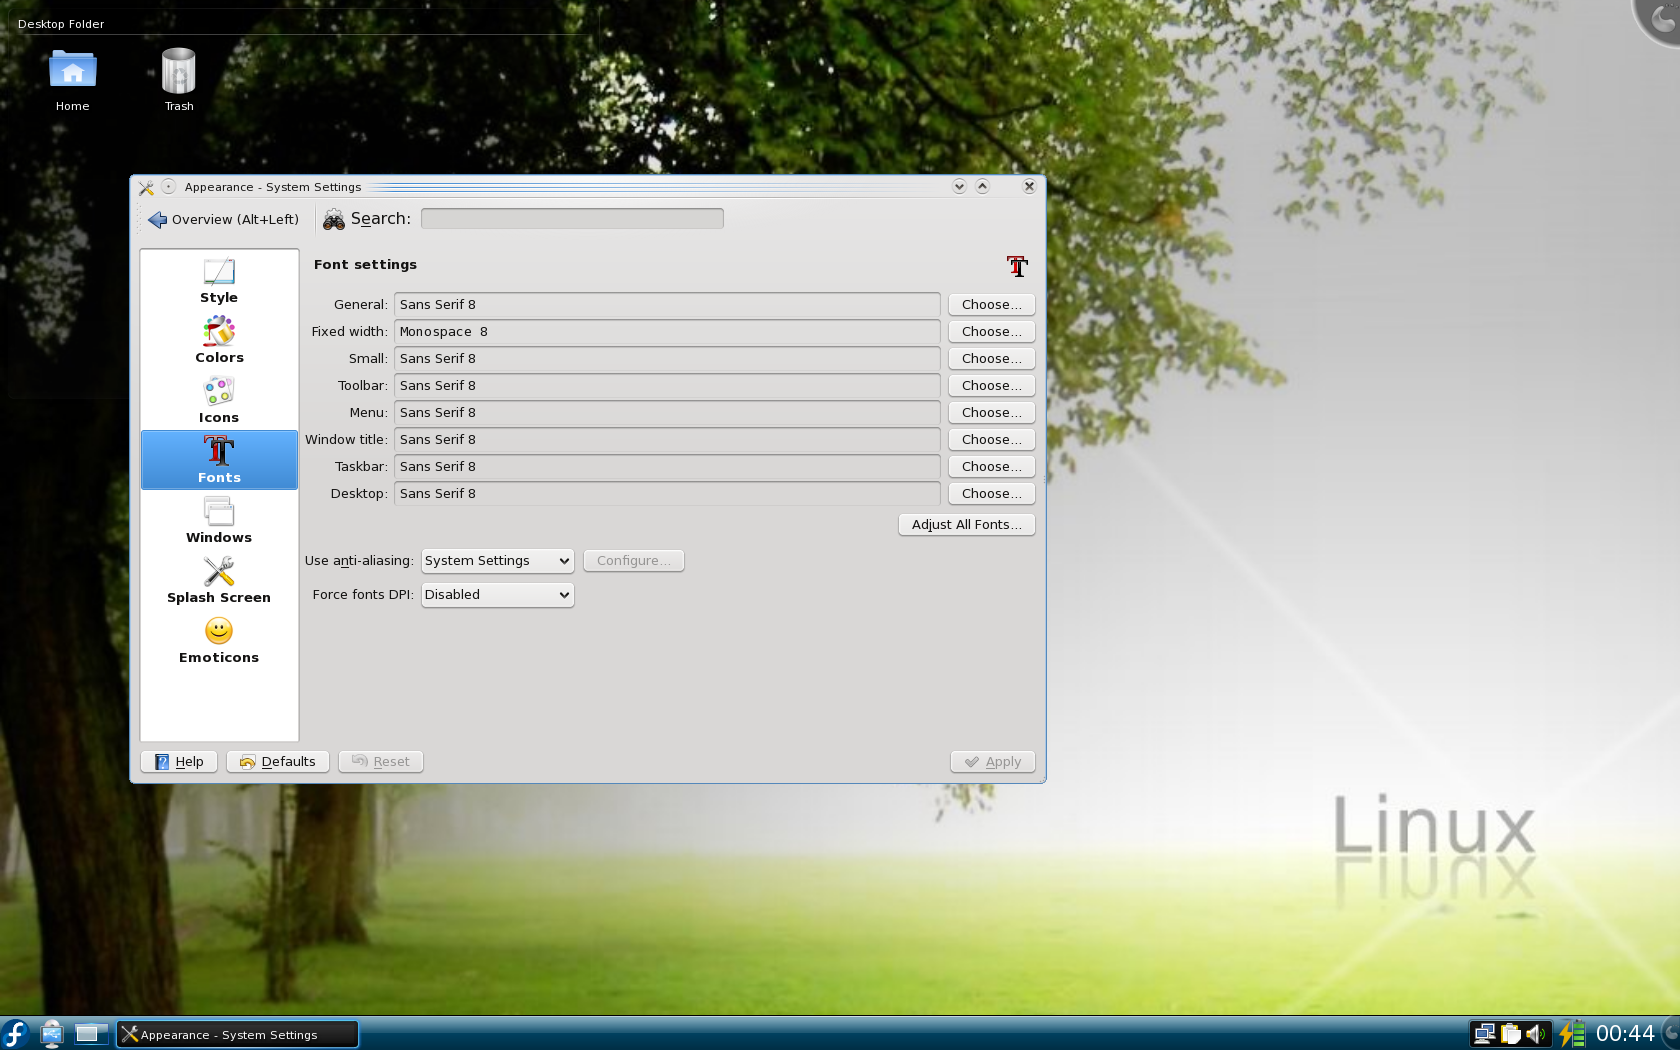
The next change I felt I must make before proceeding was reducing the size of the fonts. They are much too large for my preferences. Back to the System Settings I went. This time, the "Appearance" icon was the one that proved to be pertinent. Fedora's default font size was 10-point. I changed them all to 8-point. Things felt a lot better after doing that.

Things after changing the background and the fonts

Playing Sudoku

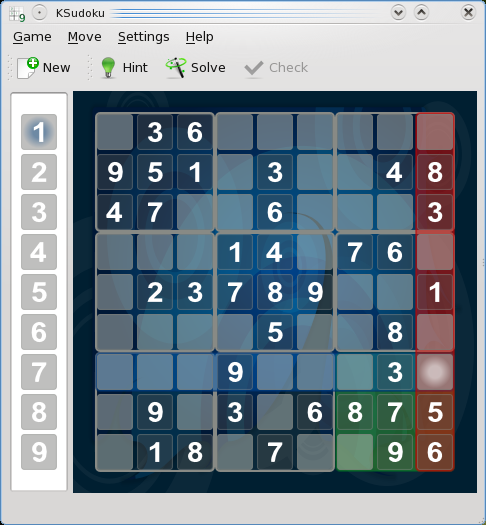
The new sudoku game

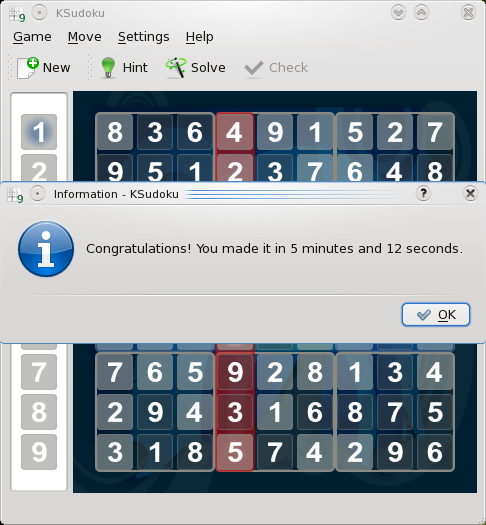
Now that it's close to bed time, I feel I must close this section with the requisite game of Sudoku :) The new KDE menu setup is really, really going to take some getting used to. I found Sudoku under Applications > Games > Logic Games > Sudoku Game.

I beat sudoku!

Tomorrow will be an interesting day, because I'm going to get my system setup for work! (By the way, Fedora 11 shuts down insanely fast!! It also blares another nasty sound when you begin the shutdown sequence... ugh)

My Fedora 11 Adventures: Part I

Today I decided that I would deliberately put myself outside of my comfort zone. No, not by intentionally putting myself on a telephone for more than 5 minutes this month... I will need a lot more preparation before I can attempt that one. No no, today's experiment has to do with Linux. If you're new around here, I am a very big fan of Linux. It has been my primary operating system for over 8 years (but I still use Windows and Mac occasionally, when I need to test my programs and the cross-platform behavior).

A Little Background On Yours Truly

There was a time when I was what you would call a distro-hopper. I would download any and every Linux distribution I could get my hands on. Most of them would hang around on my computer for a few days at best, but a select few actually impressed me enough to have them stick around for longer. Among those few are Slackware and Sidux. Many other distros are nice and pretty, but when it comes to me being productive on them, there always seems to be something lacking.

I am addicted to speed and reliability--two things that originally urged me to tinker with Linux all those years ago. I am more than willing to sacrifice looks and features for being able to just get something done quickly and efficiently. As a matter of fact, I'm writing this article in VIM, one of the most "light-weight" editors around these days. It allows me to do exactly what I want to do without getting in my way. That's how I like things.

That's probably the main reason I love Slackware. It won't do anything I don't tell it to do. No crazy background processes updating some package repository, slowing down my system. No pestering me about security updates that I will install in my own due time. Slackware only does what I want it to, and I have learned a ton about Linux because of it. If I decide I want something automated in the background, I have to tell the computer to do it. If one of my programs has been updated on the Internet, I download and install the package manually instead of using a "package manager." If one of my programs doesn't work because of a missing dependency, I am the one who finds and downloads the dependency. It's a lot of work initially, but I'm of the persuasion that this work is well worth it for my situation.

In today's day and age, that sort of setup seems to scare a lot of people off. People like to have things "just work." People like to not have to worry about keeping up to speed with what security threats are out there. People like having things to keep them entertained instead of getting things done. People like to see their desktop turn into a cube and spin around. People like to see things glow and wiggle on their computer. It's aesthetically pleasing. There's nothing wrong with that. Unless you want to get things done instead of just stare at your computer.

The Challenge

With that background in mind, you should be equipped to better understand the information and articles that follow. My challenge to myself is this: install Fedora 11 and use it for at least a week. To add to the the challenge, I'm installing the 64-bit version. In my past experience with 64-bit operating systems, there has been no real motivation or necessity for 64-bit computing. It just means more compatibility problems, which reduces productivity. This will be the first 64-bit operating system I actually plan to keep around beyond the exploratory period.

There are a few things about this that will bring me waaaay out of my comfort zone. They are (in no particular order):

  • Fedora
  • RPMs
  • KDE 4

I have a strong disregard for each of these items. There was a time when I considered Fedora to be a respectable platform--back when it was Fedora Core 2 or 3. Ever since then, I feel that it has gone down the tubes. RPMs have always seemed grossly lacking in the speed department to me, and it only got worse after I found out about Debian and Slackware. Finally, KDE 4 seems like one of the absolute worst window managers I have yet to encounter. I love KDE 3.5.x. I wish I could use it everywhere I go. But KDE 4 has yet to appeal to my desire for efficient productivity--it gets in my way almost as much as GNOME does.

Starting today, I plan to look all of these opinions (as biased as they may be) straight in the eye and take 'em head-on. I am going to work on learning to enjoy using Fedora. I'm going to work on learning how to appreciate RPMs. I am going to learn to be productive in the window manager "of the future."

And I will keep you all apprised of my progress.

Windows 7 Public Beta Screenshots

Here are some screenshots of the Windows 7 public beta. I installed it in a VirtualBox virtual machine and allocated 600MB of RAM to it.

The new and improved sloading screen

The new and improved sloading screen.

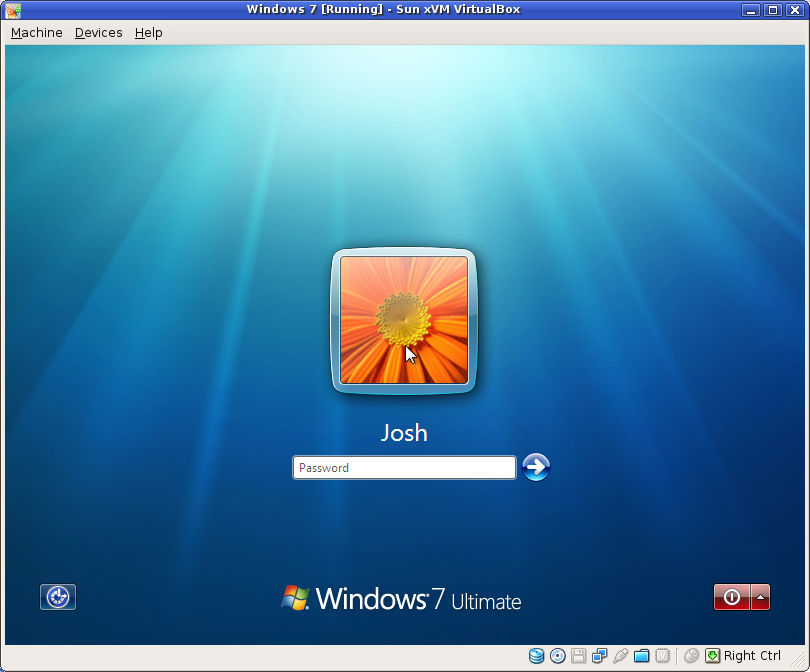
The login screen

The login screen

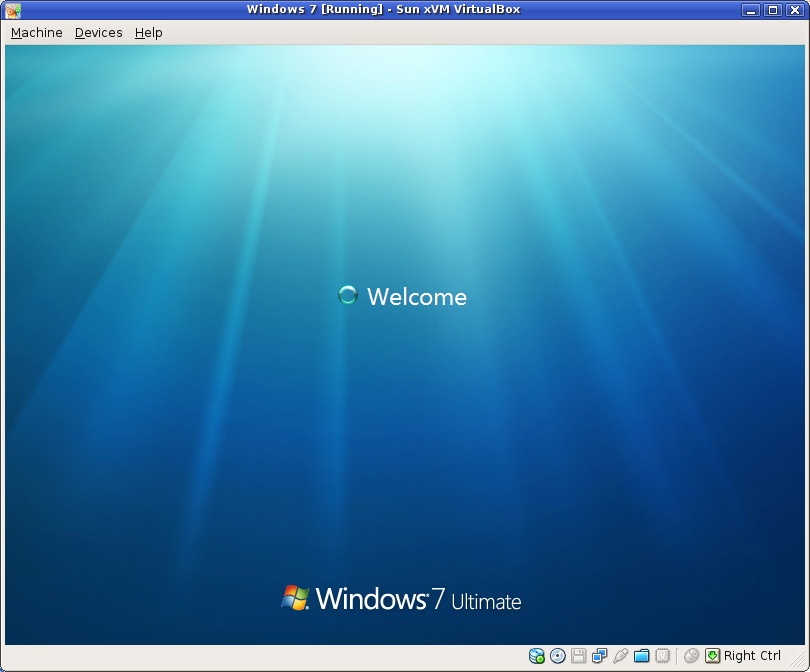
Logging in....

Logging in....

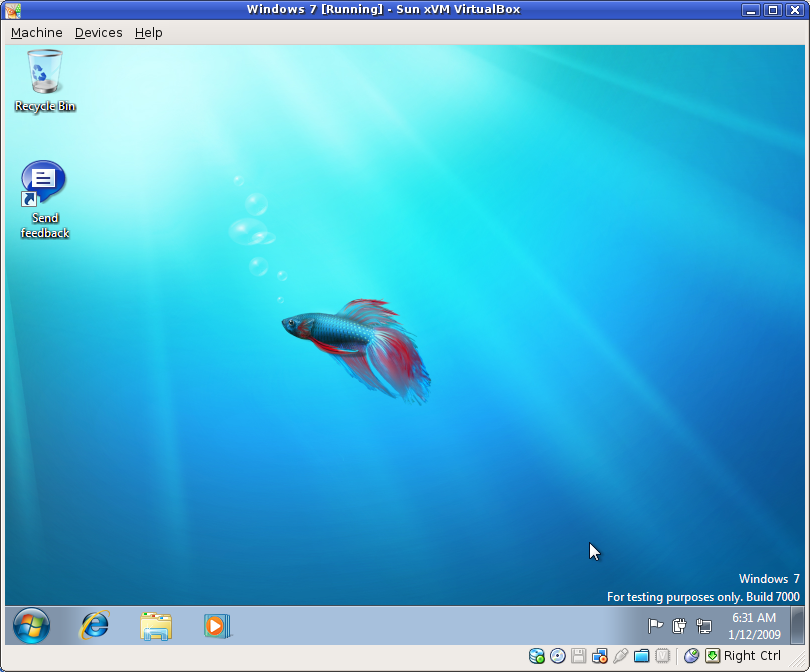
The desktop.... and a fish!!

The desktop.... and a fish!!

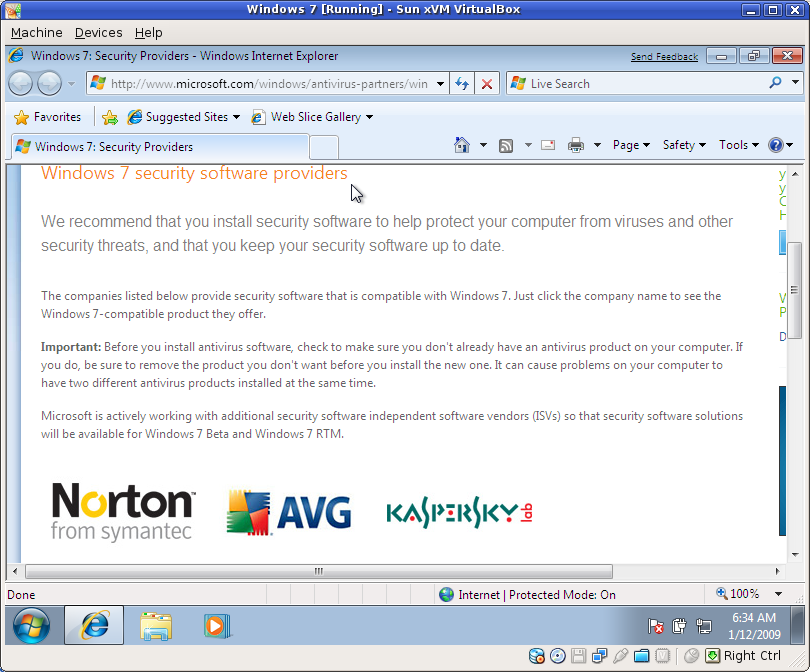
Your choices of Microsoft-sponsored security--the ones that will slow down your computer the most

Your choices of Microsoft-sponsored security--the ones that will slow down your computer the most!

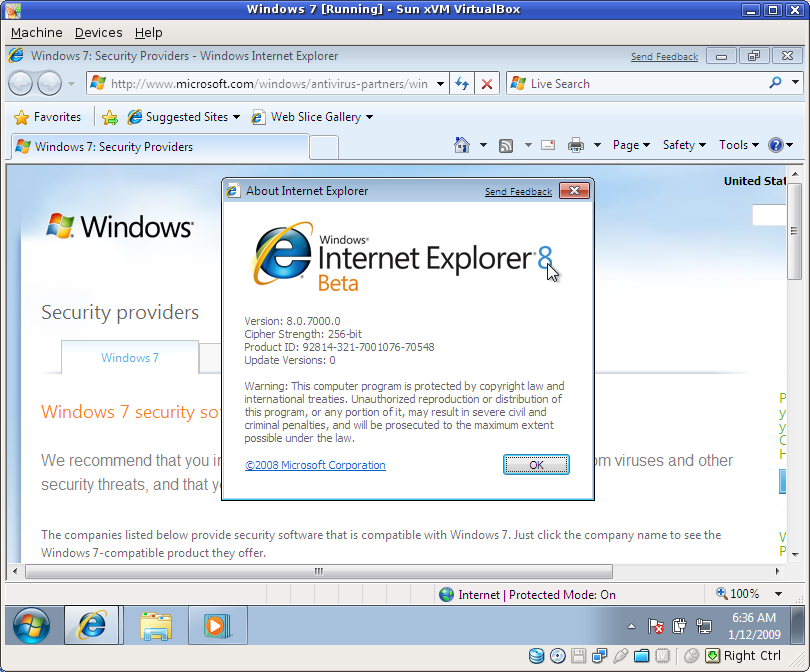
Oh oh!!  It's Internet Explorer 8!  Chews up my site like a charm.

Oh oh!! It's Internet Explorer 8! Chews up my site like a charm.

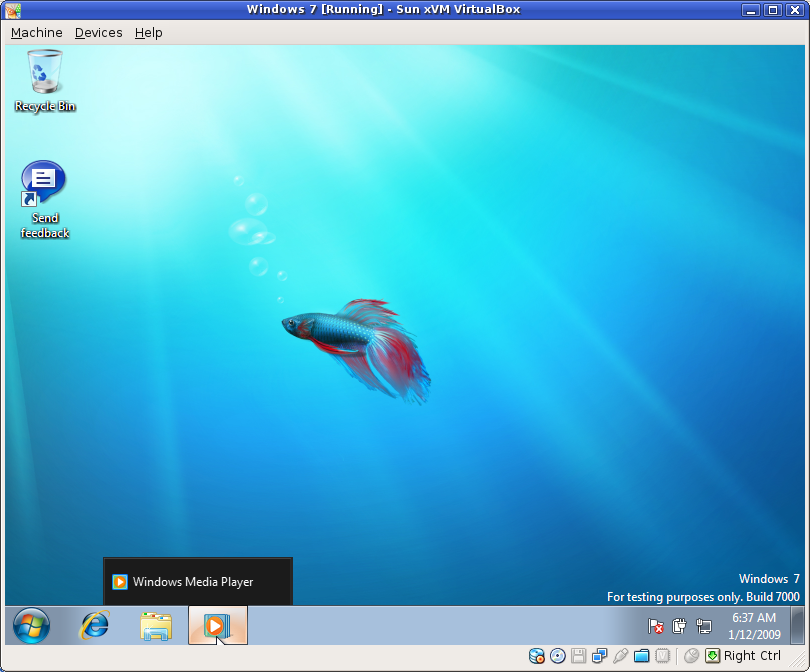
Captionless taskbar icons until you hover.

Captionless taskbar icons until you hover.

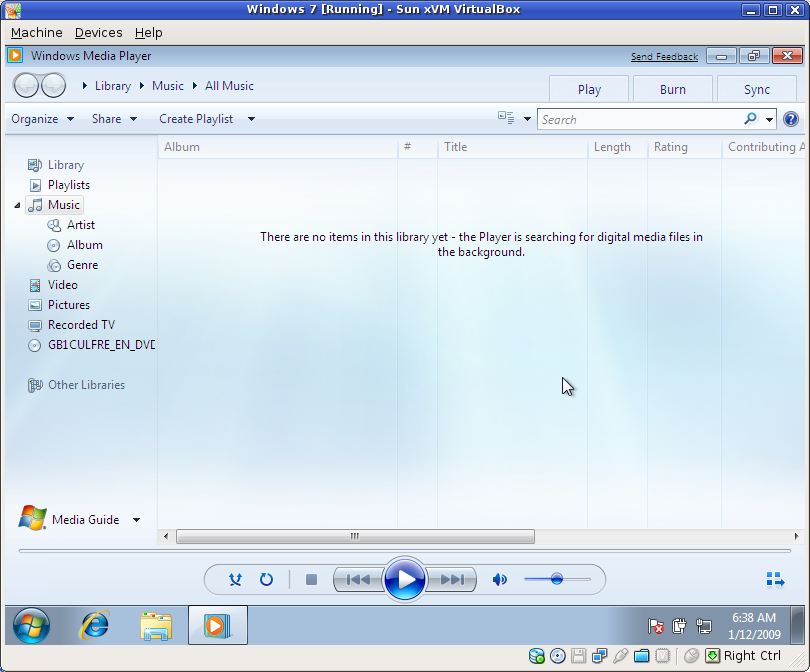
The new Windows Media Player

The new Windows Media Player.

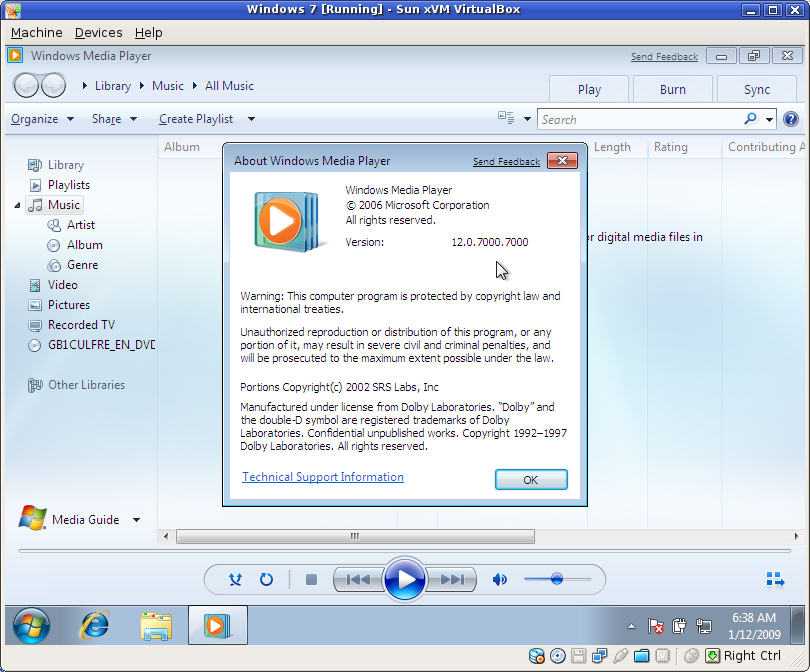
It's version 12!

It's version 12!

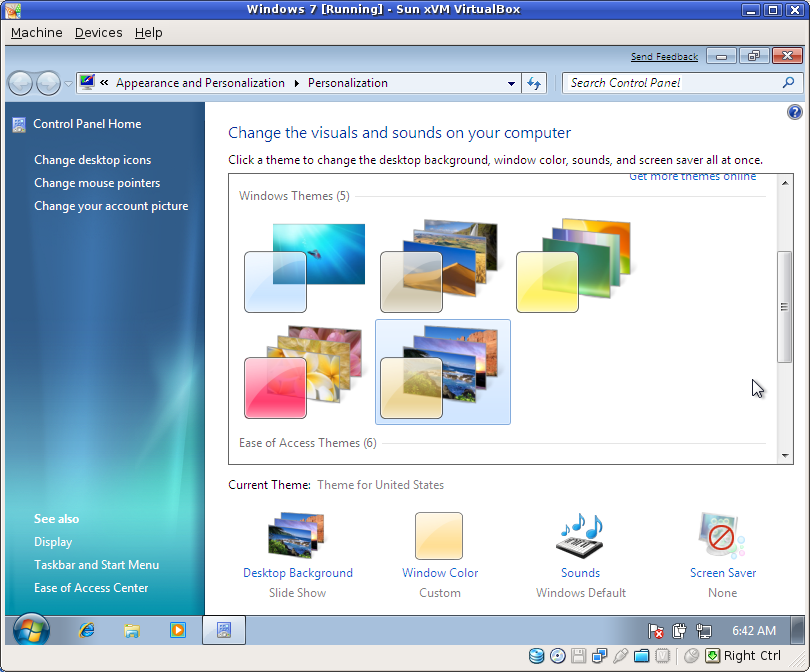
Setting your desktop theme

Setting your desktop theme.

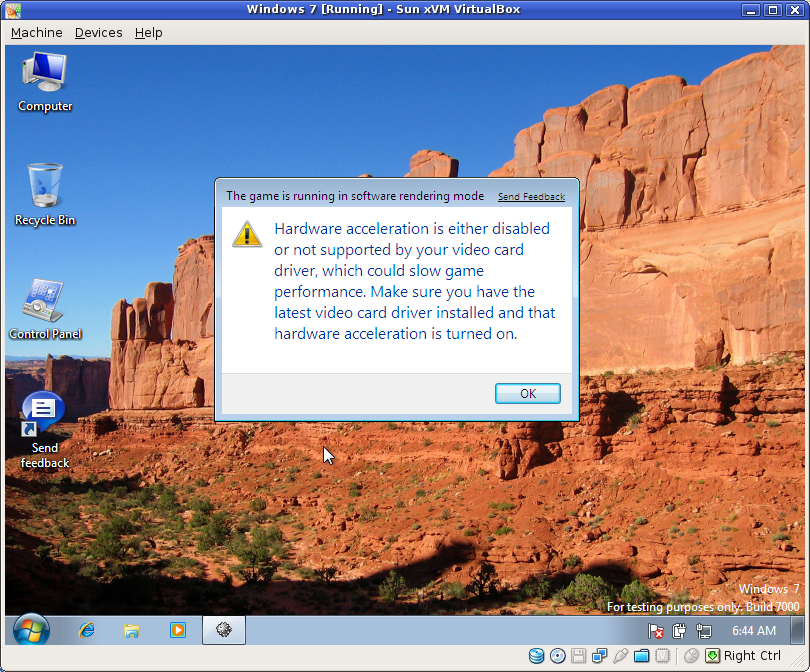
Minesweeper wants hardware accelerated graphics

Minesweeper wants hardware accelerated graphics.... why??

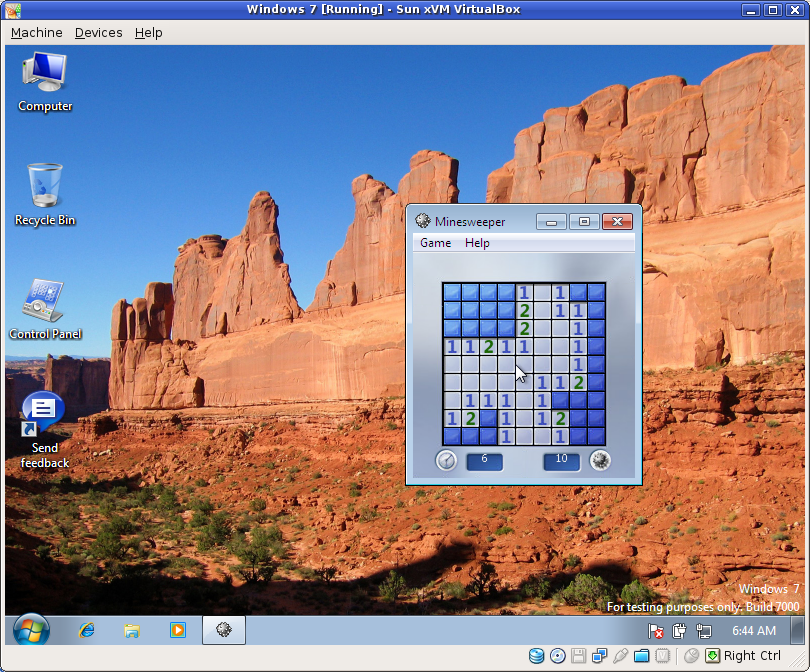
All-new Minesweeper

The all-new Minesweeper.

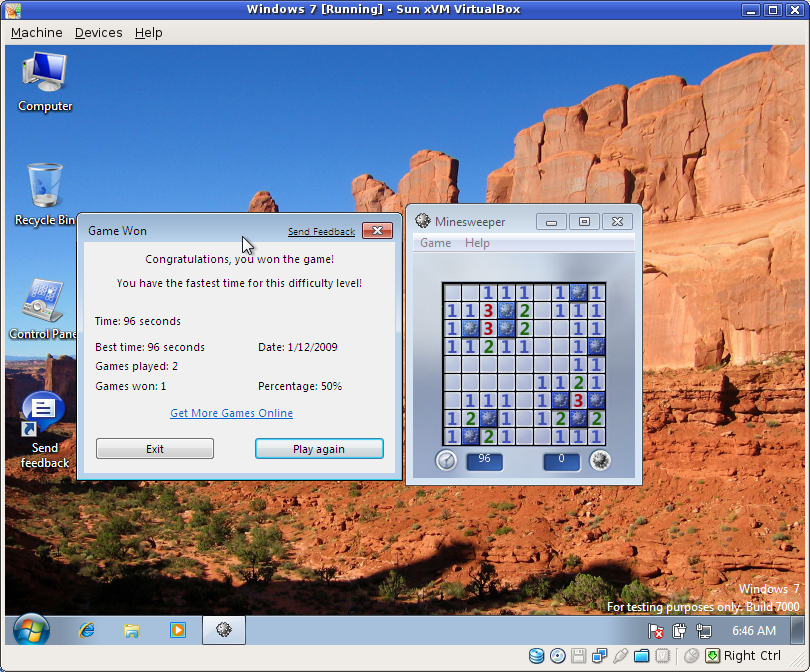
I won!

I won!

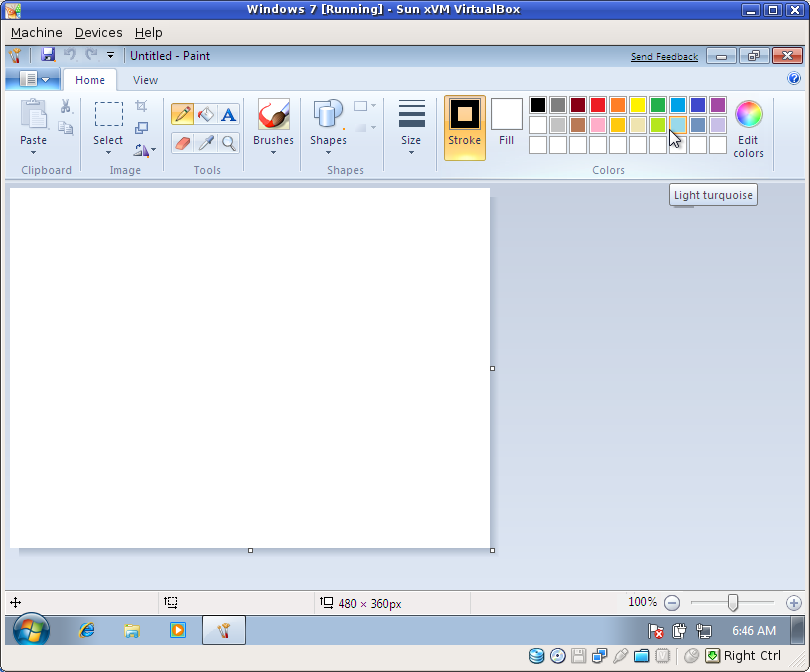
Paint

Paint. Very perty.

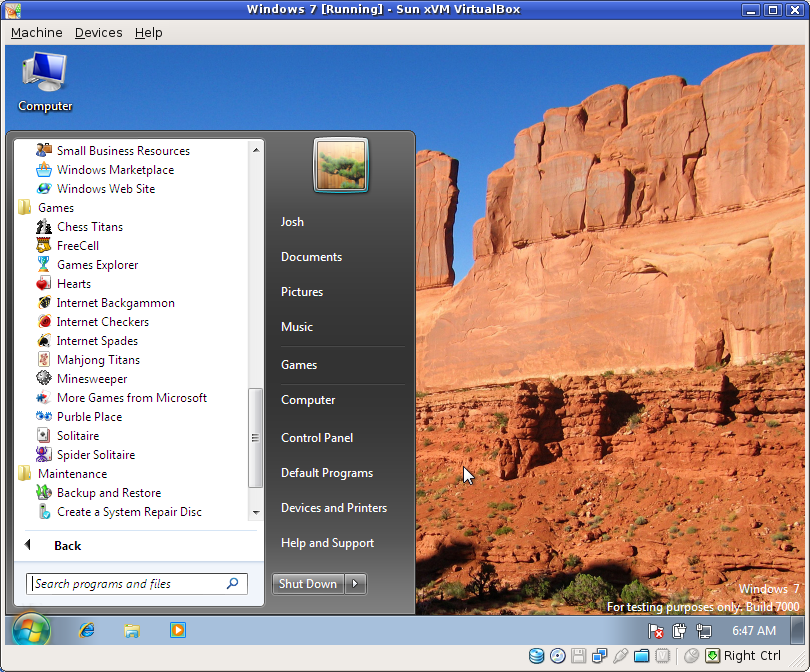
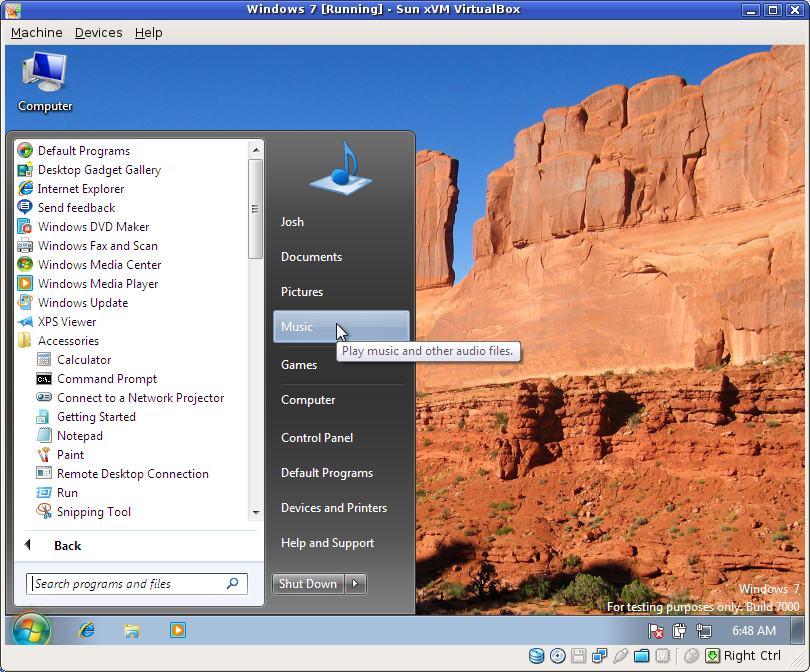
The start menu

The start menu.

All programs in the start menu

Looking at all programs in the start menu.

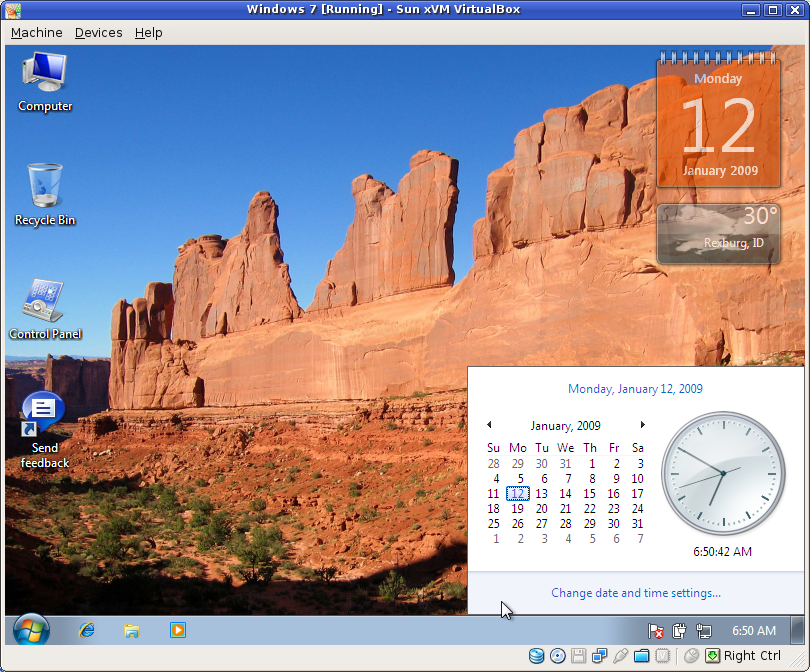
Gadgets and the clock thingy

Some desktop gadgets and the clock thingy.

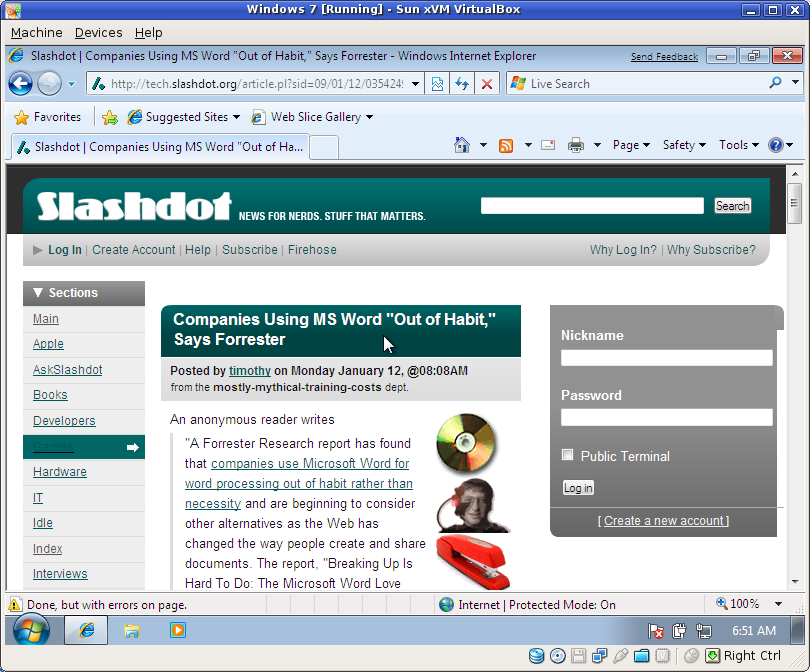
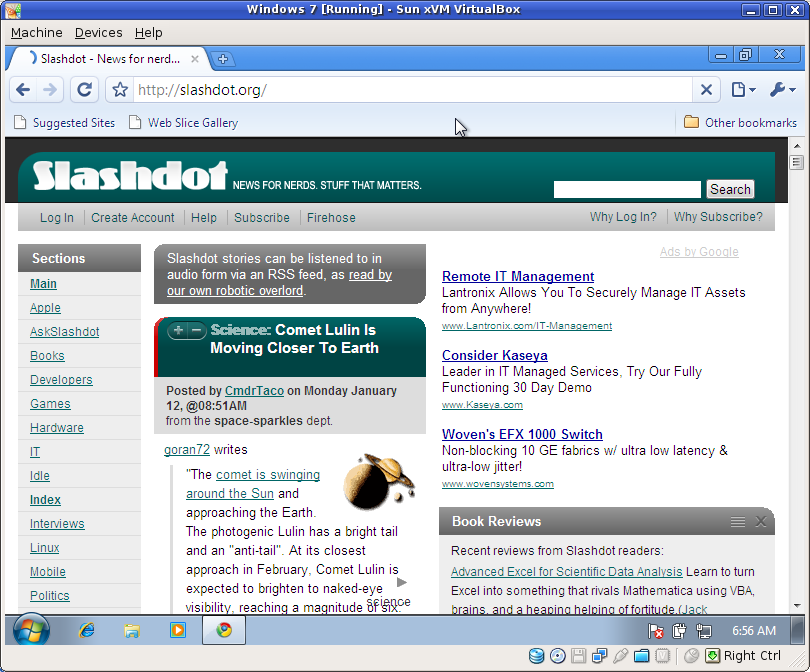
Slashdot

Slashdot in IE 8.

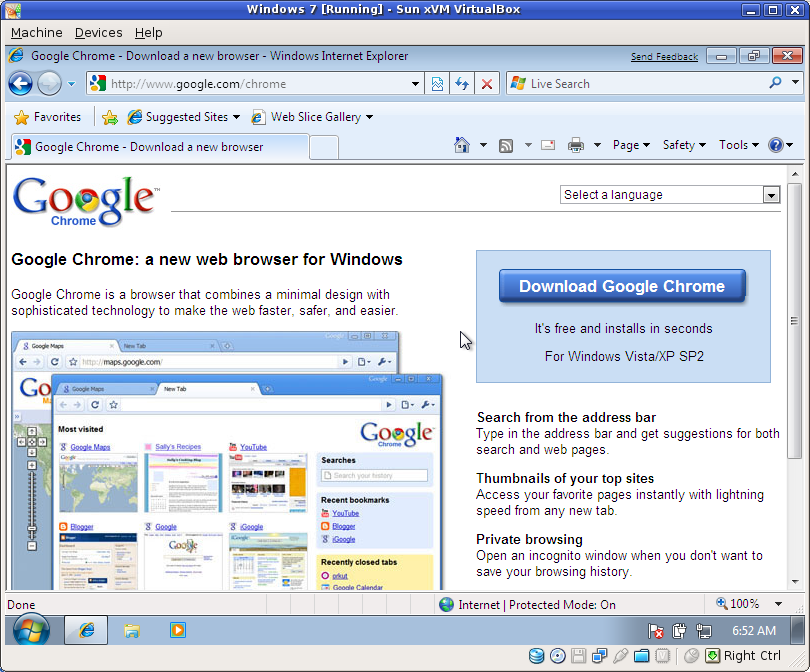
Chrome

Downloading Google Chrome.

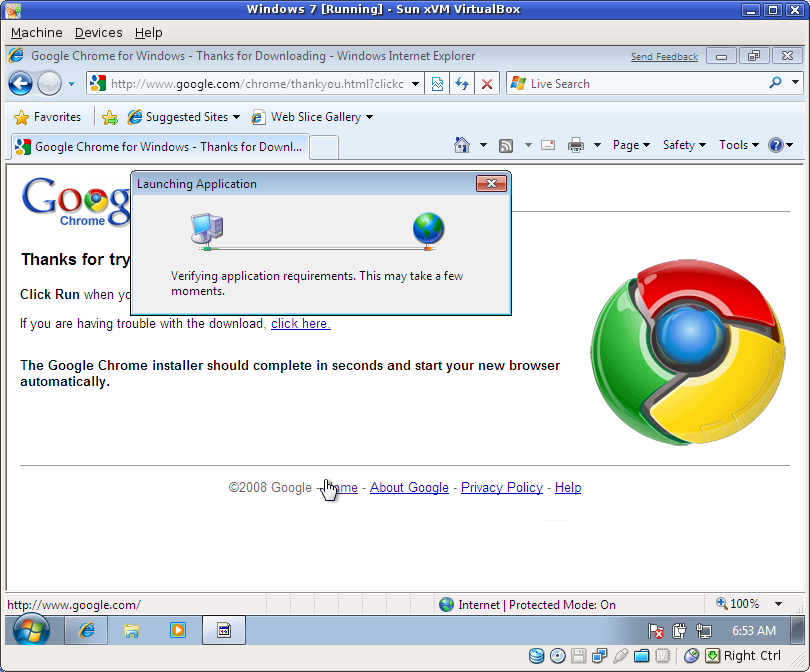
WTF?  Verifying application requirements??

What the....? Verifying application requirements??

Ahh... Chrome.

Ahh... Chrome.

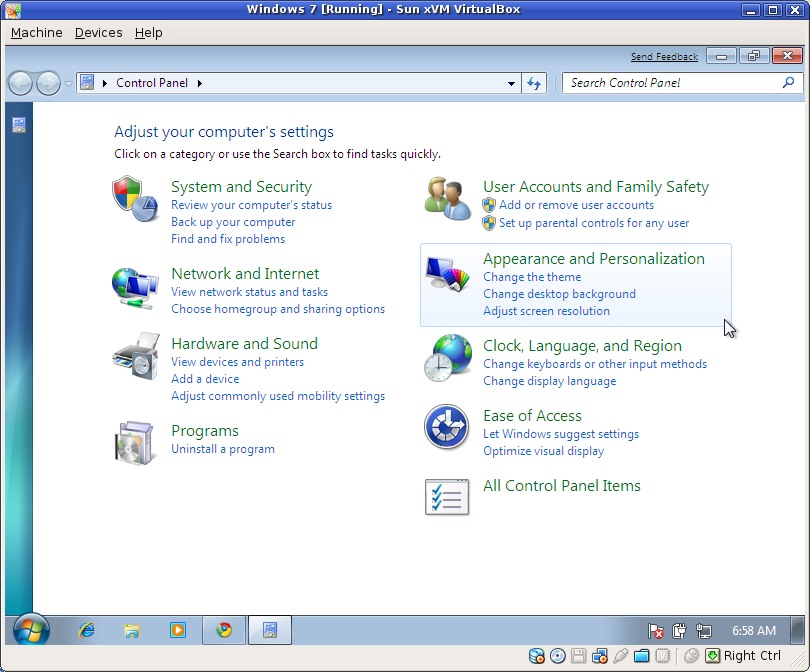
Control Panel--stupid people's version

Control Panel--stupid people's version

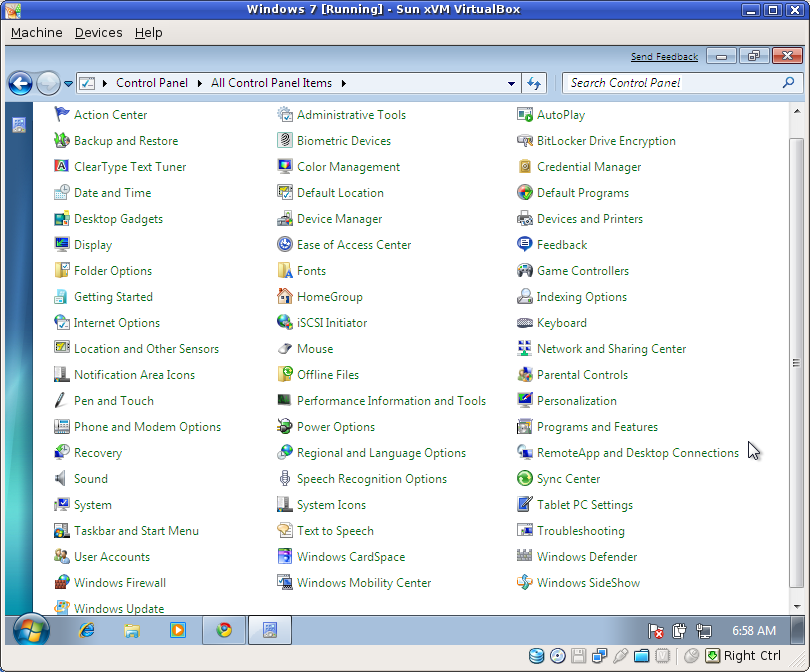
Control Panel--all options

Control Panel--all options

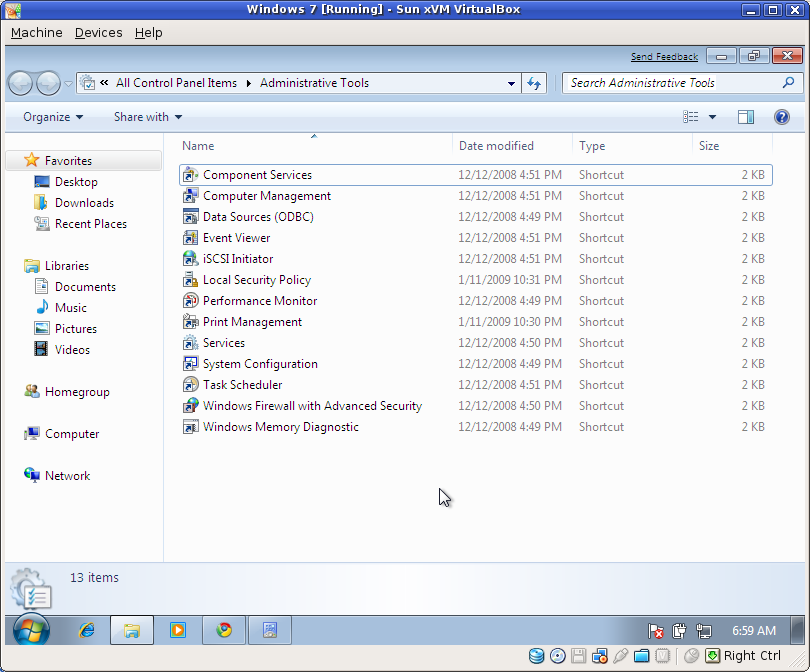
Administrative tools

Administrative tools

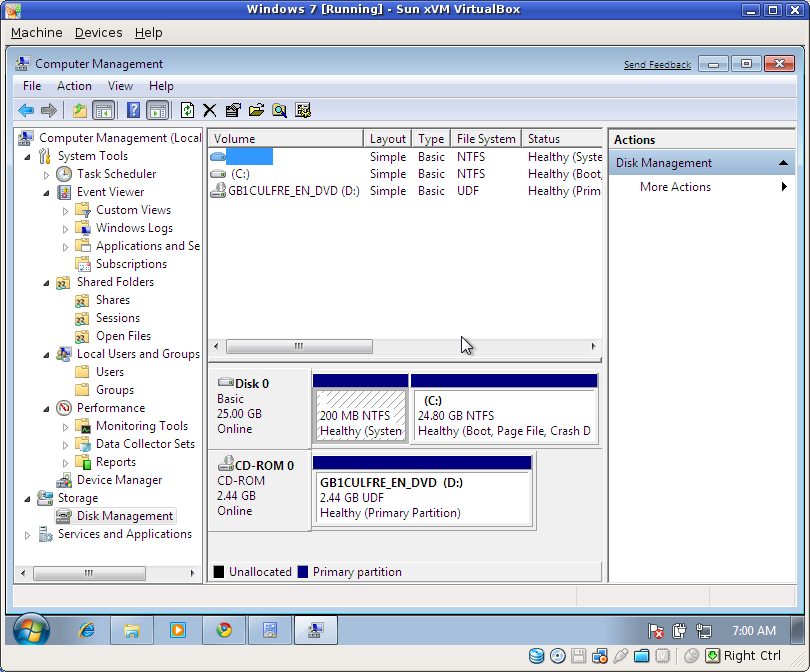
Some things never change... but what's up with the 200MB partition??

Some things never change... but what's up with the 200MB partition??

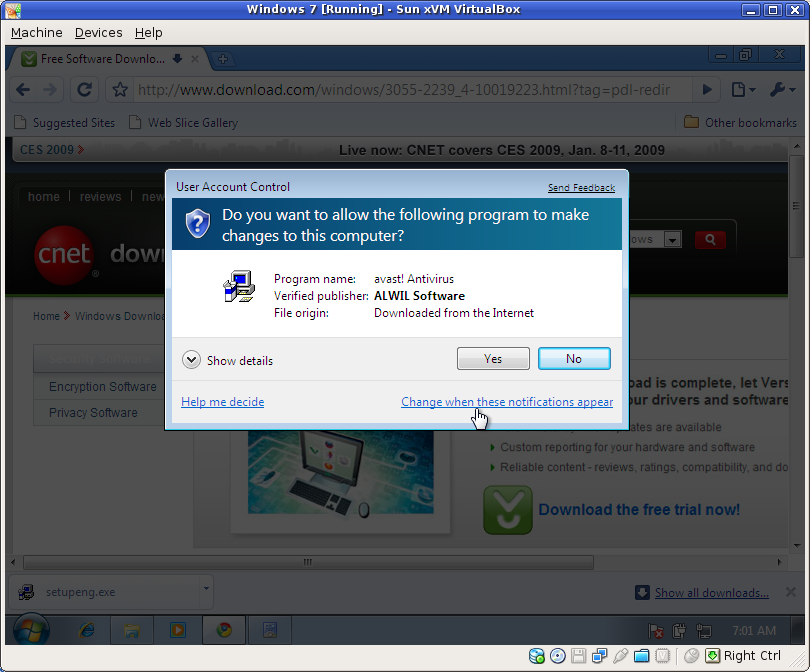
First UAC popup...

First UAC popup...

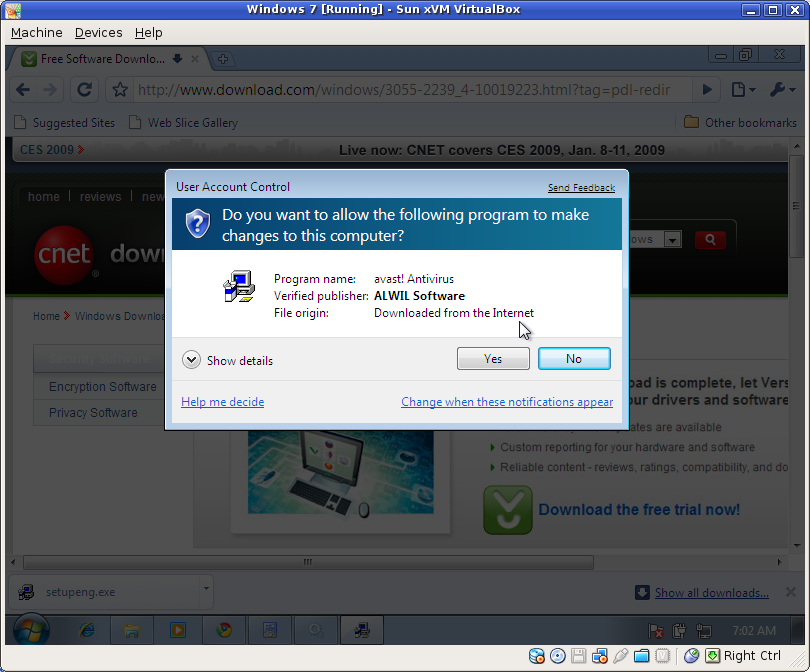
Second UAC popup...

Second UAC popup...

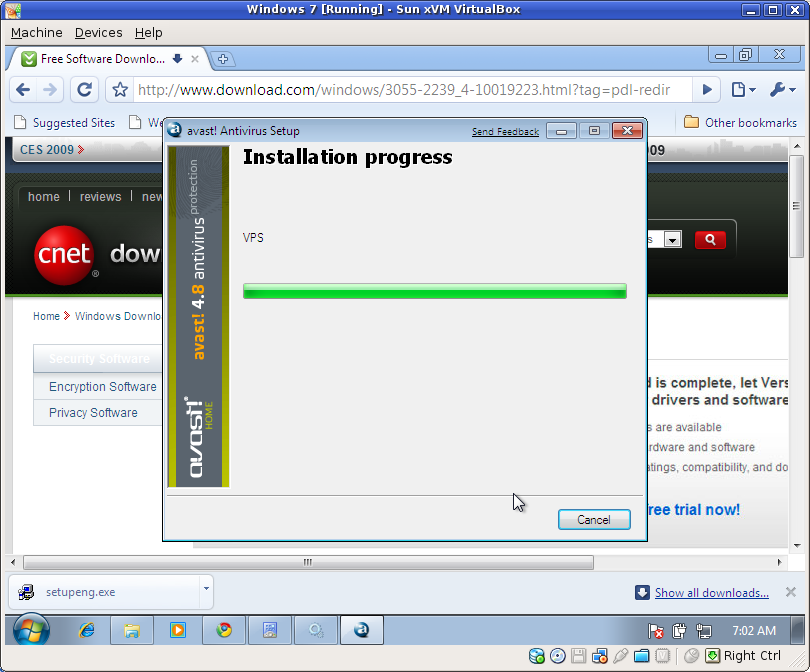
Installing Avast

Installing Avast Antivirus.

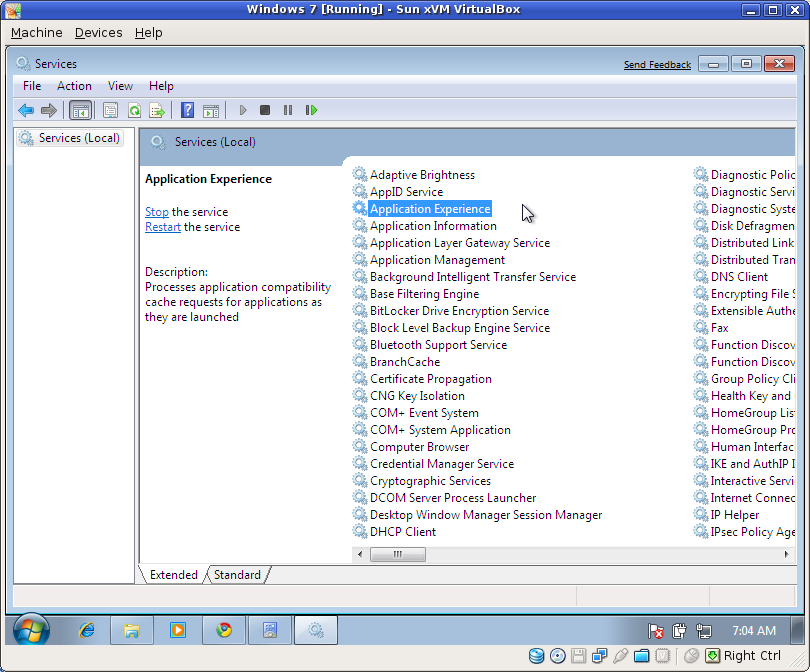
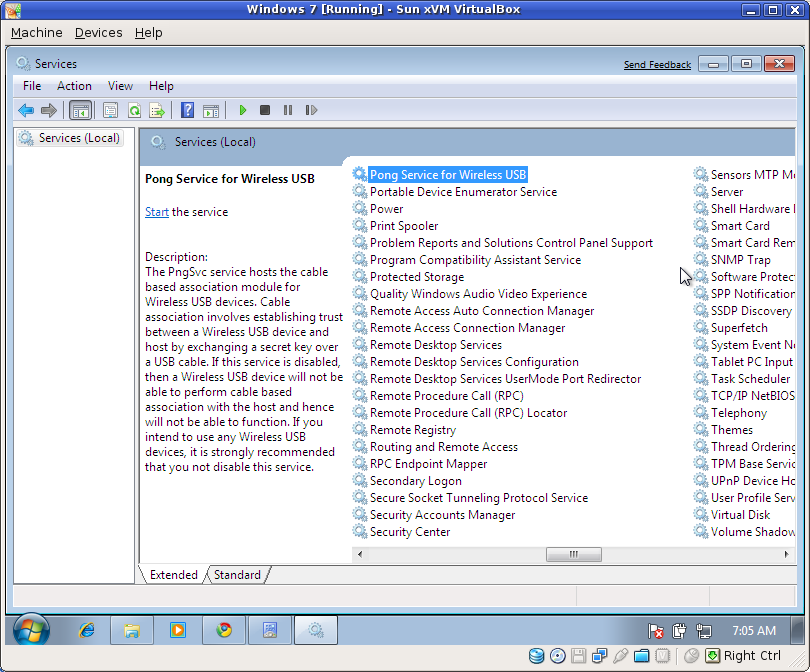
Windows services

Windows services.... there are a ton of these as usual.

Pong Service for Wireless USB??

Pong Service for Wireless USB??

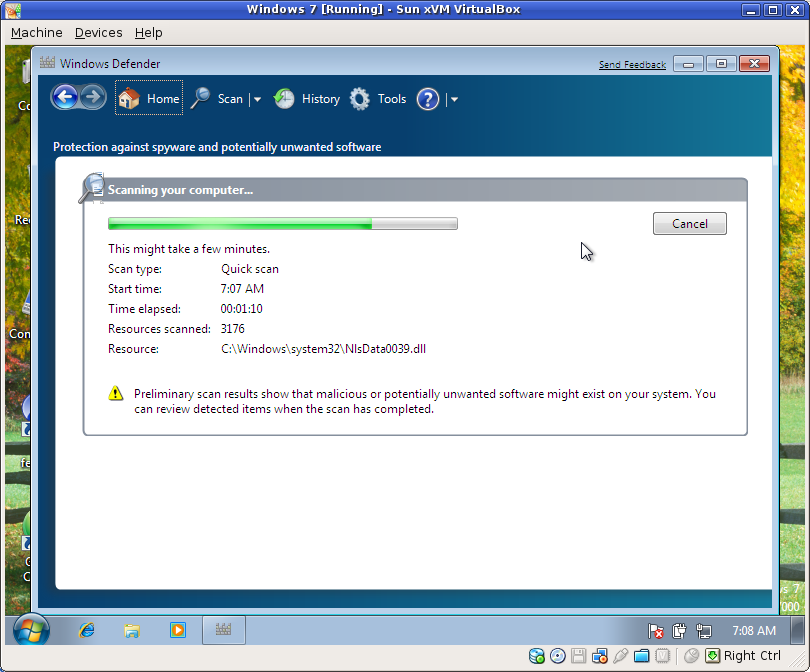
Heh... Preliminary scan results show that malicious or potentially unwanted software might exist...

Heh... Preliminary scan results show that malicious or potentially unwanted software might exist...

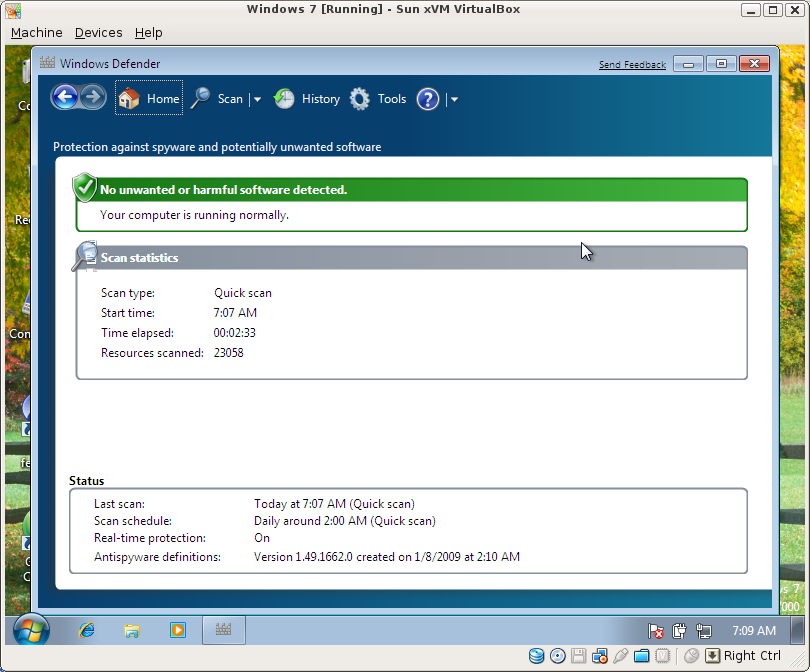
Oh, nevermind... we're good.

Oh, nevermind... Windows says we're good now.

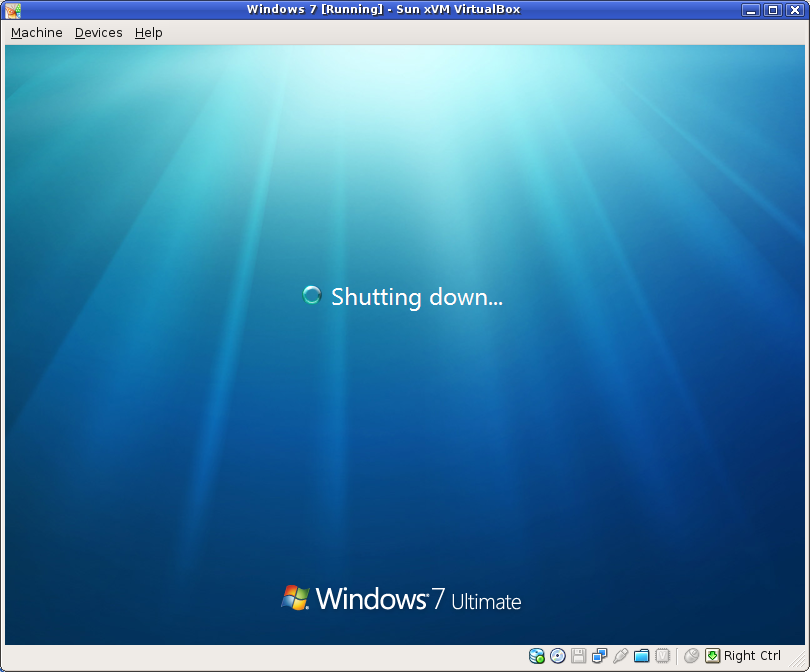
Shutting down... took long enough to get a delayed screenshot.

Shutting down... took long enough to get a delayed screenshot. Could have probably shot 20 more.

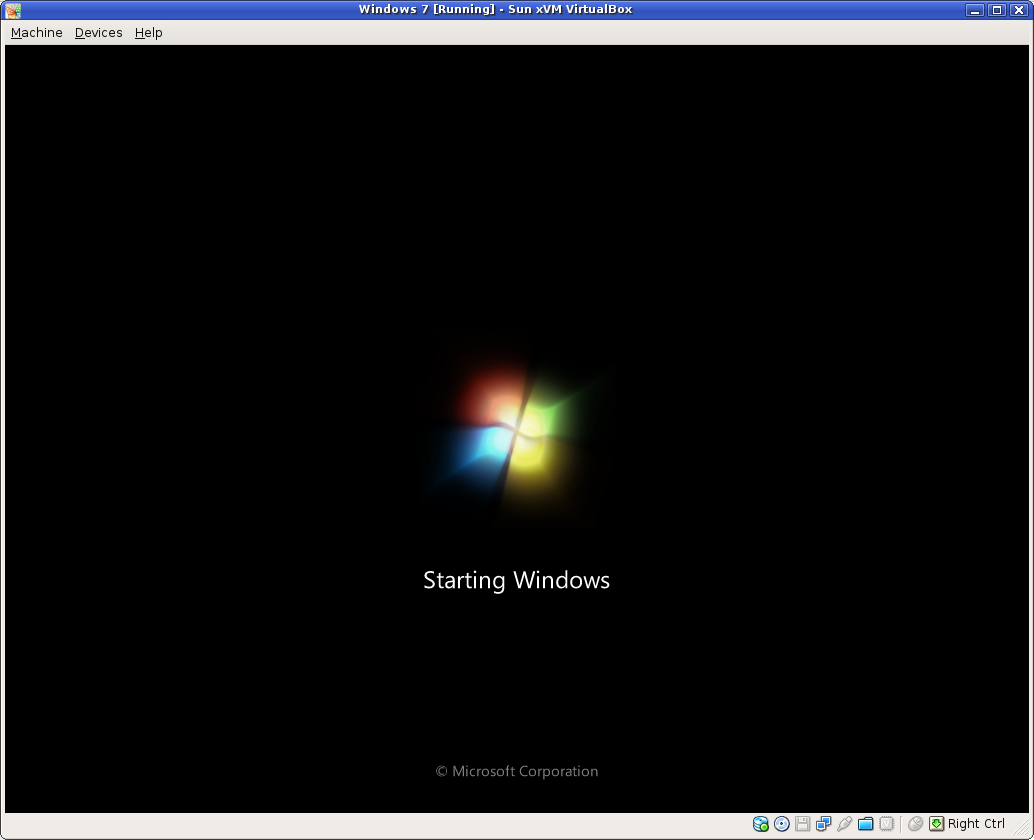
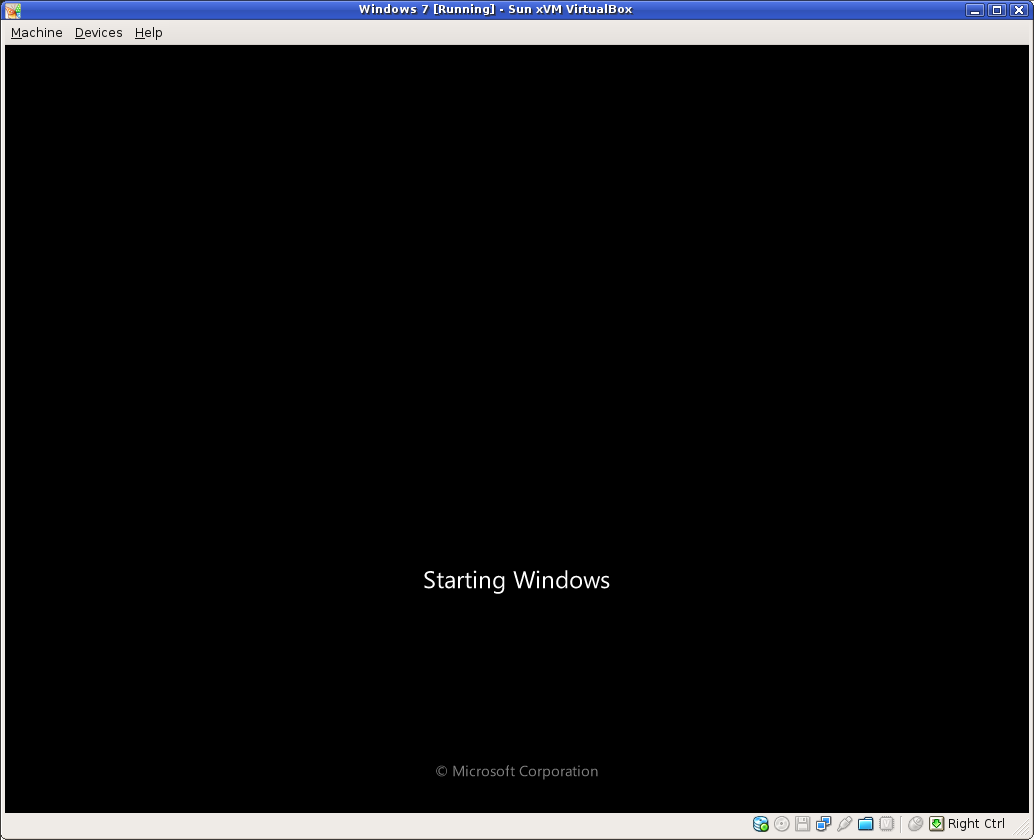
Stage 1 of the sloading screen

Stage 1 of the sloading screen.

Stage 2 of the sloading screen

Stage 2 of the sloading screen.

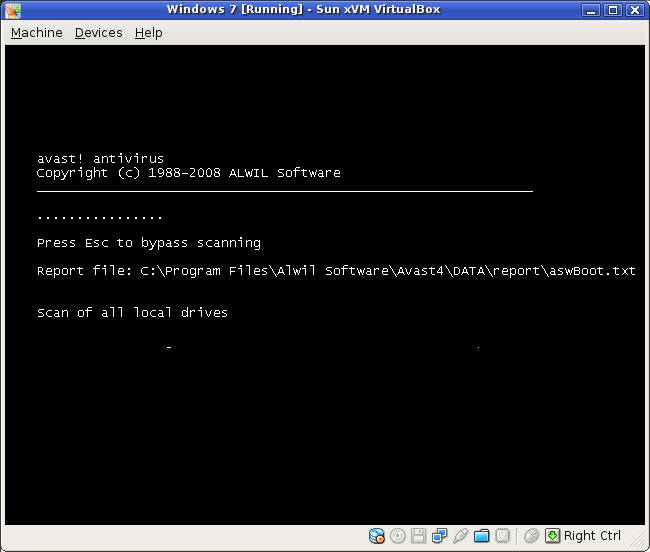
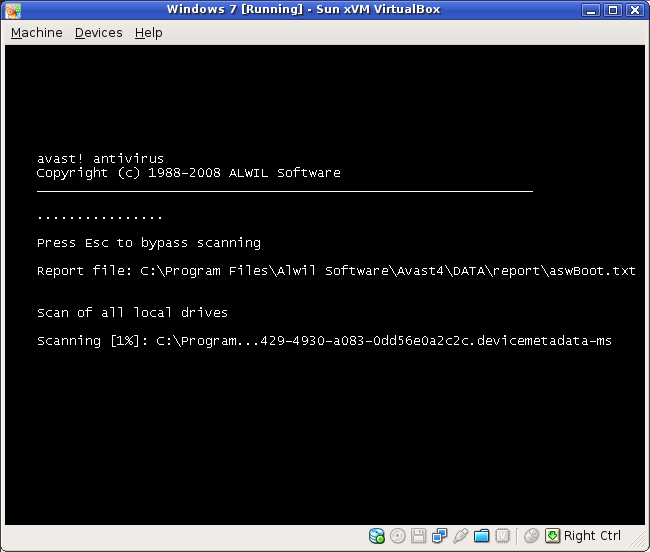
Avast has started its scan

Avast has started its scan.

1% complete... after a few minutes!!

1% complete... after a few minutes!!

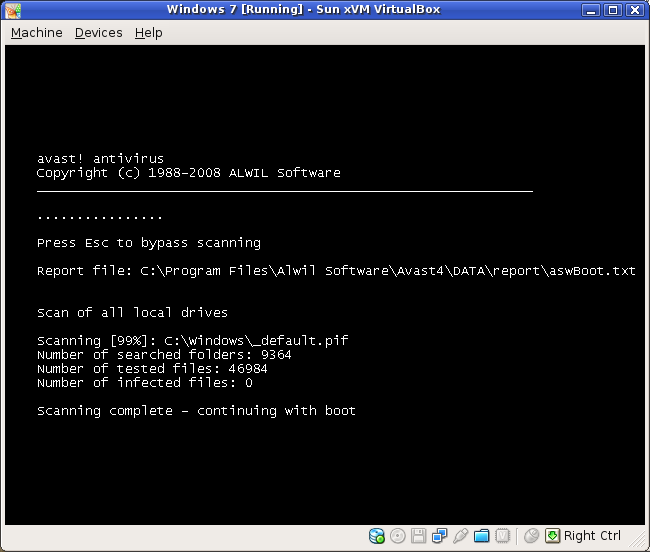
Done! after about 30 minutes...

Done! after about 30 minutes...

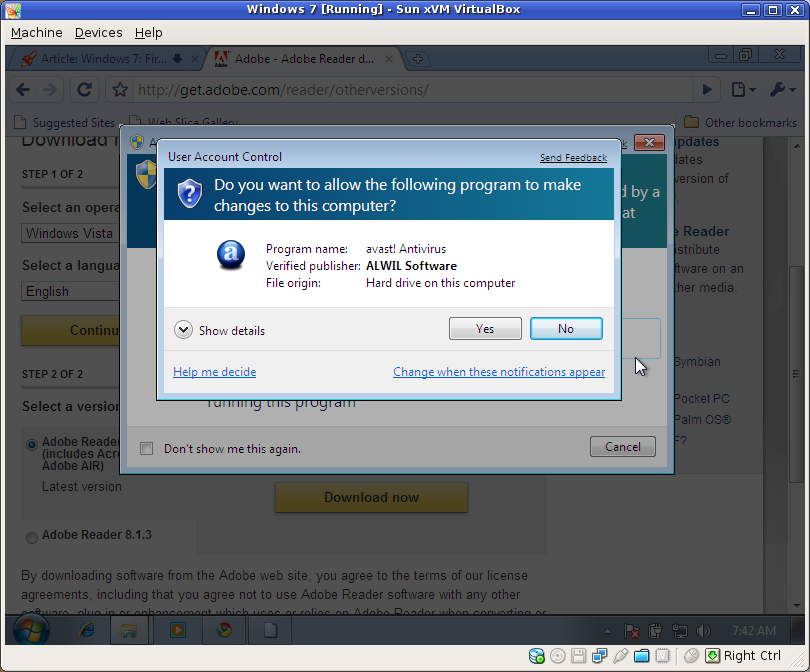
Third UAC popup...

Third UAC popup...

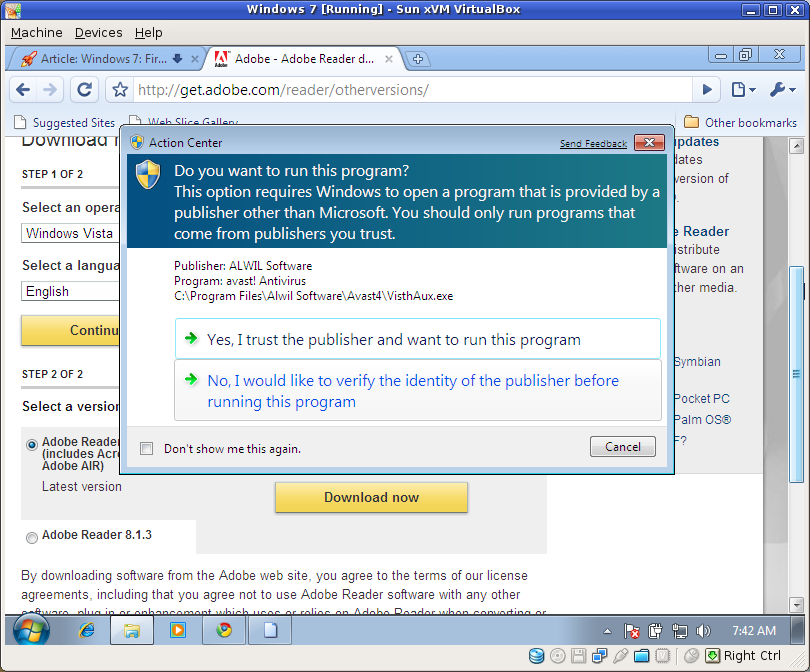
Trusted publishers?

Trusted publishers? These two screens kept coming up each time I would try to update Avast's antivirus database...

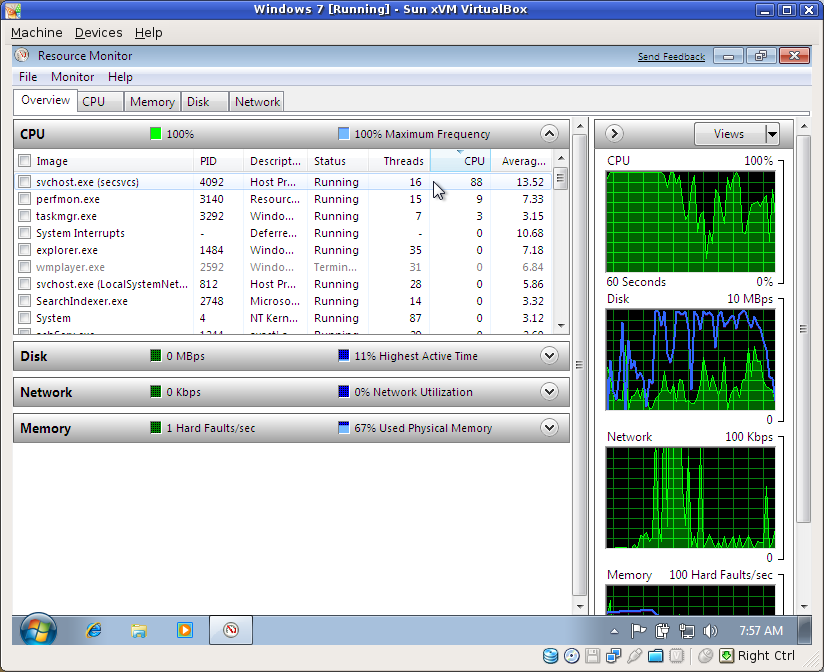
The Resource Monitor.  I was doing nothing at the time.

The Resource Monitor. I was doing nothing at the time.

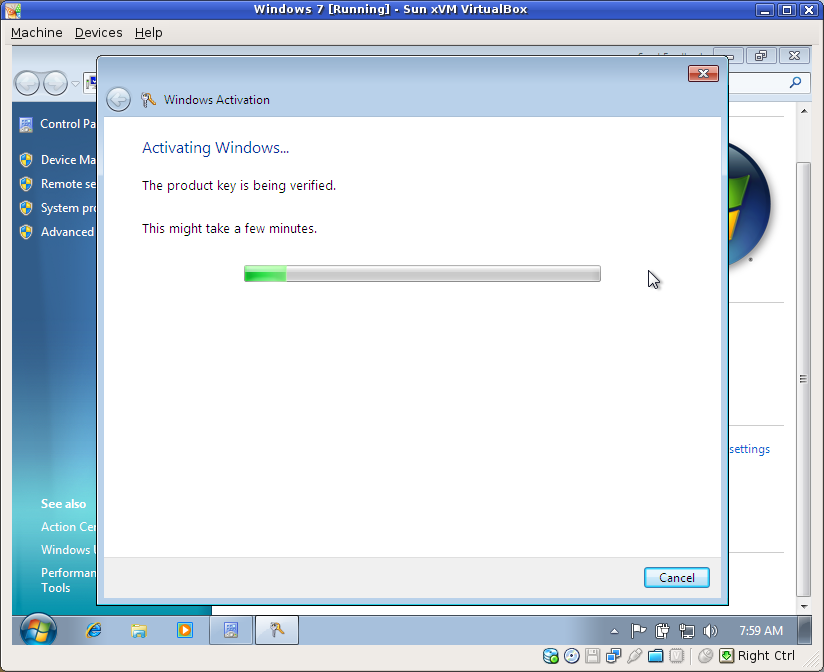
Activating my copy of Winders 7

Activating my copy of Winders 7

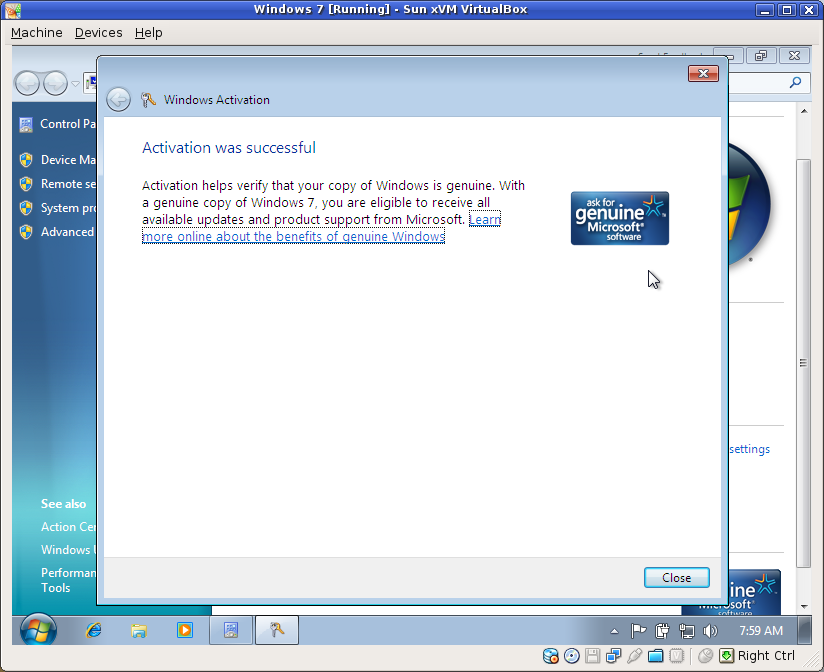
w00t.  I'm legit.

w00t. I'm legit.

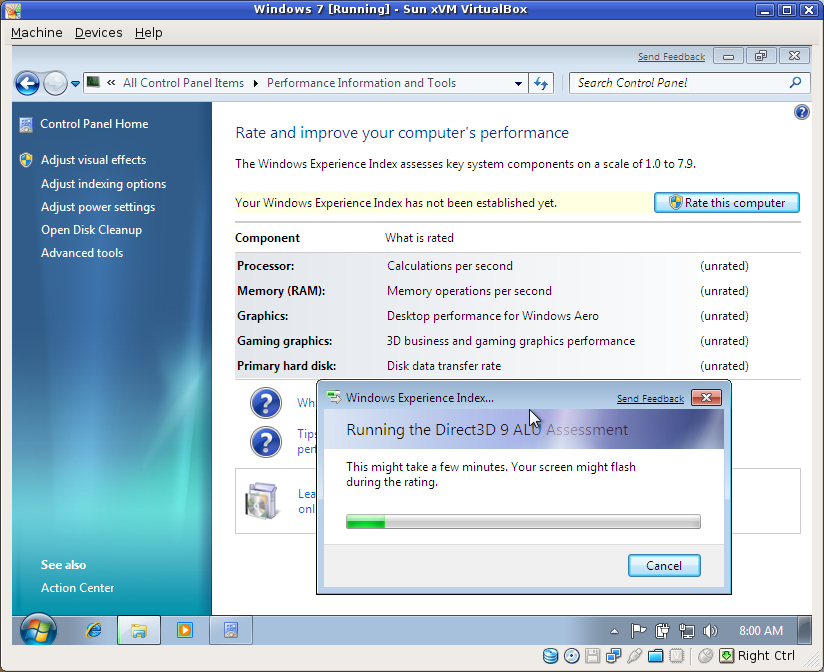
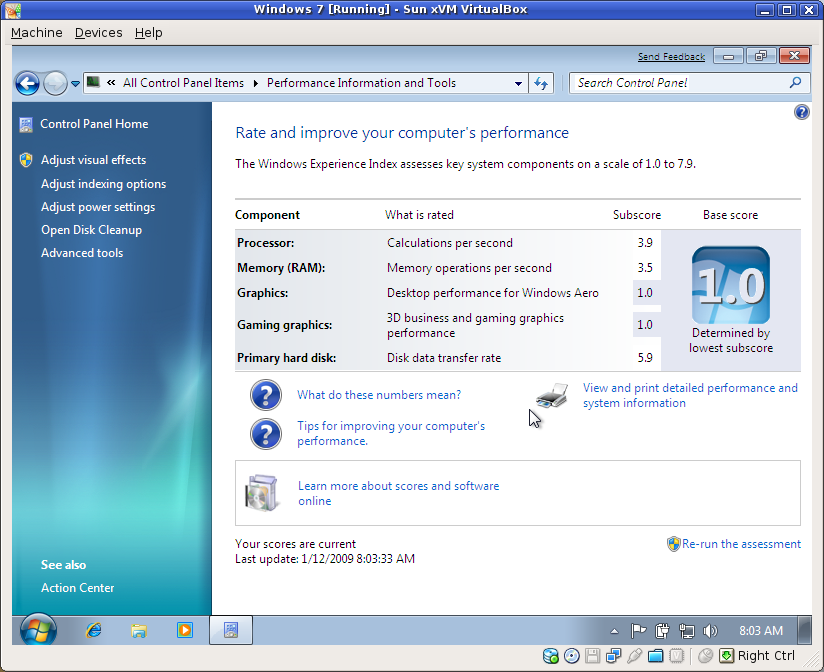
Benchmarking my system.

Benchmarking my system.

My VM ranks in at a solid 1.0!

My VM ranks in at a solid 1.0!

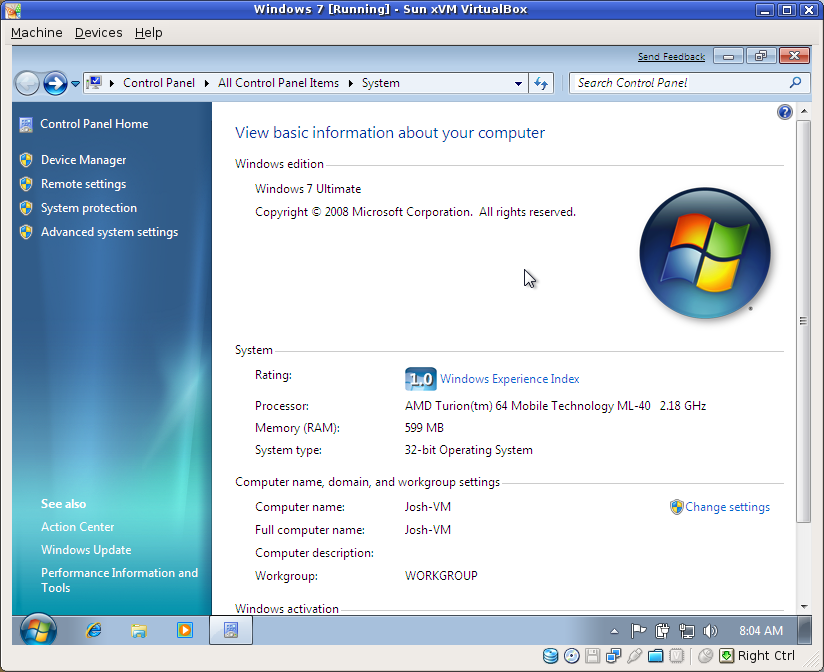
Details, details...

Details, details...

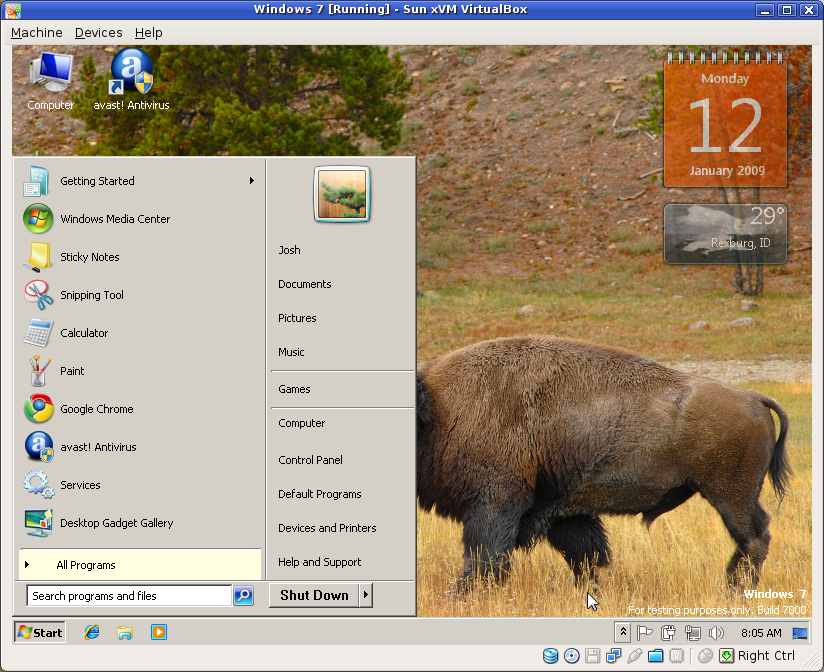
The classic Windows theme and a buffalo butt

The classic Windows theme and a buffalo butt...

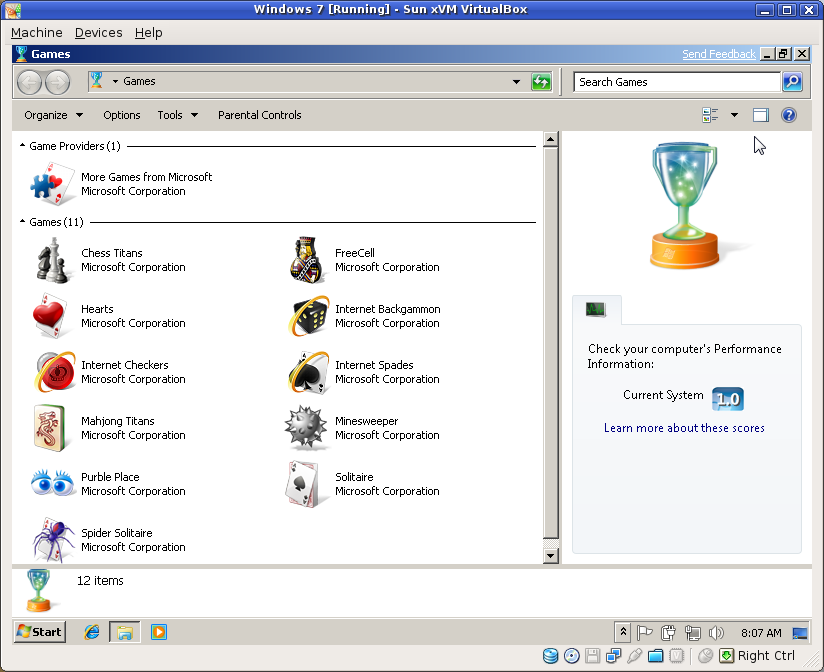
Why all the games??

Why all the games?? Why not include something a little more productive??

Giving OpenSUSE 11.1 An Honest Chance

I've decided that if I ever want to really understand Linux, I'll have to give as many distributions as possible a chance. In the past, I've tried to use OpenSUSE on my HP Pavilion dv8000 laptop, but it never seemed quite as robust or useful as many other distributions that I've tried on the same machine.

With the recent release of OpenSUSE 11.1, I downloaded the final 32-bit DVD ISO as I normally do for newly released distributions (even if I don't plan on using them--it's an addiction). I proceeded to install the GNOME version of it in a virtual machine to see what all the hubbub was about. Evaluating an operating system within a virtual machine is not the most effective way to do things, but everything seemed fairly solid. As such, and since I have always had difficulties keeping any RPM-based distro around for any length of time, I plan on using OpenSUSE 11.1 through March 2008 (perhaps longer if it grows on me). If it hoses my system, I will go back to something better. If it works, I will learn to use and appreciate it better.

The Installation

The first step when the installation program starts is to choose what language to use, after which you choose the type of installation you're going to be doing. Your choices are:

  • New Installation
  • Update
  • Repair Installed System

You also have the option of installing "Add-On Products" from another media. At this step, I chose to do a new installation.

Next, you get to choose your time zone. The interface is very intuitive. You get a map of the world, and you click on the region you want to zoom in on. Once you're zoomed in, you can select a city that is near you to specify your time zone. Alternatively, you can choose your region and time zone from a couple of drop down lists.

After setting your time zone, you get to choose which desktop environment you want to install. Your choices are:

  • GNOME 2.24.1
  • KDE 4.1.3
  • KDE 3.5.10
  • XFCE 4.4
  • Minimal X Window
  • Minimal Server Selection (Text Mode)

I will choose to install GNOME because it seems to be the desktop of the future, especially with the hideous beast that KDE has become in the 4.x series...

Now you get to play with the partitioning. Usually the installer's first guess is pretty good, but I've got a different arrangement for my partitions, so I'm going to customize things a bit.

The next step is to create a regular, unprivileged user account for your day-to-day computing needs. This screen is pretty self-explanatory if you've ever registered for an e-mail address or installed any other operating system.

One thing that seems to have been added to OpenSUSE 11.1 is the option to use your regular user password as the root password. This is probably a nice addition for a lot of people, but I'd rather feel like my computer is a little more secure by having a different password for administrative tasks.

You're also give a few other options, such as being able to receive system mail, logging in automatically, and modifying your authentication settings. Other than the administrative password option, I left everything the same. If you're like me, and choose to have a different administrative password, you will be prompted to enter the new password at the next step.

Finally, you're shown a summary of the installation tasks that will take place. I'm going to customize my software selection just a bit so I don't have to do it manually after the installation is complete. For example, while I do like GNOME to a degree, I prefer to use KDE 3.5.x, so I will choose to install that environment as well just in case I need the comfort of KDE programs. Also, since I like to use the command line interface for a lot of things, I will choose to install the "Console Tools" package, just because it sounds useful. Lastly, I will choose to install a few development packages, such as C/C++, Java, Python, and Tcl/Tk. These changes bumped up my installation size from about 2.8GB to just over 4GB.

After reviewing the remaining tasks, all you need to do is hit the "Install" button. You will be prompted to verify your desire to install OpenSUSE, after which the package installation will begin. While the installation is taking place, you have the option of watching a brain-washing slideshow, viewing the installation details as it progresses, or reading the release notes.

The actual installation took nearly 40 minutes on my laptop. While this isn't necessarily a great improvement over past releases, I'm sure the story would have been much different had I not customized the software I wanted to have installed. The introduction of installation images a few releases ago drastically improved installation times. If you don't customize your package selection, you'll probably notice the speed difference.

When all of the packages have been installed, the installation program begins to configure your newly installed OpenSUSE for your computer, with a "reboot" in between. This is when all of your hardware, such as your network adapters, graphics adapter, sound card, printers, etc are probed and configured. Strangely enough, this step seems to take a lot longer than it does in Windows, which is usually not the case with Linux. What is OpenSUSE up to I wonder?

When all is said and done, the installation program finishes on its own and loads up your desktop.

Annoyances

There are a couple things that really annoyed me right off the bat about OpenSUSE 11.1. The first was that the loading screen and installation program didn't use my laptop's native resolution. My screen is capable of 1680x1050. The installation program chopped off about 1.25 inches of screen real estate on either side of the program. I don't know if this was an intentional occurrence or not. It seems like the artwork in the installation may have been limited to a non-widescreen resolution. If so, that's completely retarded. I'd like to think that more computer users these days have a widescreen monitor than not, at least the ones who would be playing with Linux.

The second annoyance was that the installation program wouldn't use my external USB DVD drive, which I like to think more reliable than my internal DVD drive. I mean, everything would start up fine--I got the boot menu, the installation program loaded fine, and things seemed like they would work. That's up until the package repositories (the DVD) were being built. Then the USB drive just kept spinning and spinning. Once I popped the disc into my internal drive the program proceeded as expected.

Your Desktop

I thought it was interesting that I chose to install GNOME, but since I chose to install KDE 3.5.10 alongside it that's what it booted me into after the installation was completed. No real complaints, though, since I prefer KDE anyway. Nonetheless, I switched back to GNOME to stretch my limits all the more. At least the desktop took up the full resolution that my screen can handle, unlike the installation program and boot screen.

Things seem fairly responsive... nothing like Slackware though. I just received a little popup notification with an excuse for the lag I might be experiencing: the daily indexing has commenced and should be finished soon. Whatever it's up to, it's taking up a consistent 100% of my CPU. How nice. I hope whatever it's indexing ends up being useful.

Sound worked right from the get-go, which is nice. Hardware acceleration for my Radeon Xpress 200M doesn't work, nor does my Broadcom wireless card. These will be fixed soon.

The Wireless

It looks like the most important step in getting my wireless to work was executing these commands as root:

/usr/sbin/install_bcm43xx_firmware
modprobe b43

I did a lot of stuff to try to get my wireless to work before I executed those commands, but nothing did the trick until I tried them. Also, to make the wireless available each time you reboot without requiring the modprobe b43 command, you need to edit your sysconfig.

To do that, open up YaST and find the "/etc/sysconfig Editor" option. Expand the "System" node, and navigate to Kernel > MODULES_LOADED_ON_BOOT. Then put b43 in the value box. Apply the changes. The next time you reboot your computer, the wireless should be available from the get-go.

The Video Card

This section only really applies to folks with ATI graphics adapters.

I found a tutorial on ubuntuforums.org, strangely enough, which described the process for getting ATI drivers to work on OpenSUSE 11.1. The first step is to download the official ATI drivers for Linux. Each of these commands should be executed as root:

wget https://a248.e.akamai.net/f/674/9206/0/www2.ati.com/drivers/\
linux/ati-driver-installer-8-12-x86.x86_64.run

Next, you need to download the kernel source and ensure that you have a few other utilities required for compiling a kernel module:

zypper in kernel-source gcc make patch

Now you should be able to run through the ATI driver installation utility, accepting all of the defaults:

sh ati-driver-installer-8-12-x86.x86_64.run

If you're on 64-bit OpenSUSE, you need to take an extra step to make the driver available:

rm /usr/lib/dri/fglrx_dri.so && ln -s /usr/lib64/dri/fglrx_dri.so \
/usr/lib/dri/fglrx_dri.so

Backup your existing xorg.conf configuration file and configure Xorg to use the new driver:

cp /etc/X11/xorg.conf /etc/X11/xorg.conf.orig
aticonfig --initial -f

Finally, configure Sax2 with the ATI driver:

sax2 -r -m 0=fglrx

Upon rebooting your computer, you should be able to use the hardware-accelerated 3D capabilities of your ATI card. To verify that things are up and running, execute fglrxinfo as a normal user. This command renders the following output on my system:

display: :0.0  screen: 0
OpenGL vendor string: ATI Technologies Inc.
OpenGL renderer string: ATI Radeon Xpress Series
OpenGL version string: 2.1.8304 Release

Other Thoughts

After having played with OpenSUSE 11.1 for a couple hours, I think I might be able to keep it around for a little while. Despite the lack of speed exhibited by other Linux distributions, the "stability" that OpenSUSE seems to offer is attractive to me. It will likely take some time to get used to RPMs over DEBs for package management.

How bad can it be? I mean, it comes with OpenOffice 3.0.0, which is nice. It can handle dual-head mode on my laptop thanks to Xinerama, which no other distro to date has been able to do. This gives me a little more screen real estate to work with, which helps out a lot when I'm developing a Web site or working in an IDE. The package managers are slow, but how often do you really install software anyway?

Again, we'll just have to see how things pan out. Let's hope it turns out to be a positive experience.

Installing Slackware 12.2 On Your EeePC (701 4G, in my case)

Welcome to my second article about installing Slackware on an Asus EeePC. This is a follow-up article to the one I posted in May 2008 soon after Slackware 12.1 was released. In this article, I will assume that you're doing a fresh installation of Slackware 12.2 and that you have access to an external USB CD/DVD ROM drive.

In all honesty, the installation process is extremely similar to what I did with 12.1. However, looking back at my previous article, I realize that my steps may not have been the most useful in the world. This time around I will try to be more helpful.

Getting Slackware

The first, and most obvious step, is to get a copy of Slackware. Simply head on over to http://www.slackware.com/getslack/ and retrieve the appropriate ISO(s) using whichever method you prefer. I downloaded the DVD version of Slackware. If you download the CD ISOs, you really only need the first 3 ISOs. The remaining 3 are source packages for the binary packages you install from the first three discs. Rarely do you need the source code for these packages.

After retrieving the Slackware ISO(s), you must burn them to a disc of some sort: ISOs that are ~650MB should be burned to CDs and anything larger should (obviously) be burned to a DVD. Be sure you burn each ISO using the "burn disc image" functionality in your disc writing software--simply burning the ISO file onto the disc in a regular data session will not do what we need.

Booting The Install Disc

After you have a good copy of the installation disc (the DVD or the first of the CDs), put the disc into your CD/DVD ROM drive and reboot your computer. To ensure that your computer boots from the disc rather than the hard drive, hit F2 when you see the initial boot screen. Then go to the "Boot" tab and verify that your external CD/DVD drive takes precedence over the internal SSD. While we're in the BIOS, let's hop over to the "Advanced" tab and set "OS Installation" to "Start". This will increase the chances that your external drive will be recognized or something.... mine didn't work until I made that change. When you're all done with that, exit your BIOS, saving your changes.

The computer will reboot, and it should access your installation disc immediately after the initial boot screen disappears. Once you boot from the installation disc, you should be presented with a screen which allows you to pass some settings to the installation kernel.

The installation boot screen

To make the installation go faster, use the following boot string:

hugesmp.s hdc=noprobe

This makes it so the installation will see the internal SSD as /dev/sda instead of /dev/hdc, which also boosts the read/write times by about 13 times.

During the boot process you will be asked to specify your keyboard map. Unless you want something special here, just hit the enter key to proceed.

Partition Your SSD

Next you will need to login as root and partition your SSD. You can do this using one of the following two commands:

fdisk /dev/sda
cfdisk /dev/sda

Here are some steps in case you're not familiar with these utilities:

  1. Remove all partitions (unless you know what you're doing)
    1. fdisk: d to delete (you may have to select multiple partitions to delete if you have more than one for some reason)
    2. cfdisk: Select all partitions individually with up/down arrow keys and use the left/right arrow keys to select delete from the menu at the bottom. Hit enter to run the delete command when it's highlighted.
  2. Create one partition that takes the whole SSD (again, unless you know what you're doing)
    1. fdisk: n (for new); enter; p (for primary); enter; 1 (for the first primary partition); enter; enter (to start at the beginning of the drive); enter (to select the end of the drive)
    2. cfdisk: Select the new command with the left/right arrow keys and hit enter when it's selected. Make it a primary partition, and have it take the whole SSD (3997.49MB in my case).
  3. Set the type of the new partition to be Linux
    1. fdisk: t (for type); enter; 83 (for Linux); enter
    2. cfdisk: Use the left/right arrow keys to select the type command at the bottom and hit enter when it's selected. Choose 83.
  4. Set the new partition (or the first, if you decided to make more than one) to be bootable
    1. fdisk: a (for bootable); enter; 1 (for primary partition 1); enter
    2. cfdisk: Select the bootable command from the bottom using the left/right arrow keys. Hit enter when it's selected.
  5. Write the changes to the partition table and quit
    1. fdisk: w
    2. cfdisk: Use the left/right arrow keys to select the write command from the bottom. Hit enter when it's selected. Type 'yes' to verify your intent, acknowledging that your previous data will be "gone". Then select the quit command.

Installing Slackware

As soon as your partitioning has finished, go ahead and run setup to begin the actual installation program.

The first screen of the installation program

Since we don't have a swap partition, can jump straight to the TARGET option. Use the arrow keys to highlight this option and hit enter. Select /dev/sda1 from the list, and format it with ext2. On the EeePC, most people prefer this format since it is a non-journaling filesystem. That means fewer writes to the SSD, which supposedly translates to a longer lifetime.

After the SSD is formatted, you will be asked to select the installation source. Again, I'm assuming that you want to use your fresh Slackware 12.2 disc, but you are free to choose what you want if you know what you're doing.

Selecting the installation source

I went with the default "Install from a Slackware CD or DVD" and told it to auto scan for my disc drive. It was found at /dev/sr0.

Choosing Your Packages

Next, you are given the opportunity to tweak the package series which will be installed on your EeePC. I chose the following series: A, AP, K, L, N, TCL, X, and XAP. I planned on using XFCE instead of KDE on my EeePC simply because it is much more light-weight and still capable of what I need. If you want KDE, be sure to check the appropriate series.
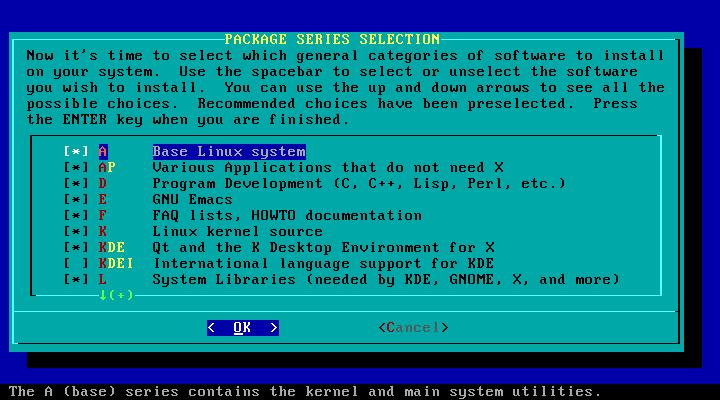
Selecting the packages to install

Once you mark each of the package series you wish to install, hit the "OK" button. You'll then have to choose which prompting mode to use. I chose menu, simply to be a little more picky about which packages I wanted installed. Installation took approximately 28 minutes with my package selection and setup.

Configuring Your System

When all of the packages are done being installed, you will be presented with some other screens to finish up the installation process.

  1. Choose whether or not you want to make a bootable USB... I skipped it.
  2. Choose how you wish to install LILO. I chose simple.
  3. Choose your frame buffer mode for the console. I chose 640x480x256.
  4. Specify any optional kernel parameters. Ensure that the hdc=noprobe from earlier is here to speed up your system considerably.
  5. Specify whether you wish to use UTF-8 on the console. I chose no.
  6. Specify where to install LILO. I chose MBR.
  7. Specify your mouse type. I chose imps2.
  8. Specify whether or not you wish to have gpm run at boot, which allows you to use your mouse in the console. I chose yes.
  9. Configure your network.
  10. Give your EeePC a hostname. This can be whatever you'd like.
  11. Specify the domain for your network. This can be whatever you'd like as well.
  12. Configure your IP address information. I just chose DHCP.
  13. Set the DHCP hostname. I left this blank.
  14. Review and confirm your network settings.
  15. Choose which services you wish to have running immediately after booting.
  16. See if you want to try custom screen fonts. I usually don't bother.
  17. Specify whether your hardware clock is set to local time or UTC.
  18. Choose your timezone.
  19. Select your preferred window manager. I chose XFCE.
  20. Set the root password.

At this point Slackware has been installed on your EeePC and you can exit the setup menu and hit Ctrl-Alt-Delete to reboot your computer.

First Boot

You should now go back into your BIOS and set "OS Installation" back to "Finished", exit and save changes, and reboot again.

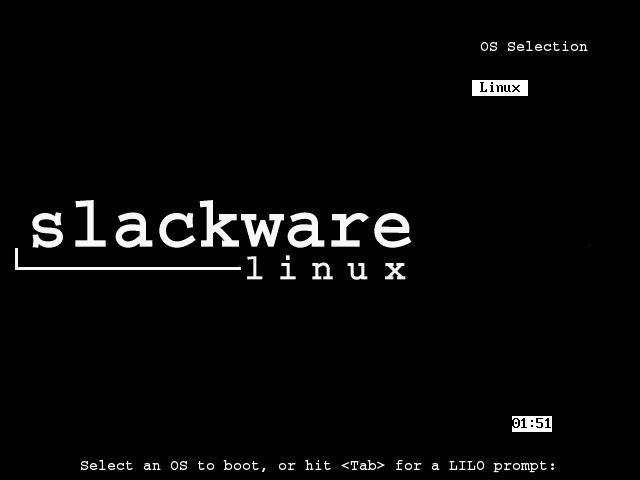
Slackware's default LILO boot screen

You should then see the Slackware boot screen. By default, it has a 2-minute timeout, which seems absolutely absurd to me, so we'll change that later. Just hit enter for now and watch your new Slackware boot. The first boot will usually take a bit longer than subsequent reboots because all sorts of things need to generate their first configuration file.

When your system is ready, you'll be presented with a login prompt. Just login as root, using the password you specified in the last step of the installation process.

Tweaking Your Slackware

Here are some of the first things I do when I install a new copy of Slackware:

Add An Unprivileged User

This step is very important, because one thing that sets Linux apart from other operating systems is security ;). If you run your Linux system as root all the time, you're begging for problems.

To create a new unprivileged user, I use the adduser command. It walks you through the process of creating a user. This is the user you should use to do your day-to-day computing. Only use the root user when performing system administration tasks. Trust me :)

Tell X Windows to Start Automatically

I have no problem with the command line interface in Linux. I actually enjoy it quite a bit. However, on a device such as the EeePC, not having a GUI just doesn't seem all that practical. It's also not very impressive to your potential converts when they look over your shoulder and see that your tiny gadget just displays a black and white screen when you turn it on...

So, to help ourselves be a little more productive and to impress our followers, let's tell X Windows to start up automatically when we turn on the computer. To do that, we want to edit /etc/inittab and change the following line:

id:3:initdefault:

to be:

id:4:initdefault:

You can use whatever program you feel comfortable with, such as vi or nano. The next time you reboot your computer, you should see a GUI as soon as all of the services are fully loaded.

Along with this step, I suppose we can mention the configuration of X Windows. I usually run xorgsetup as root to get things up and running. Usually there is also a bit of tweaking to get things like the scroll wheel on the mouse to function. This part in particular took quite some time for me to figure out.

Enable The Scroll Wheel on the Trackpad

Some of you might be able to live without being able to scroll a page or whatever without using the scroll feature on most mouse devices these days, but I'm not one of them. Here is my entire /etc/X11/xorg.conf file:

Section "ServerLayout"
    Identifier     "X.org Configured"
    Screen      0  "Screen0" 0 0
    InputDevice    "Mouse0" "CorePointer"
    InputDevice    "SynapticMouse" "AlwaysCore"
    InputDevice    "Keyboard0" "CoreKeyboard"
EndSection

Section "Files"
    RgbPath      "/usr/share/X11/rgb"
    ModulePath   "/usr/lib/xorg/modules"
    FontPath     "/usr/share/fonts/TTF"
    FontPath     "/usr/share/fonts/OTF"
    FontPath     "/usr/share/fonts/Type1"
    FontPath     "/usr/share/fonts/misc"
    FontPath     "/usr/share/fonts/75dpi/:unscaled"
EndSection

Section "Module"
    Load  "xtrap"
    Load  "GLcore"
    Load  "record"
    Load  "dri"
    Load  "dbe"
    Load  "extmod"
    Load  "glx"
    Load  "freetype"
    Load  "type1"
    Load  "synaptics"
EndSection

Section "InputDevice"
    Identifier  "Keyboard0"
    Driver      "kbd"
    Option       "XkbModel"  "pc104"
    Option       "XkbLayout"  "us"
EndSection

Section "InputDevice"
    Identifier  "Mouse0"
    Driver "mouse"
    Option "Device" "/dev/input/mice"
    Option "Protocol" "IMPS/2"
    Option "Buttons" "5"
    Option "zAxisMapping" "4 5"
    Option "SHMConfig" "on"
EndSection

Section "InputDevice"
    Identifier "SynapticMouse"
    Driver "synaptics"
    Option "Device" "/dev/input/mice"
    Option "Protocol" "auto-dev"
    Option "SHMConfig" "on"
EndSection

Section "Monitor"
    Identifier   "Monitor0"
    VendorName   "Monitor Vendor"
    ModelName    "Monitor Model"
EndSection

Section "Device"
        ### Available Driver options are:-
        ### Values: <i>: integer, <f>: float, <bool>: "True"/"False",
        ### <string>: "String", <freq>: "<f> Hz/kHz/MHz"
        ### [arg]: arg optional
        #Option     "NoAccel"               # [<bool>]
        #Option     "SWcursor"              # [<bool>]
        #Option     "ColorKey"              # <i>
        #Option     "CacheLines"            # <i>
        #Option     "Dac6Bit"               # [<bool>]
        #Option     "DRI"                   # [<bool>]
        #Option     "NoDDC"                 # [<bool>]
        #Option     "ShowCache"             # [<bool>]
        #Option     "XvMCSurfaces"          # <i>
        #Option     "PageFlip"              # [<bool>]
    Identifier  "Card0"
    Driver      "intel"
    VendorName  "Intel Corporation"
    BoardName   "Mobile 915GM/GMS/910GML Express Graphics Controller"
    BusID       "PCI:0:2:0"
EndSection

Section "Screen"
    Identifier "Screen0"
    Device     "Card0"
    Monitor    "Monitor0"
    DefaultDepth 24
    SubSection "Display"
        Viewport   0 0
        Depth     1
    EndSubSection
    SubSection "Display"
        Viewport   0 0
        Depth     4
    EndSubSection
    SubSection "Display"
        Viewport   0 0
        Depth     8
    EndSubSection
    SubSection "Display"
        Viewport   0 0
        Depth     15
    EndSubSection
    SubSection "Display"
        Viewport   0 0
        Depth     16
    EndSubSection
    SubSection "Display"
        Viewport   0 0
        Depth     24
    EndSubSection
EndSection

A lot of that stuff might not be necessary, but it's what works for me. Normally the process for enabling the scroll wheel is pretty easy, but something seems to have changed in this respect with the release of Slackware 12.2. I had to edit the /etc/modprobe.d/psmouse script to make this line:

options psmouse proto=imps

look like:

options psmouse proto=any

After making that change, things seemed to work a lot better.

Make LILO to Boot Faster

There are a couple tricks we can use to make LILO boot our EeePC slightly faster. The first is to add the compact option somewhere, and the second is to decrease the menu timeout.

Open up /etc/lilo.conf with a text editor of your choosing as root. Add a single line with the word compact somewhere. I put it under the line that says boot = /dev/sda so the top of lilo.conf looks like this:

# LILO configuration file
# generated by 'liloconfig'
#
# Start LILO global section
# Append any additional kernel parameters:
append="hdc=noprobe vt.default_utf8=8"
boot = /dev/sda
compact

I also changed the line that said timeout = 1200 to be timeout = 50 to make LILO only hang around for 5 seconds instead of 2 minutes.

After making these changes, we must reinstall LILO to the MBR with the new settings:

lilo -v

Here's my /etc/lilo.conf with most of the commented lines removed:

# LILO configuration file
# generated by 'liloconfig'
#
# Start LILO global section
# Append any additional kernel parameters:
append="hdc=noprobe vt.default_utf8=0"
boot = /dev/sda
compact

# Boot BMP Image.
# Bitmap in BMP format: 640x480x8
bitmap = /boot/slack.bmp
bmp-colors = 255,0,255,0,255,0
bmp-table = 60,6,1,16
bmp-timer = 65,27,0,255

prompt
timeout = 50
change-rules
reset
vga = normal
# End LILO global section
# Linux bootable partition config begins
image = /boot/vmlinuz
root = /dev/sda1
label = Linux
read-only
# Linux bootable partition config ends

Network Tweaking

While the wireless adapter seemed to work great for me out of the box this time, the ethernet adapter is still not functional. I compiled and installed the atl2 driver to solve the problem. You can get it from http://people.redhat.com/csnook/atl2/atl2-2.0.4.tar.bz2. Here are the steps I took to install it:

wget http://people.redhat.com/csnook/atl2/atl2-2.0.4.tar.bz2
tar jxf atl2-2.0.4.tar.bz2
cd atl2-2.0.4
make
cp atl2.ko /lib/modules/`uname -r`/kernel/drivers/net/
depmod -a
modprobe atl2
ifconfig

The next tweak I added for networking was to boost boot times... The DHCP address request hangs the entire boot process out of the box if you don't have an ethernet cable plugged in while booting. To remedy this problem, add the following line to the first section of your /etc/rc.d/rc.inet1.conf:

DHCP_TIMEOUT[0]="5"

This will tell your computer to continue booting if an IP address hasn't been assigned after 5 seconds of waiting.

Enable Frequency Scaling

We all like out battery to last a long time, right? Well, the EeePC 701 doesn't have the greatest battery in the world, but we can help increase the battery life by enabling the CPU frequency modules. I put this stuff in my /etc/rc.d/rc.local script:

#!/bin/sh
#
# /etc/rc.d/rc.local:  Local system initialization script.
#
# Put any local startup commands in here.  Also, if you have
# anything that needs to be run at shutdown time you can
# make an /etc/rc.d/rc.local_shutdown script and put those
# commands in there.

modprobe p4-clockmod
modprobe cpufreq_ondemand
modprobe cpufreq_conservative
modprobe cpufreq_powersave
modprobe cpufreq_performance

cpufreq-set -g ondemand -d 450Mhz -u 900Mhz

Add Your SD Card to /etc/fstab

I have an SD card that I leave in my EeePC all the time, and it's formatted with ext2 just like the internal SSD. Without this tweak, I have to mount the SD card each time I turn on the computer, which gets bothersome. My fix is to add the SD card to /etc/fstab, which takes care of mounting the device at boot.

First, you should make a directory that will be used to mount the device. I made one as such:

mkdir /mnt/sd

Now you need to determine your SD card's UUID. I started out by unmounting my SD card and taking it out of the slot. Then I executed this command:

ls /dev/disk/by-uuid

Next, I popped the SD card back in and executed that command again. The UUID that appears the second time but not the first time is your SD card's UUID.

It's time to add the magic line to your /etc/fstab. Add a line such as:

UUID=[your SD card's UUID] /mnt/sd ext2 defaults,noatime 1 1

somewhere in the file. While we're digging around in /etc/fstab, we might as well add the noatime option to the internal SSD to help reduce disk writes. Save the file and exit the editor. Then mount everything (using mount -a) or just the SD card (using mount /mnt/sd).

For posterity's sake, here's my entire /etc/fstab file:

/dev/sda1        /                ext2        defaults,noatime         1   1
UUID=30293ff4-5bee-457a-8528-ec296f099e9a /mnt/sd ext2 defaults,noatime 1 1
#/dev/cdrom      /mnt/cdrom       auto        noauto,owner,ro  0   0
/dev/fd0         /mnt/floppy      auto        noauto,owner     0   0
devpts           /dev/pts         devpts      gid=5,mode=620   0   0
proc             /proc            proc        defaults         0   0
tmpfs            /dev/shm         tmpfs       defaults         0   0

Preventing Shutdown Hangs

Sometimes the sound card seems to make Slackware hang when you're shutting down. Everything seems to turn off fine, but the little green power LED still shines bright. The solution to this problem appears to be adding the following line:

modprobe -r snd_hda_intel

to /etc/rc.d/rc.6 right before the "Unmounting local file systems." line (around line 195).

Enable Volume Hotkeys and Sleeping

Slackware 12.2 is already listening for ACPI events by default, so we just need to insert our custom stuff into /etc/acpi/acpi_handler.sh:

#!/bin/sh

IFS=${IFS}/
set $@

#logger "ACPI Event $1, $2, $3, $4, $5"

case "$1" in
    button)
        case "$2" in
            power) /sbin/init 0;;
            sleep) /etc/acpi/actions/lid.sh;;
            lid)
                if grep -q closed /proc/acpi/button/lid/LID/state
                then
                    /etc/acpi/actions/lid.sh
                fi
                ;;
            *) logger "ACPI action $2 is not defined";;
        esac
        ;;
    hotkey)
        case "$3" in
            # Fn+F2 Wireless/Bluetooth button
            # Fn+F7 Mute button
            00000013) amixer set Master toggle;;
            # Fn+F8 Volume down
            00000014) amixer set Master 10%-;;
            # Fn+F9 Volume up
            00000015) amixer set Master 10%+;;
        esac
        ;;
    *) logger "ACPI group $1 / action $2 is not defined";;
esac

And to handle the closing of the lid or pressing the sleep button, we need to create a new script in /etc/acpi/actions/ called lid.sh:

#!/bin/sh
# script by Fluxx from linuxquestions slackware forum
# discover video card's ID
ID=`/sbin/lspci | grep VGA | awk '{ print $1 }' | sed -e 's@:@/@'`

# securely create a temporary file
TMP_FILE=`mktemp /tmp/video_state.XXXXXX`
trap 'rm -f $TMP_FILE' 0 1 15

# switch to virtual terminal 1 to avoid graphics
# corruption in X
chvt 1

/sbin/hwclock --systohc

# remove the webcam module
rmmod uvcvideo

# write all unwritten data (just in case)
sync

# dump current data from the video card to the
# temporary file
cat /proc/bus/pci/$ID > $TMP_FILE

# suspend-to-ram
# (samwise) not using this it stuffs up the screen brightness
echo -n mem > /sys/power/state

# suspend-to-disk
#echo -n disk > /sys/power/state

# standby
#echo -n standby > /sys/power/state

# force on for now...
xset dpms force on

/sbin/hwclock --hctosys

# restore the webcam module
modprobe uvcvideo

# restore video card data from the temporary file
# on resume
cat $TMP_FILE > /proc/bus/pci/$ID

# switch back to virtual terminal 2 (running X)
chvt 6; sleep 2
chvt 2

# remove temporary file
rm -f $TMP_FILE

And we need to make sure the script is executable:

chmod +x /etc/acpi/actions/lid.sh

These scripts should enable us to use the mute key, the increase/decrease volume keys, and the sleep key. They should also allow us to close the lid of the EeePC to put it to sleep. Occasionally, when you wake up the computer, you will just see a blank black screen. To get around this, switch back to VT2 by using the keystroke Ctrl+Alt+F2.

Install Special Packages

Slackware comes with a lot of awesome stuff right out of the box, but it is missing some very important utilities at the same time. Included in this list, for me, is a program called wicd, or a network connectivity manager. This is similar to the "Network Manager" utility found in other mainstream distributions like Ubuntu, Fedora, and openSuSE. Slackware has yet to include such a utility by default.

Anyway, wicd can be found in the extra directory on the Slackware DVD or the 3rd (?) CD. To install it, find the package on the disc (or download it from the Internet) and execute the following command:

installpkg wicd-1.5.6-noarch-2.tgz

Be sure to check out the extra directory on the Slackware install disc. There are some neat tools in there. Some excellent resources for Slackware packages include:

There are some utilities out there to help you in your quest to resolve package dependencies. Two of the major ones that I've used in the past are swaret and slapt-get.

Using Slackware 12.2
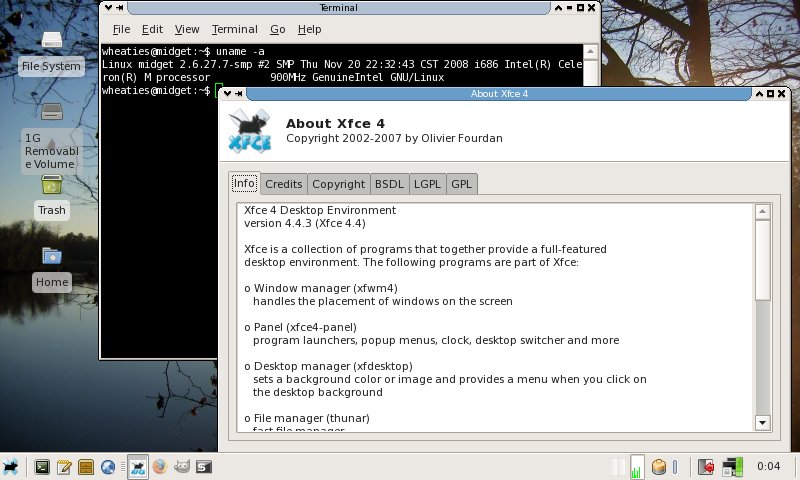
My Slackware 12.2-powered EeePC 701 4G

I have to give the Linux kernel hackers props--the 2.6.27.7 kernel is amazingly fast! I'm sure the fact that I'm running a fairly stock Slackware installation (as opposed to something like Ubuntu) helps the speed quite a bit too. This past semester I had Linux Mint 5 (XFCE edition) installed on my EeePC, and that seemed fairly responsive. Slackware blew me away though, and I can still do everything I want to do!
The webcam and sound card work out of the box, just like the wireless. I rarely use the webcam, but it's fun to play with, and my mom appreciates seeing me on Skype occasionally. The wireless connection quality exceeds what it was with the madwifi driver I was using with Slackware 12.1 and other distros like Linux Mint. Programs are ultra speedy and responsive, even with the processor clocked at 450Mhz. I love it!!!

Boot times could be better, but I'm not too concerned with it. My setup takes approximately 50 seconds from boot to a useable desktop interface. Not horrible by any means, but perhaps not the best for a netbook when all you want to do is check your e-mail.

I would like to see the Network Manager that so many other distributions offer in Slackware some day. The wicd application is nice, but it's not nearly as intuitive as Network Manager, and it seems to be relatively limited in its capabilities in comparison. I know I'm not alone in my desire to see Network Manager included, or at least available, for Slackware. It would be tremendously beneficial in a world where wireless networking and laptops are more and more pervasive. Using the command line to adjust your wireless connection settings each time you have to hop to a new access point is just annoying.

In the end, I'm excited to have Slackware on my EeePC once again. I think it will be around for quite a while this time.

Please comment with any advice or problems that you have in regards to installing Slackware 12.2 on an EeePC.