Windows 7 Public Beta Screenshots

Here are some screenshots of the Windows 7 public beta. I installed it in a VirtualBox virtual machine and allocated 600MB of RAM to it.

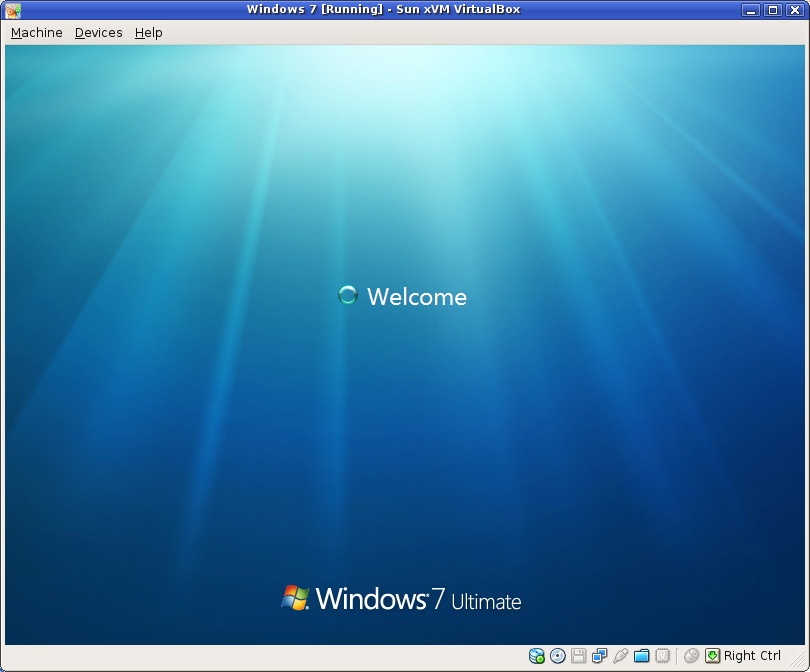
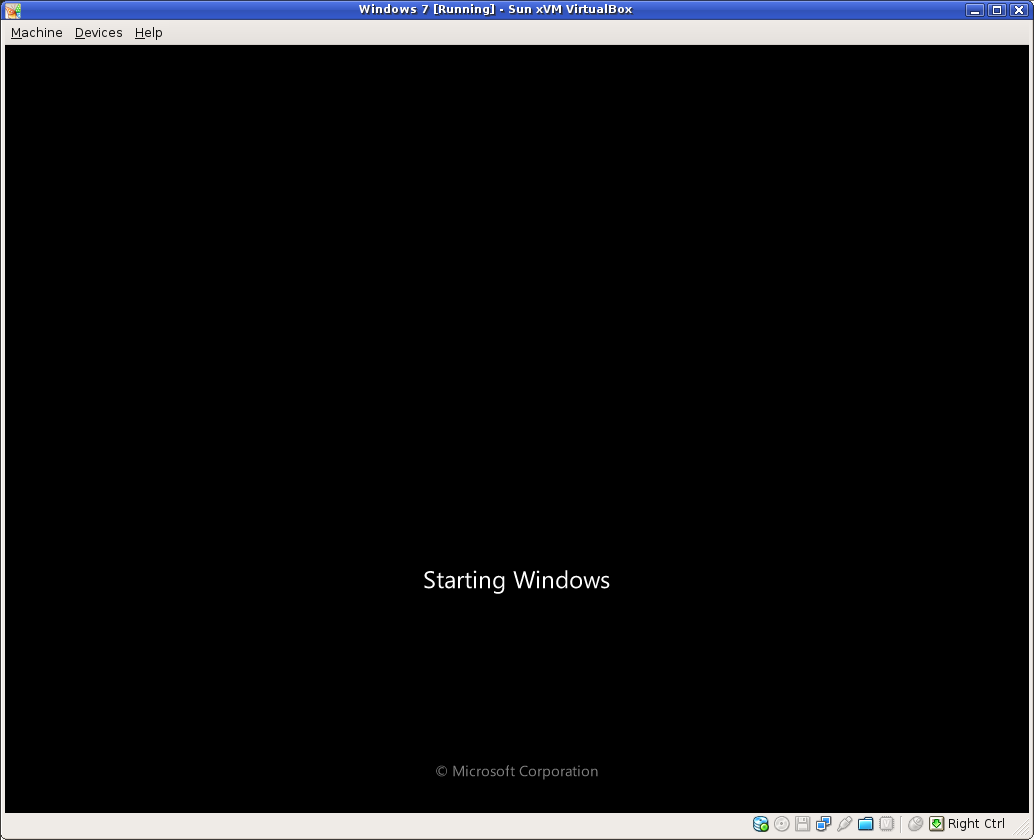
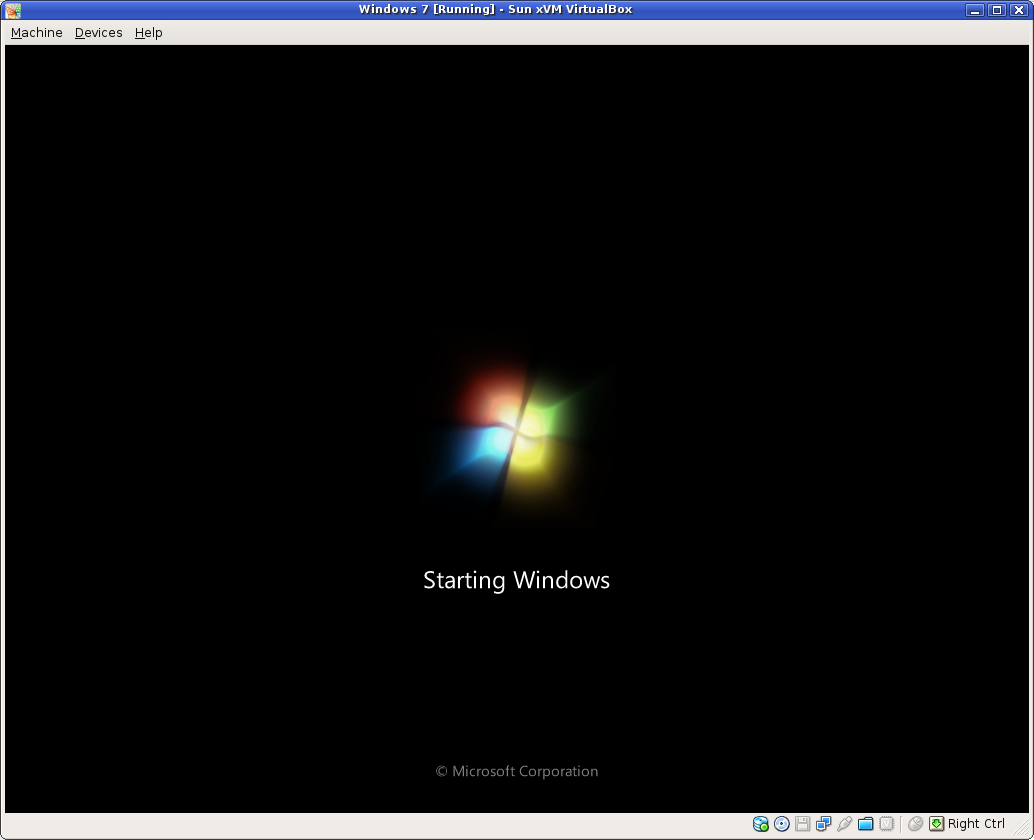
The new and improved sloading screen

The new and improved sloading screen.

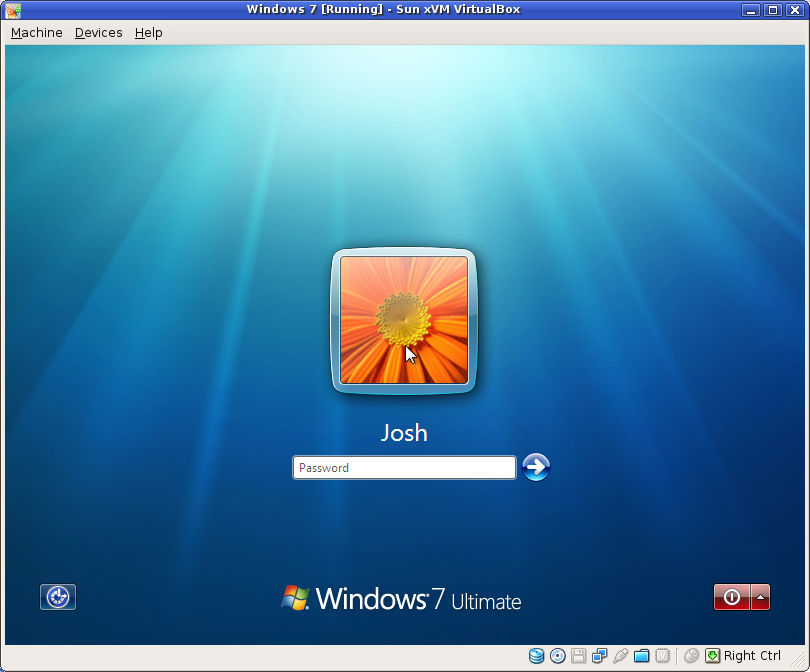
The login screen

The login screen

Logging in....

Logging in....

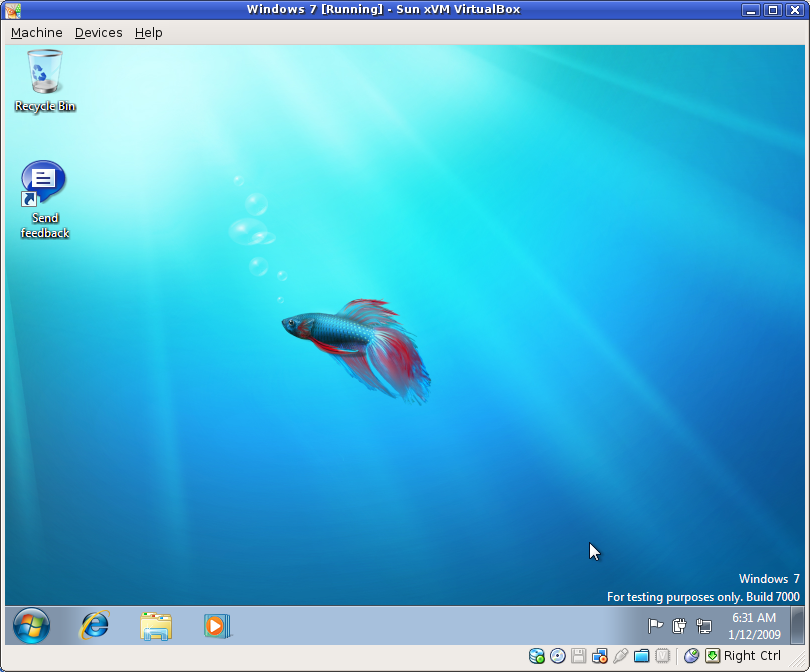
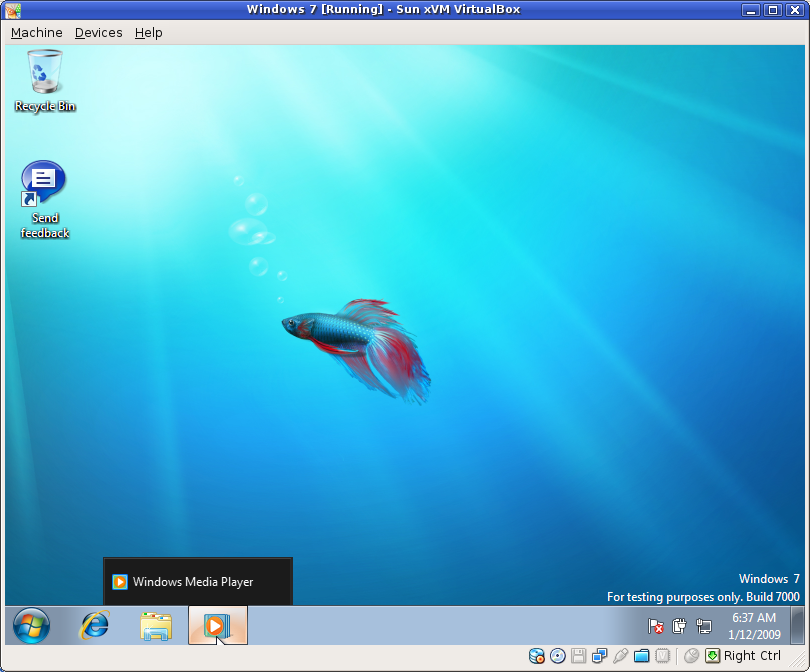
The desktop.... and a fish!!

The desktop.... and a fish!!

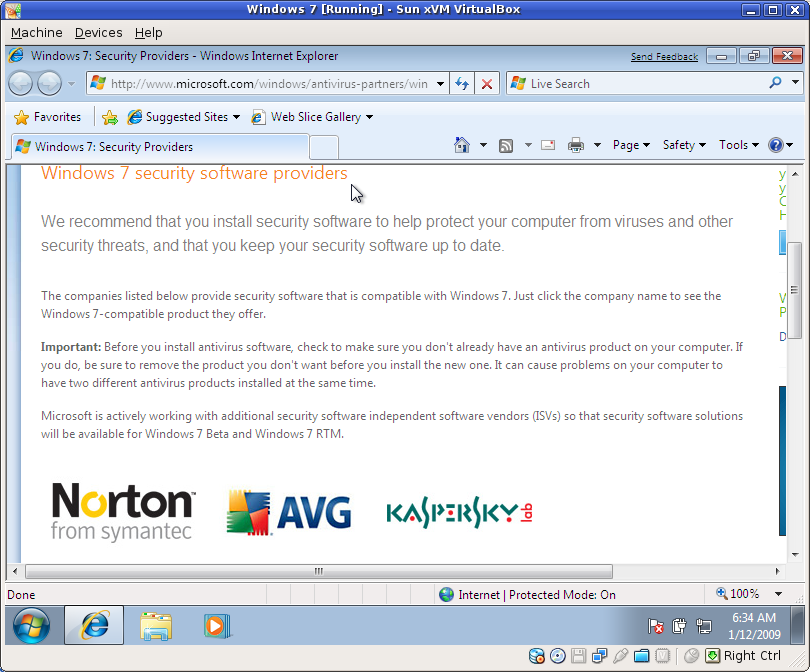
Your choices of Microsoft-sponsored security--the ones that will slow down your computer the most

Your choices of Microsoft-sponsored security--the ones that will slow down your computer the most!

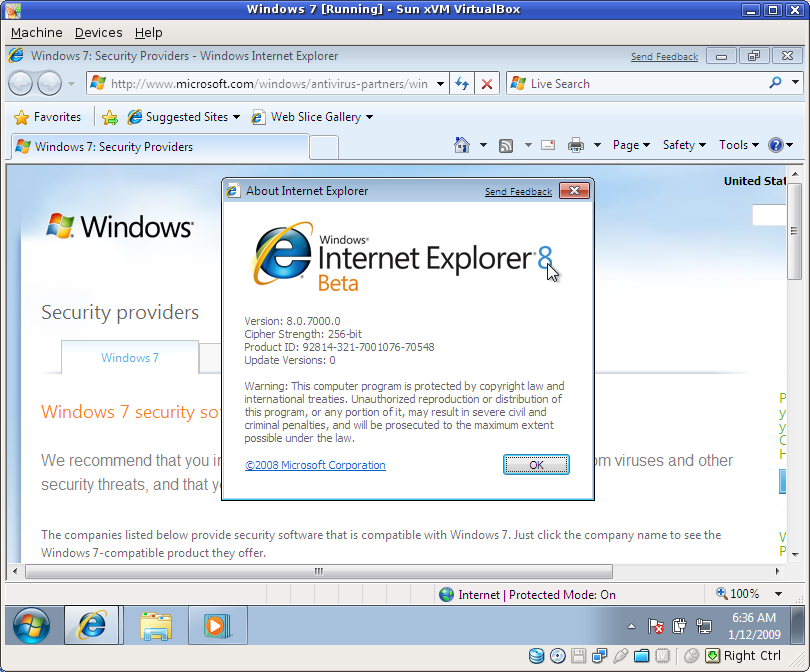
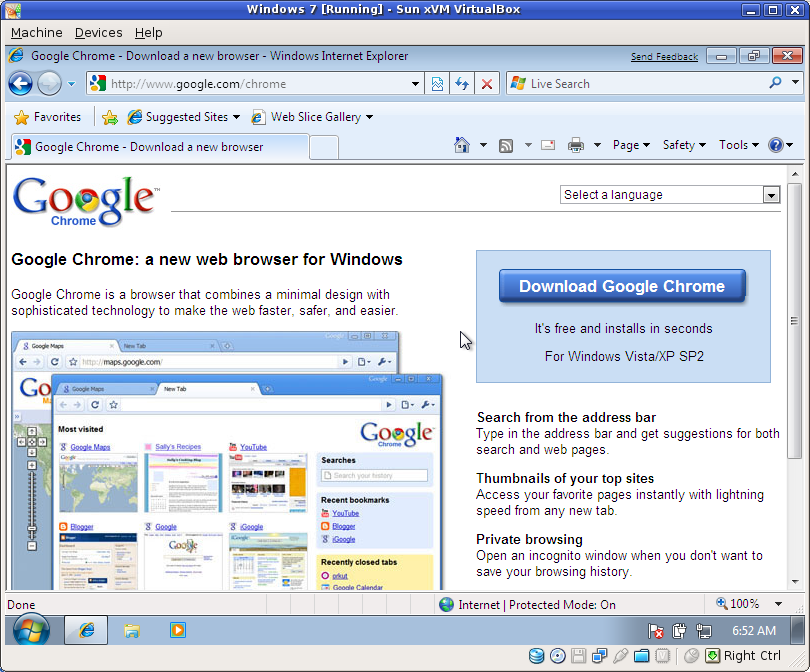
Oh oh!!  It's Internet Explorer 8!  Chews up my site like a charm.

Oh oh!! It's Internet Explorer 8! Chews up my site like a charm.

Captionless taskbar icons until you hover.

Captionless taskbar icons until you hover.

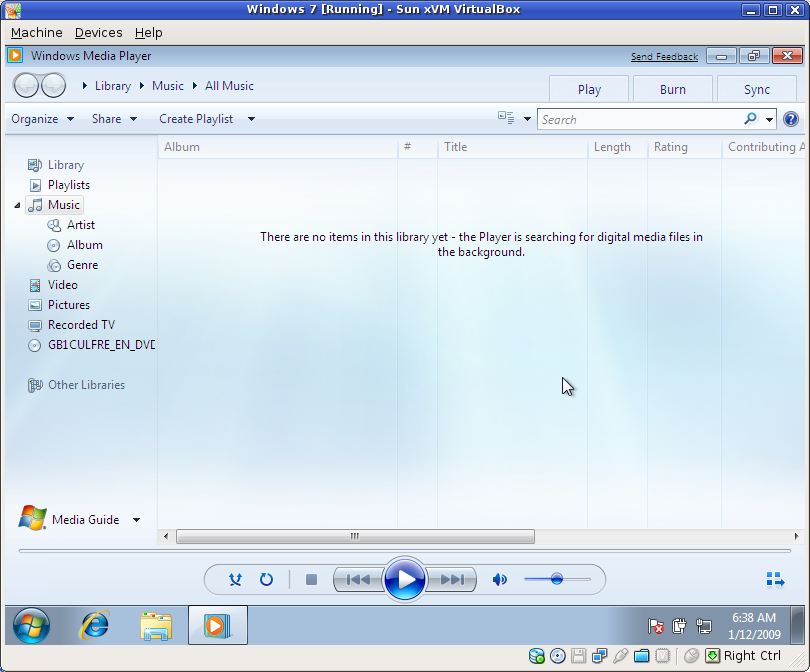
The new Windows Media Player

The new Windows Media Player.

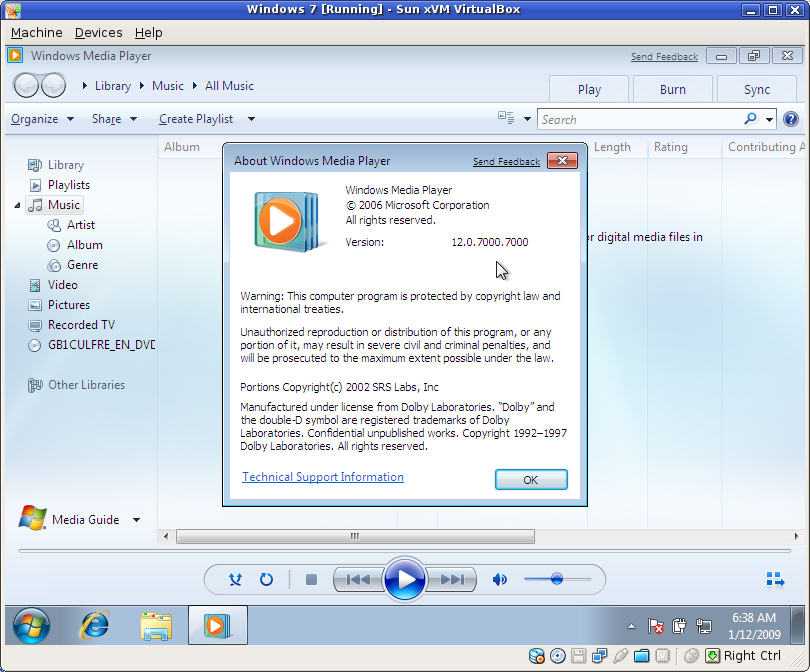
It's version 12!

It's version 12!

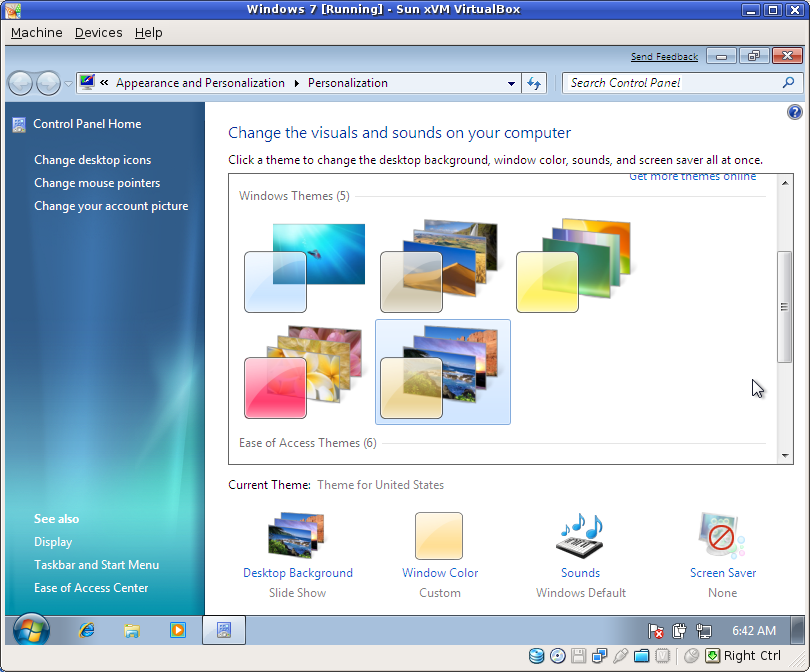
Setting your desktop theme

Setting your desktop theme.

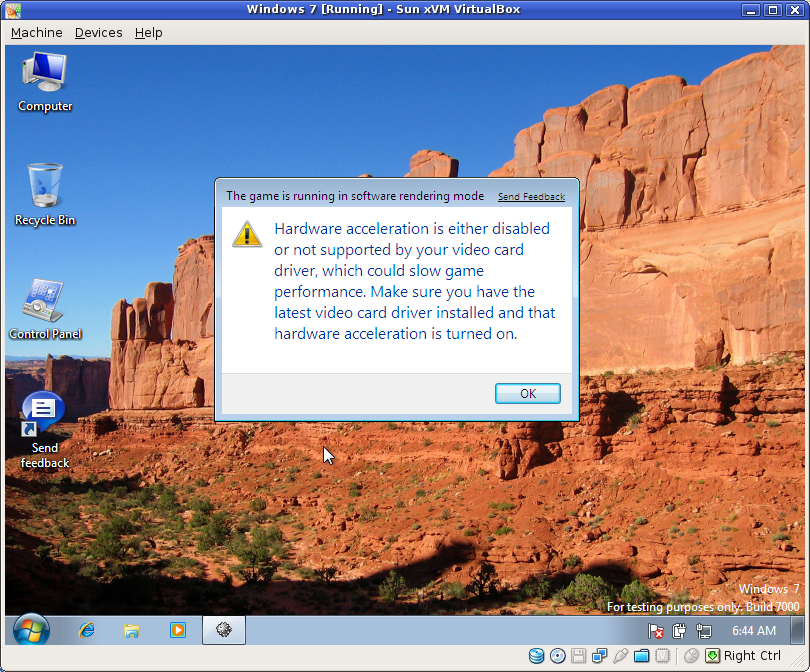
Minesweeper wants hardware accelerated graphics

Minesweeper wants hardware accelerated graphics.... why??

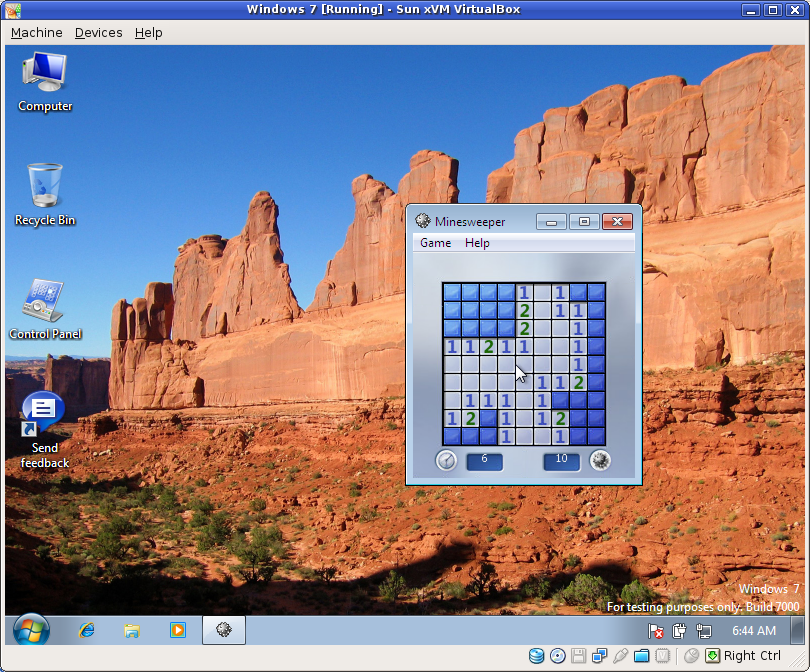
All-new Minesweeper

The all-new Minesweeper.

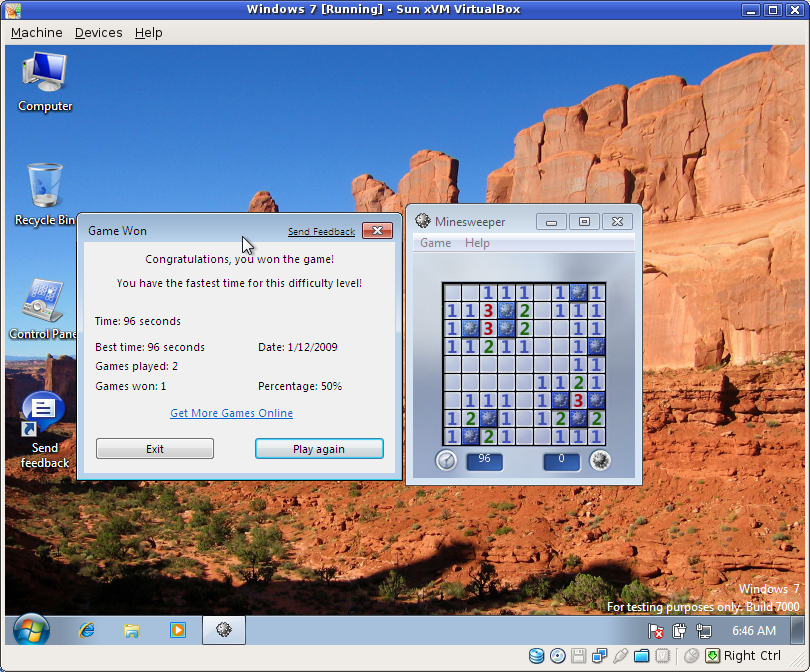
I won!

I won!

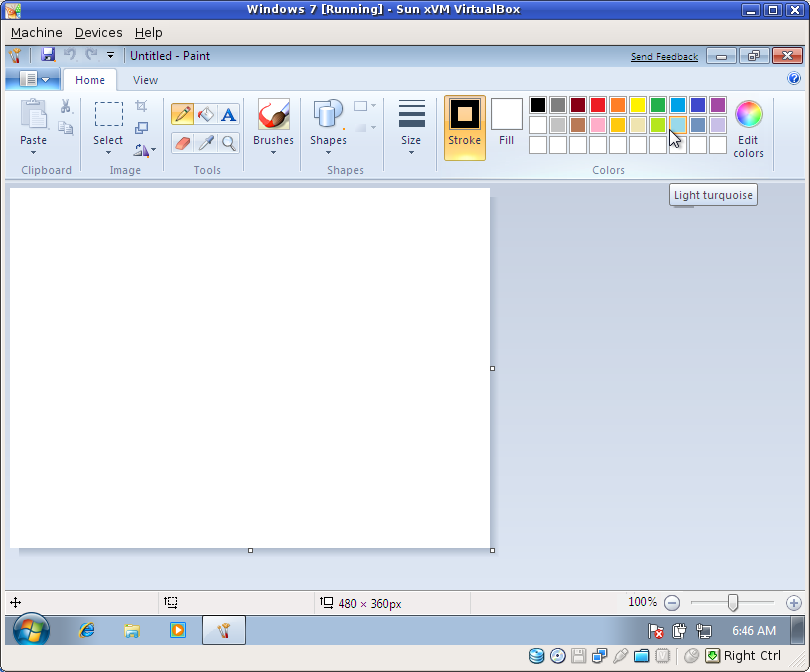
Paint

Paint. Very perty.

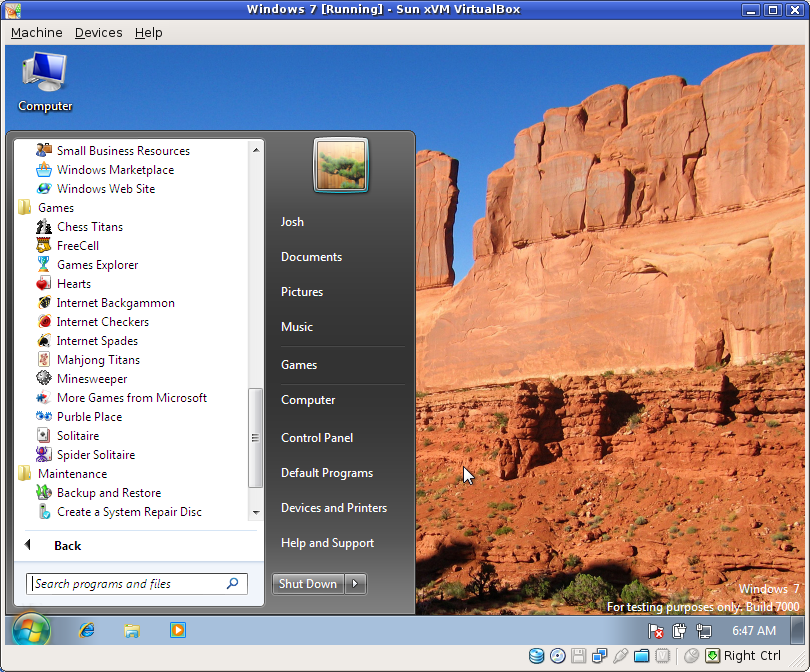
The start menu

The start menu.

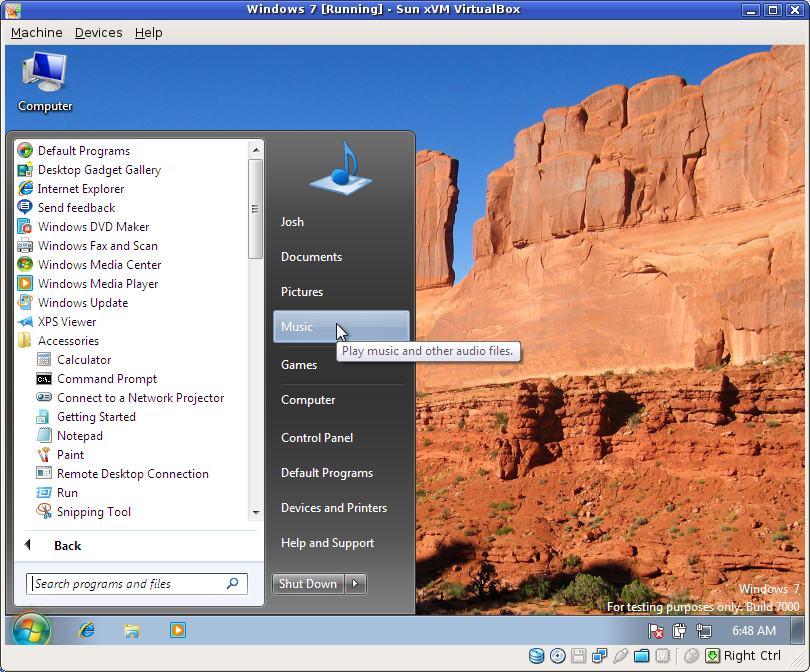
All programs in the start menu

Looking at all programs in the start menu.

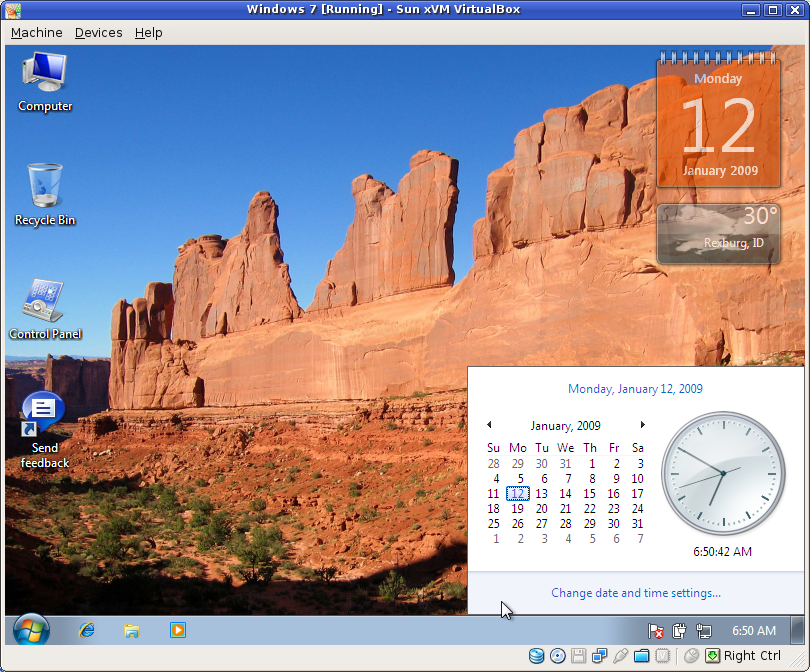
Gadgets and the clock thingy

Some desktop gadgets and the clock thingy.

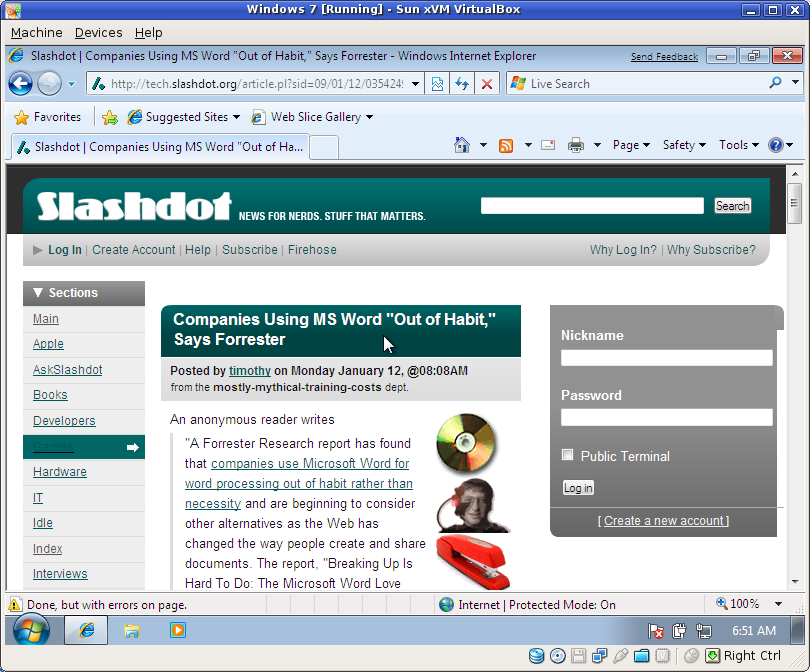
Slashdot

Slashdot in IE 8.

Chrome

Downloading Google Chrome.

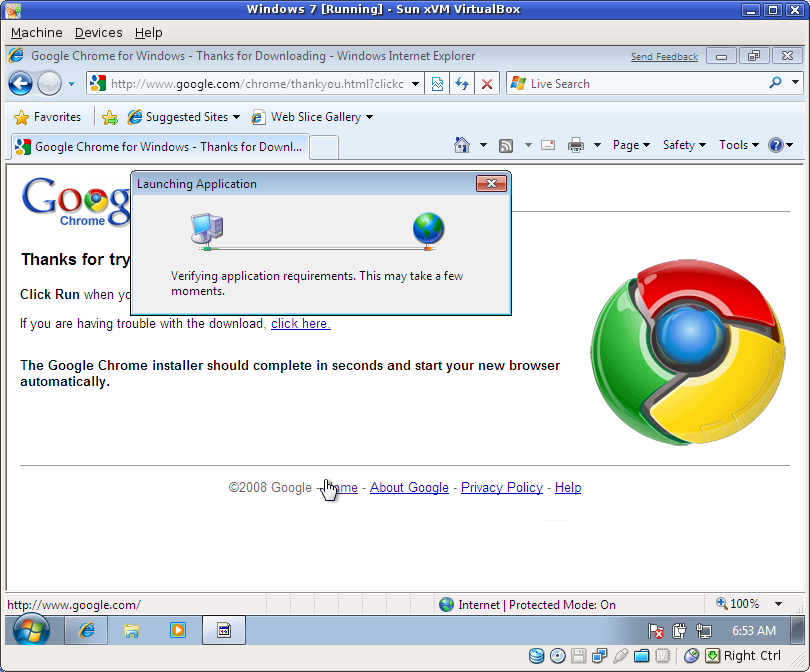
WTF?  Verifying application requirements??

What the....? Verifying application requirements??

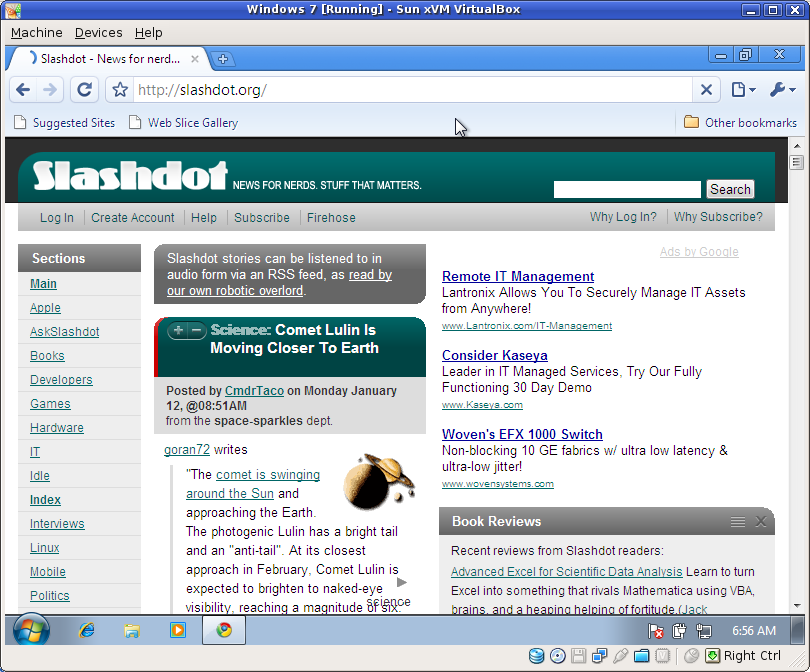
Ahh... Chrome.

Ahh... Chrome.

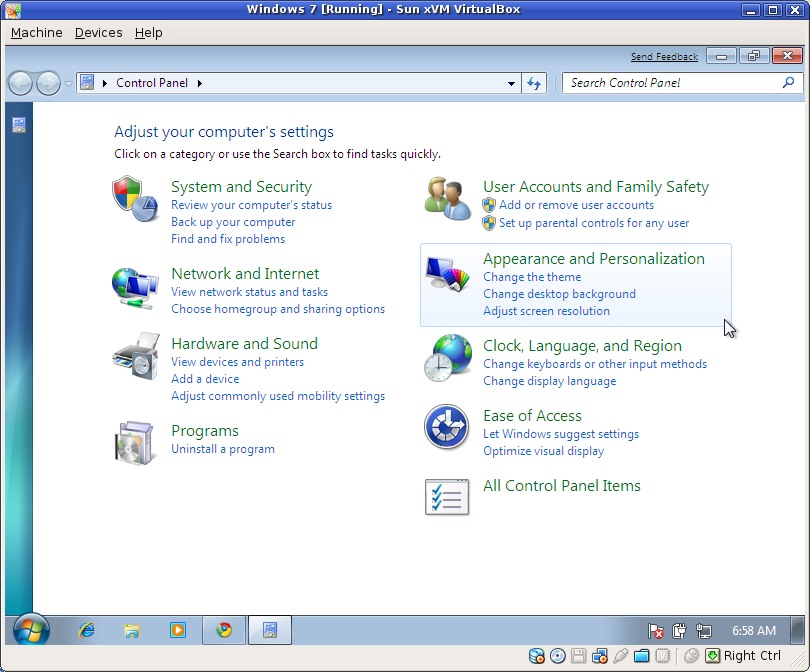
Control Panel--stupid people's version

Control Panel--stupid people's version

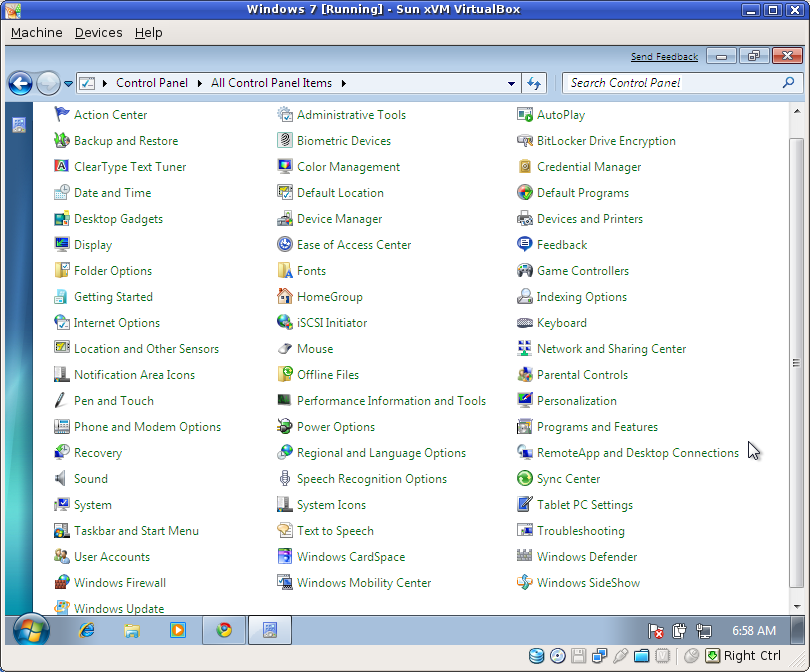
Control Panel--all options

Control Panel--all options

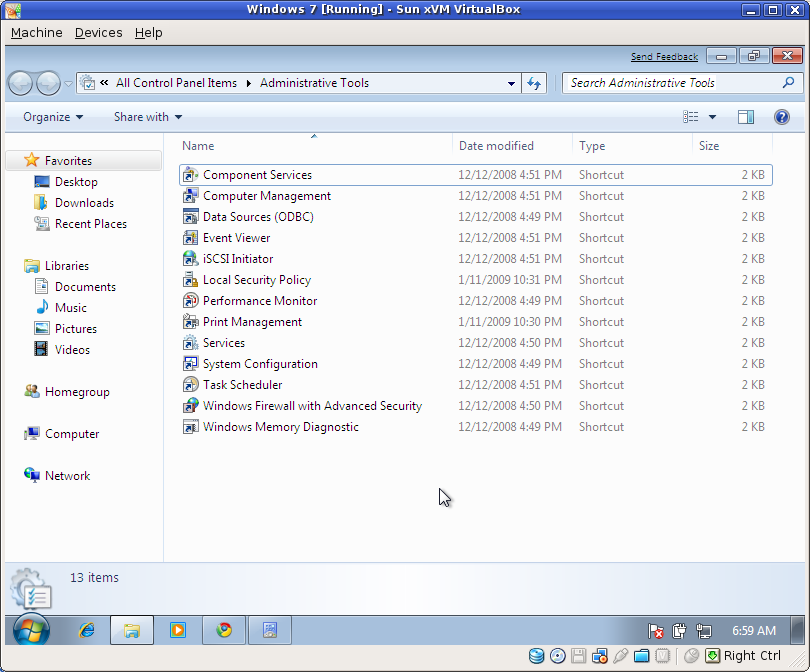
Administrative tools

Administrative tools

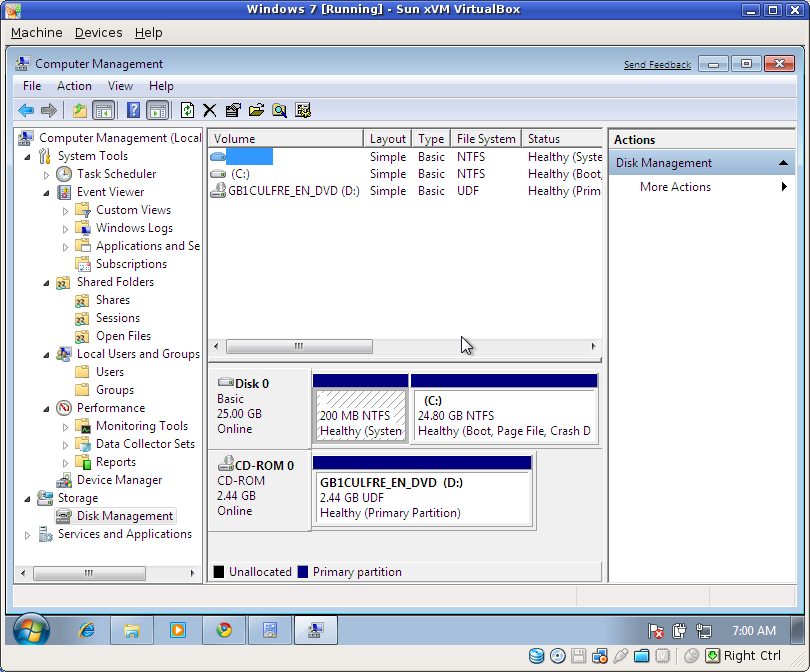
Some things never change... but what's up with the 200MB partition??

Some things never change... but what's up with the 200MB partition??

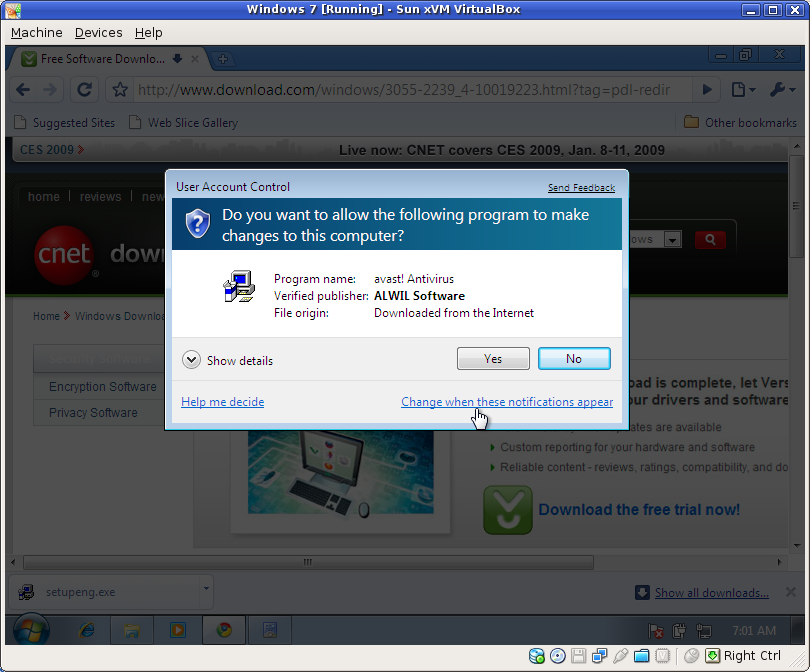
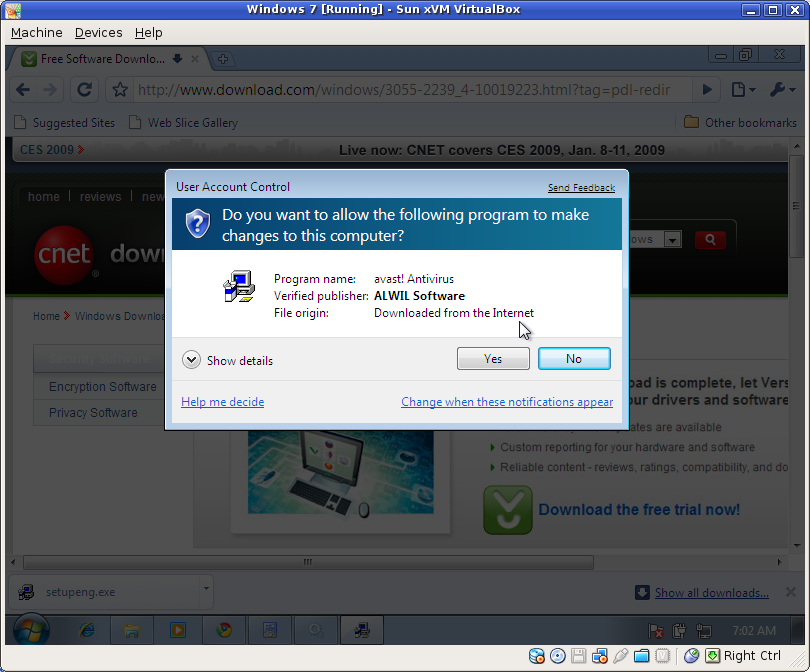
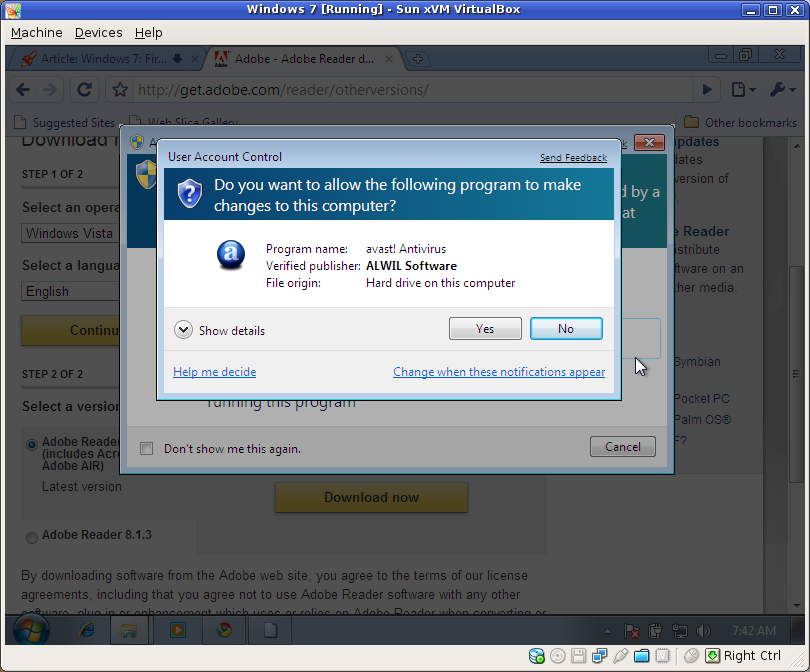
First UAC popup...

First UAC popup...

Second UAC popup...

Second UAC popup...

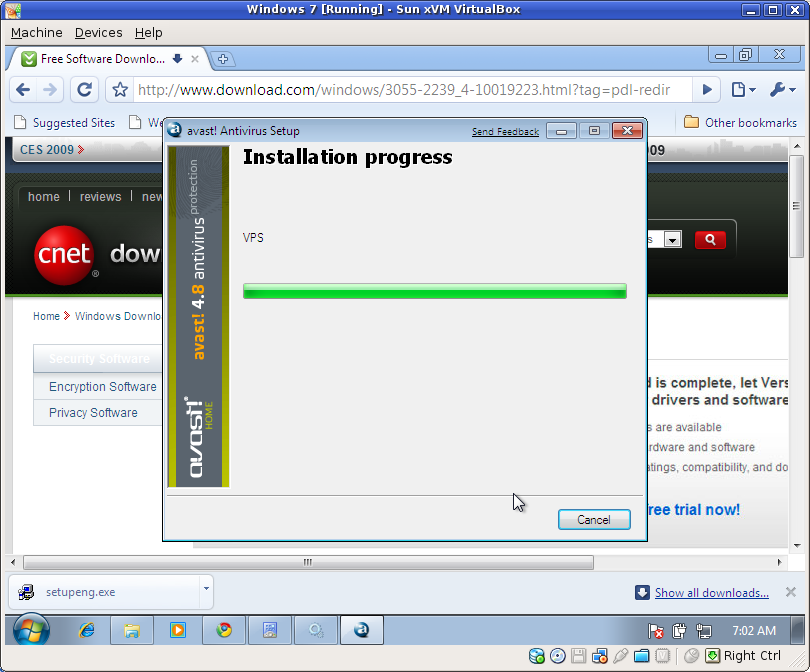
Installing Avast

Installing Avast Antivirus.

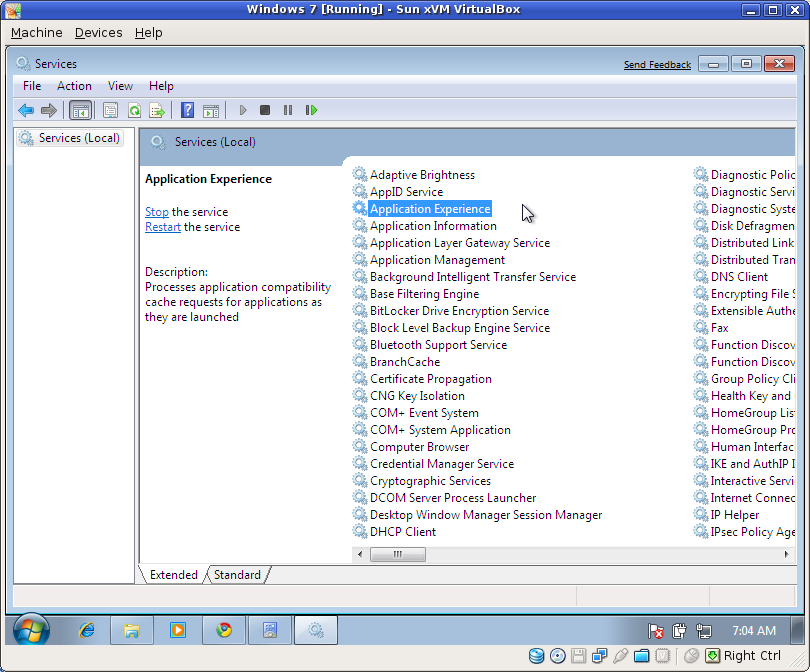
Windows services

Windows services.... there are a ton of these as usual.

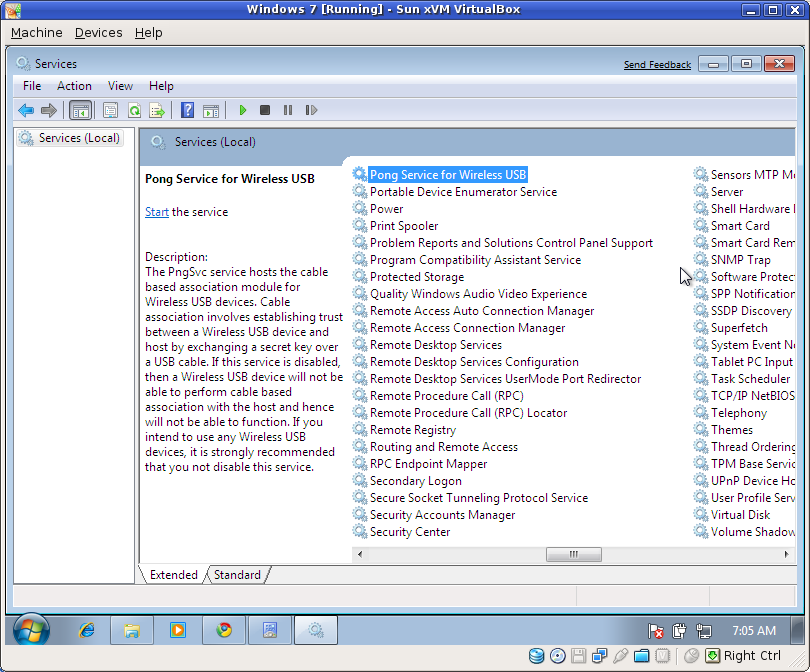
Pong Service for Wireless USB??

Pong Service for Wireless USB??

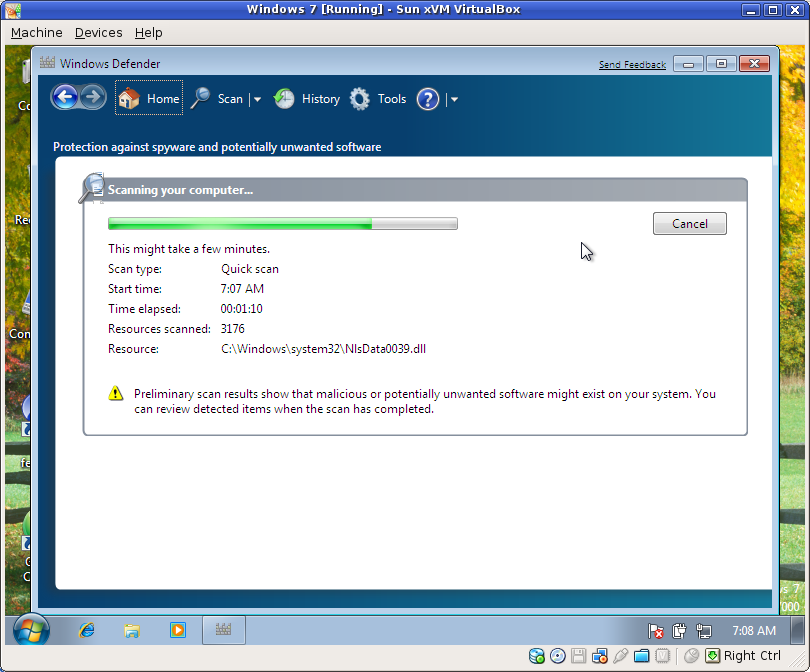
Heh... Preliminary scan results show that malicious or potentially unwanted software might exist...

Heh... Preliminary scan results show that malicious or potentially unwanted software might exist...

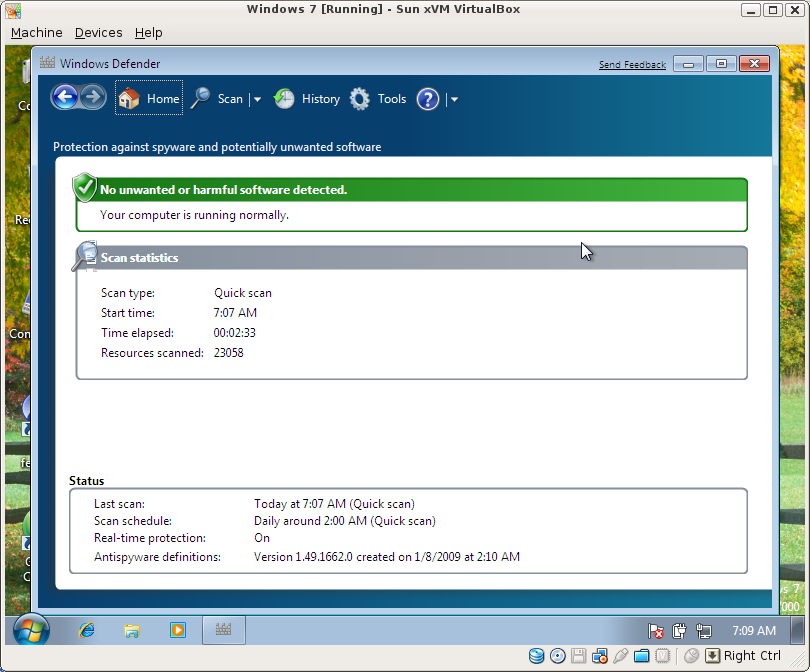
Oh, nevermind... we're good.

Oh, nevermind... Windows says we're good now.

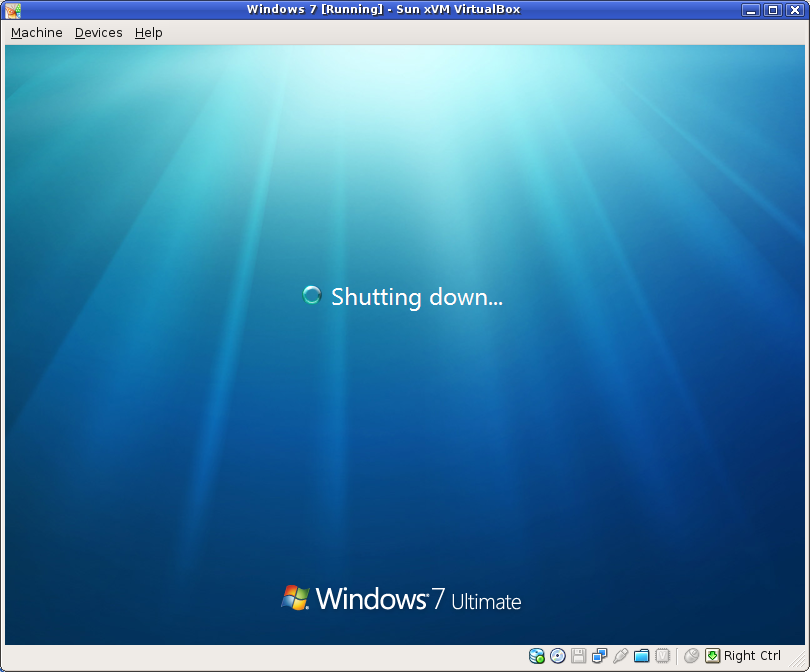
Shutting down... took long enough to get a delayed screenshot.

Shutting down... took long enough to get a delayed screenshot. Could have probably shot 20 more.

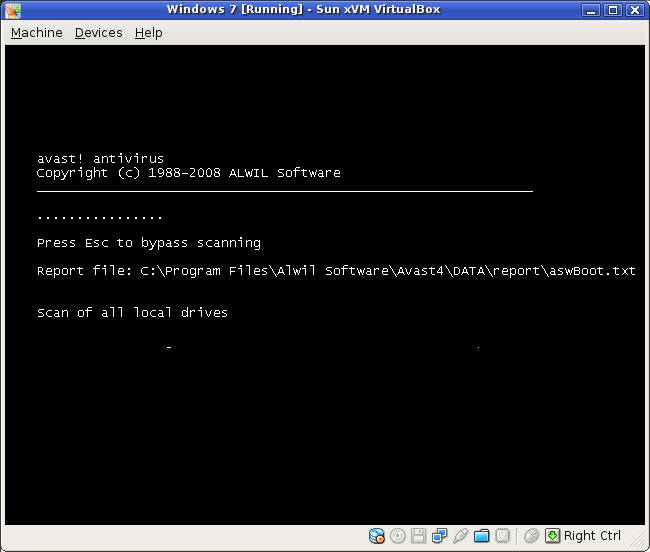
Stage 1 of the sloading screen

Stage 1 of the sloading screen.

Stage 2 of the sloading screen

Stage 2 of the sloading screen.

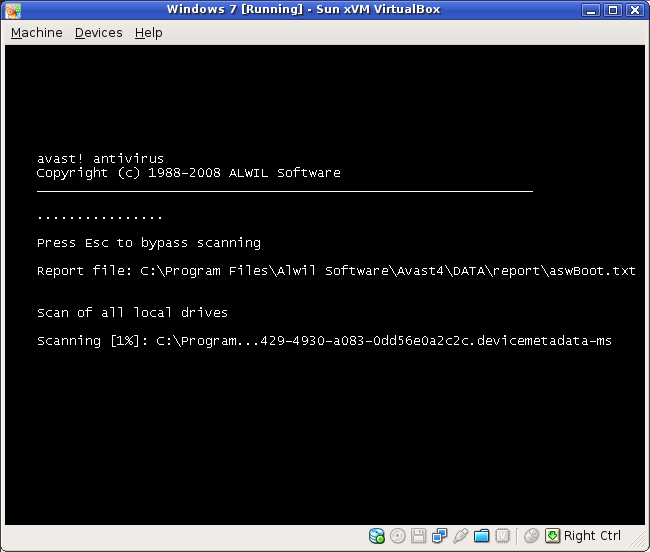
Avast has started its scan

Avast has started its scan.

1% complete... after a few minutes!!

1% complete... after a few minutes!!

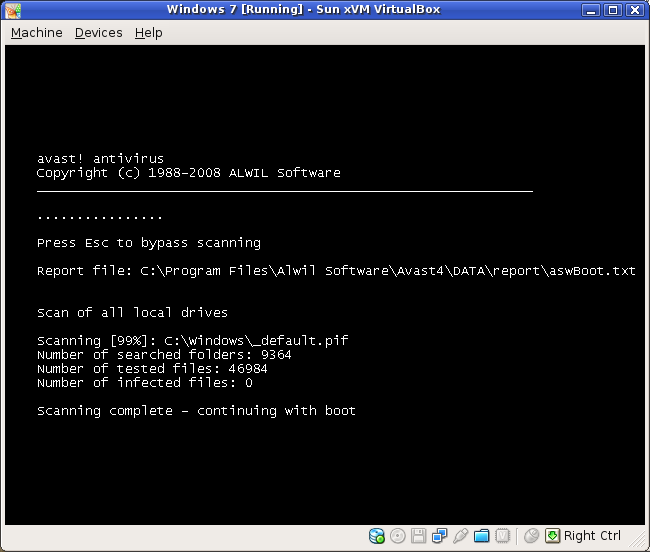
Done! after about 30 minutes...

Done! after about 30 minutes...

Third UAC popup...

Third UAC popup...

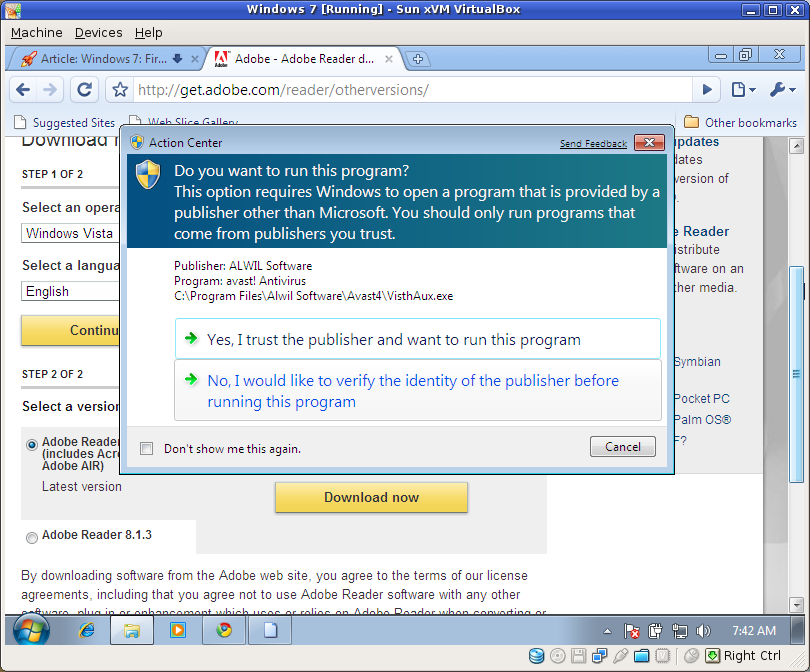
Trusted publishers?

Trusted publishers? These two screens kept coming up each time I would try to update Avast's antivirus database...

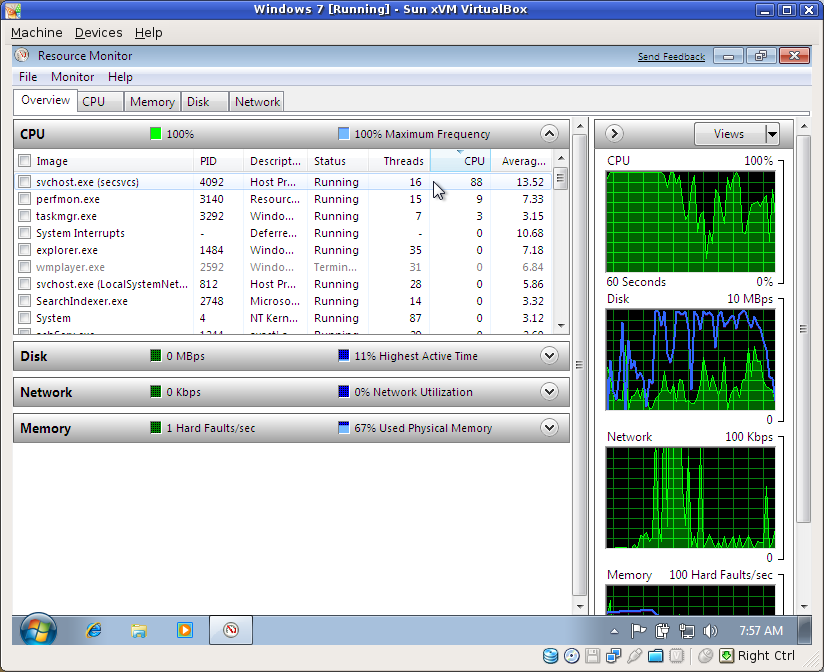
The Resource Monitor.  I was doing nothing at the time.

The Resource Monitor. I was doing nothing at the time.

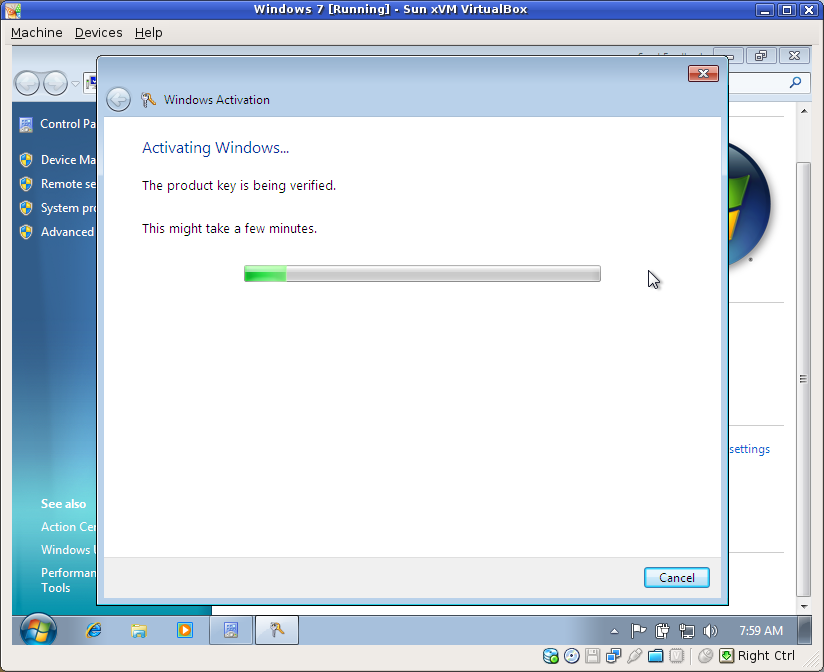
Activating my copy of Winders 7

Activating my copy of Winders 7

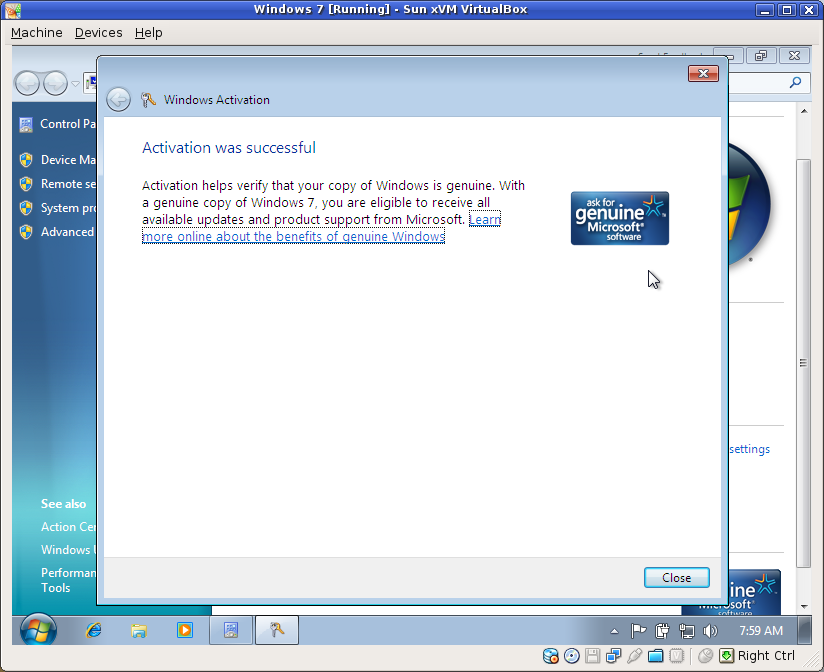
w00t.  I'm legit.

w00t. I'm legit.

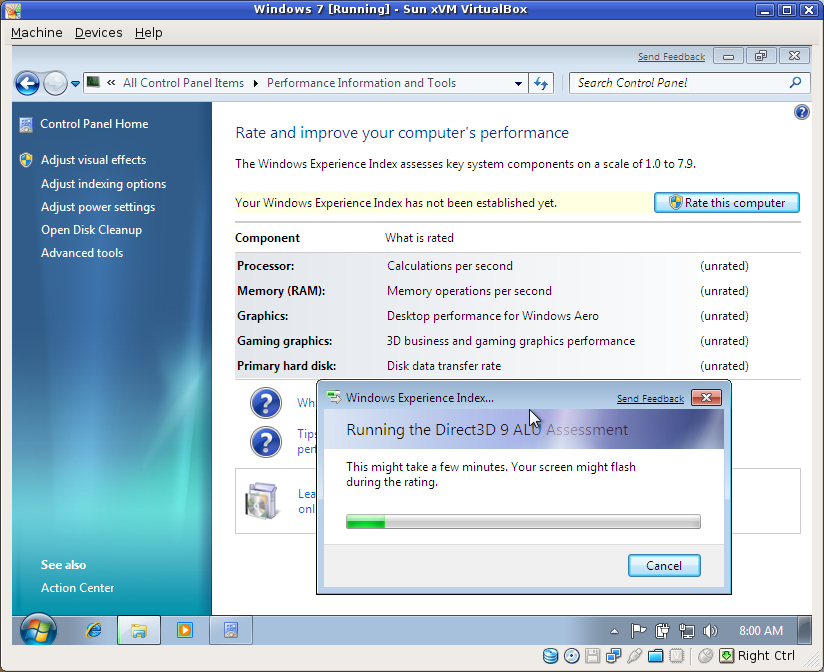
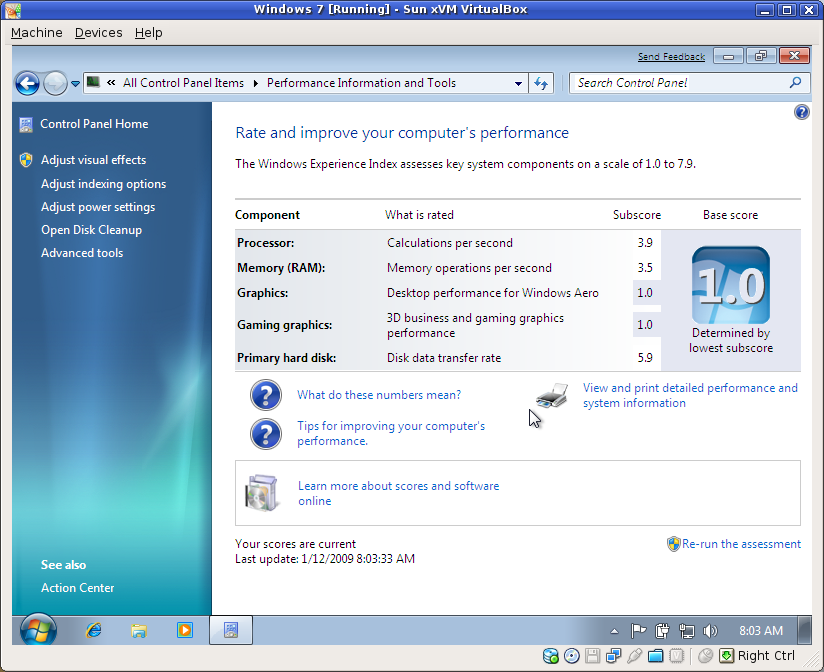
Benchmarking my system.

Benchmarking my system.

My VM ranks in at a solid 1.0!

My VM ranks in at a solid 1.0!

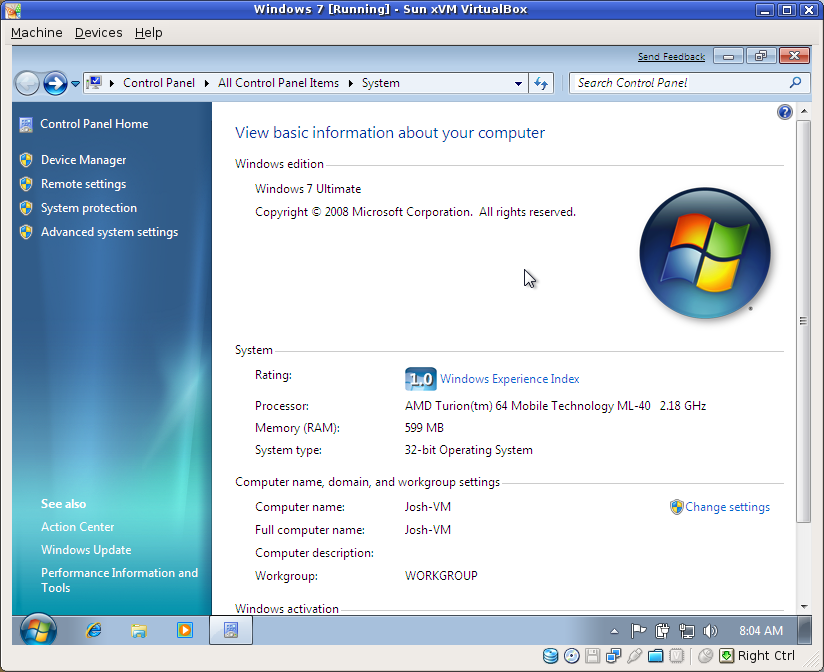
Details, details...

Details, details...

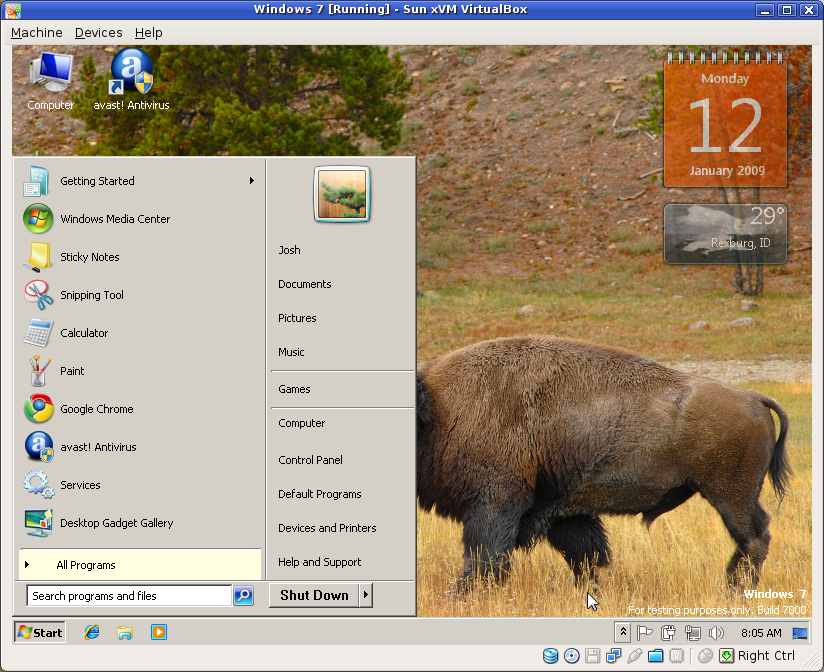
The classic Windows theme and a buffalo butt

The classic Windows theme and a buffalo butt...

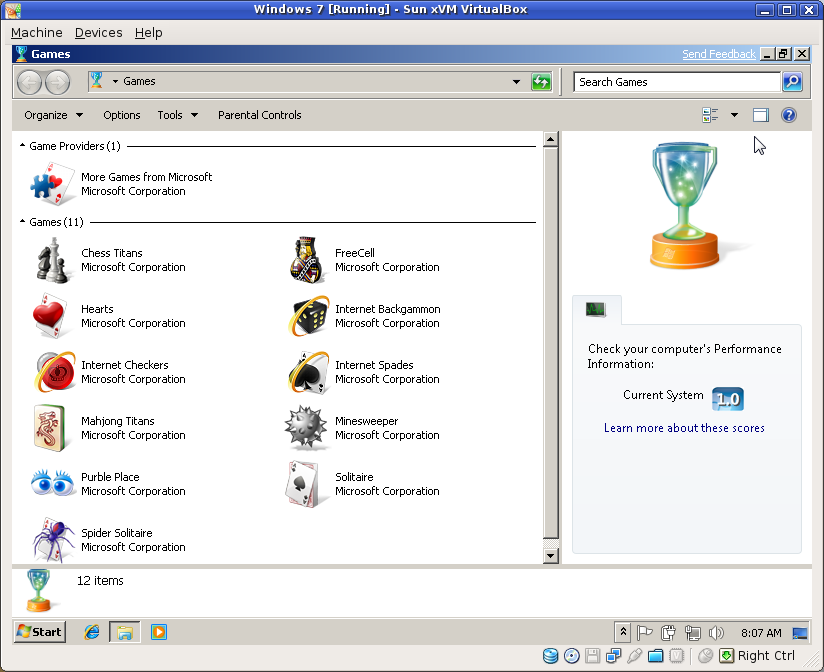
Why all the games??

Why all the games?? Why not include something a little more productive??

Installing Django on Shared Hosting (Site5)

This article is a related to my previously posted article about installing Django, an advanced Web framework for perfectionists, on your own computer. Now we will learn how to install Django on a shared hosting account, using Site5 and fastcgi as an example. Depending on your host, you may or may not have to request additional privileges from the support team in order to execute some of these commands.

Note: Django requires at least Python 2.3. Newer versions of Python are preferred.

Note: This HOWTO assumes familiarity with the UNIX/Linux command line.

Note: If the wget command doesn't work for you (as in you don't have permission to run it), you might try curl [url] -O instead. That's a -O as in upper-case o.

Install Python

Site5 (and many other shared hosting providers that offer SSH access) already has Python installed, but you will want to have your own copy so you can install various tools without affecting other users. So go ahead and download virtual python:

mkdir ~/downloads
cd ~/downloads
wget http://peak.telecommunity.com/dist/virtual-python.py

Virtual Python will make a local copy of the installed Python in your home directory. Now you want to make sure you execute this next command with the newest version of Python available on your host. For example, Site5 offers both Python 2.3.4 and Python 2.4.3. We want to use Python 2.4.3. To verify the version of your Python, execute the following command:

python -V

If that displays Python 2.3.x or anything earlier, try using python2.4 -V or python2.5 -V instead. Whichever command renders the most recent version of Python is the one you should use in place of python in the next command. Since python -V currently displays Python 2.4.3 on my Site5 sandbox, I will execute the following command:

python ~/downloads/virtual-python.py

Again, this is just making a local copy of the Python installation that you used to run the virtual-python.py script. Your local installation is likely in ~/lib/python2.4/ (version could vary).

Make Your Local Python Be Default

To reduce confusion and hassle, let's give our new local installation of Python precedence over the system-wide Python. To do that, open up your ~/.bashrc and make sure it contains a line similar to this:

export PATH=$HOME/bin:$PATH

If you're unfamiliar with UNIX-based text editors such as vi, here is what you would type to use vi to make the appropriate changes:

  • vi ~/.bashrc to edit the file
  • go to the end of the file by using the down arrow key or the j key
  • hit o (the letter) to tell vi you want to start typing stuff on the next line
  • type export PATH=$HOME/bin:$PATH
  • hit the escape key
  • type :x to save the changes and quit. Don't forget the : at the beginning. Alternatively, you can type :wq, which works exactly the same as :x.

Once you've made the appropriate changes to ~/.bashrc, you need to make those changes take effect in your current SSH session:

source ~/.bashrc

Now we should verify that our changes actually took place. Type the following command:

which python

If they output of that command is not something like ~/bin/python or /home/[your username]/bin/python, something probably didn't work. If that's the case, you can try again, or simply remember to use ~/bin/python instead of python throughout the rest of this HOWTO.

Install Python's setuptools

Now we should install Python's setuptools to make our lives easier down the road.

cd ~/downloads
wget http://peak.telecommunity.com/dist/ez_setup.py
python ez_setup.py

This gives us access to a script called easy_install, which makes it easy to install many useful Python tools. We will use this a bit later.

Download Django

Let's now download the most recent development version of Django. SSH into your account and execute the following commands (all commands shall be executed on your host).

svn co http://code.djangoproject.com/svn/django/trunk ~/downloads/django-trunk

Now we should make a symlink (or shortcut) to Django and put it somewhere on the Python Path. A sure-fire place is your ~/lib/python2.4/site-packages/ directory (again, that location could vary from host to host):

ln -s ~/downloads/django-trunk/django ~/lib/python2.4/site-packages
ln -s ~/downloads/django-trunk/django/bin/django-admin.py ~/bin

Now verify that Django is installed and working by executing the following command:

python -c "import django; print django.get_version()"

That command should return something like 1.0-final-SVN-8964. If you got something like that, you're good to move onto the next section. If, however, you get something more along the lines of...

Traceback (most recent call last):
    File "<string>", line 1, in ?
ImportError: No module named django

...then your Django installation didn't work. If this is the case, make sure that you have a ~/downloads/django-trunk/django directory, and also verify that ~/lib/python2.4/site-packages actually exists.

Installing Dependencies

In order for your Django projects to become useful, we need to install some other packages: PIL (Python Imaging Library, required if you want to use Django's ImageField), MySQL-python (a MySQL database driver for Python), and flup (a utility for fastcgi-powered sites).

easy_install -f http://www.pythonware.com/products/pil/ Imaging
easy_install mysql-python
easy_install flup

Sometimes, using easy_install to install PIL doesn't go over too well because of your (lack of) permissions. To circumvent this situation, you can always download the actual PIL source code and install it manually.

cd ~/downloads
wget http://effbot.org/downloads/Imaging-1.1.6.tar.gz
tar zxf Imaging-1.1.6.tar.gz
cd Imaging-1.1.6
ln -s ~/downloads/Imaging-1.1.6/PIL ~/lib/python2.4/site-packages

And to verify, you can try this command:

python -c "import PIL"

If that doesn't return anything, you're good to go. If it says something about "ImportError: No module named PIL", it didn't work. In that case, you have to come up with some other way of installing PIL.

Setting Up A Django Project

Let's attempt to setup a sample Django project.

mkdir -p ~/projects/django
cd ~/projects/django
django-admin.py startproject mysite
cd mysite
mkdir media templates

If that works, then you should be good to do the rest of your Django development on your server. If not, make sure that ~/downloads/django-trunk/django/bin/django-admin.py exists and that it has a functioning symlink (shortcut) in ~/bin. If not, you'll have to make adjustments according to your setup. Your directory structure should look something like:

  • projects
    • django
      • mysite
        • media
        • templates
        • __init__.py
        • manage.py
        • settings.py
        • urls.py

Making A Django Project Live

Now we need to make your Django project accessible from the Web. On Site5, I generally use either a subdomain or a brand new domain when setting up a Django project. If you plan on having other projects accessible on the same hosting account, I recommend you do the same. Let's assume you setup a subdomain such as mysite.mydomain.com. On Site5, you would go to ~/public_html/mysite for the next few commands. This could differ from host to host, so I won't go into much more detail than that.

Once you're in the proper place, you need to setup a few things: two symlinks, a django.fcgi, and a custom .htaccess file. Let's begin with the symlinks.

ln -s ~/projects/django/mysite/media ~/public_html/mysite/static
ln -s ~/lib/python2.4/site-packages/django/contrib/admin/media ~/public_html/mysite/media

This just makes it so you can have your media files (CSS, images, javascripts, etc) in a different location than in your public_html.

Now for the django.fcgi. This file is what tells the webserver to execute your Django project.

#!/home/[your username]/bin/python
import sys, os

# Add a custom Python path.
sys.path.insert(0, "/home/[your username]/projects/django")

# Switch to the directory of your project. (Optional.)
os.chdir("/home/[your username]/projects/django/mysite")

# Set the DJANGO_SETTINGS_MODULE environment variable.
os.environ['DJANGO_SETTINGS_MODULE'] = "mysite.settings"

from django.core.servers.fastcgi import runfastcgi
runfastcgi(method="threaded", daemonize="false")

And finally, the .htaccess file:

1
2
3
4
5
6
RewriteEngine On
RewriteBase /
RewriteRule ^(media/.*)$ - [L]
RewriteRule ^(static/.*)$ - [L]
RewriteCond %{REQUEST_URI} !(django.fcgi)
RewriteRule ^(.*)$ django.fcgi/$1 [L]

The .htaccess file makes it so that requests to http://mysite.mydomain.com/ are properly directed to your Django project. So, now you should have a directory structure that something that looks like this:

  • public_html
    • mysite
      • media
      • static
      • .htaccess
      • django.fcgi

If that looks good, go ahead and make the django.fcgi executable and non-writable by others:

chmod 755 ~/public_html/mysite/django.fcgi

After that, head over to http://mysite.mydomain.com/ (obviously, replace the mydomain accordingly). If you see a page that says you've successfully setup your Django site, you're good to go!

Afterthoughts

I've noticed that I need to "restart" my Django sites on Site5 any time I change the .py files. There are a couple methods of doing this. One includes killing off all of your python processes (killall ~/bin/python) and the other simply updates the timestamp on your django.fcgi (touch ~/public_html/mysite/django.fcgi). I find the former to be more destructive and unreliable than the latter. So, my advice is to use the touch method unless it doesn't work, in which case you can try the killall method.

Good luck!

Using Django to Design Your Database Schema

Last night I had a buddy of mine ask me how I would approach a particular database design problem. I get similar questions quite often from my peers--suggests there is something important lacking from the database classes out there. Instead of answering him directly, I decided to come up with this tutorial for using Django to design your database schema.

For those of you new to Django, this article might seem a bit advanced. In time I will have more introductory-level Django tutorials, but I hope this one is easy enough.

Create a Django Project

The first step is to create a Django project. If you already have a project that you can play with, you can skip this step. To create a project, go to a place where you want to keep your code (like C:\projects or /home/me/projects) in a command prompt/terminal and run the following command:

django-admin.py startproject myproject

This will create a new directory in your current location called myproject (you can replace myproject with whatever you'd like so long as you're consistent). This new directory will contain a few files:

  • __init__.py
  • manage.py
  • settings.py
  • urls.py

If you get an error message when running the above command, you might not have Django installed properly. See Step-by-Step: Installing Django for details on installing Django.

Create An Application

Once you have a Django project setup, you should create a new application.

Note: If you're using Windows, you will probably need to omit the ./ on the ./manage.py commands. I will include them here for everyone else who's using Linux or a Mac.

cd myproject
./manage.py startapp specialapp

This will create a new directory in your myproject directory. This new directory will contain three files: __init__.py, models.py, and views.py. We are only concerned with the models.py file in this article.

Create Your Models

Models are usually a direct representation of what your database will be. Django makes creating these models extremely easy, and Python's syntax makes them quite readable. The Django framework asks for models to be defined in the models.py file that was created in the last step. Here's an example (for my buddy who prompted the creation of this article):

from django.db import models

class Component(models.Model):
    item_number = models.CharField(max_length=20)
    name = models.CharField(max_length=50)
    size = models.CharField(max_length=10)
    quantity = models.IntegerField(default=1)
    price = models.DecimalField(max_digits=8, decimal_places=2)

class Project(models.Model):
    name = models.CharField(max_length=50)
    components = models.ManyToManyField(Component)
    instructions = models.TextField()

(for more information about models, see the Django Model API Reference)

I don't know about you, but that code seems pretty straightforward to me. I'll spare you all the details about what's going on (that can be a future article).

Install Your New Application

Once you have your models setup, we need to add our specialapp to our list of INSTALLED_APPS in order for Django to register these models. To do that, open up settings.py in your myproject directory, go to the bottom of the file, until you see something like

1
2
3
4
5
6
INSTALLED_APPS = (
    'django.contrib.auth',
    'django.contrib.contenttypes',
    'django.contrib.sessions',
    'django.contrib.sites',
)

When you find that, add your specialapp to the list

1
2
3
4
5
6
7
INSTALLED_APPS = (
    'django.contrib.auth',
    'django.contrib.contenttypes',
    'django.contrib.sessions',
    'django.contrib.sites',
    'specialapp'
)

Setup Your Database

Now you need to let Django know what kind of database you're using. Django currently supports MySQL, SQLite3, PostgreSQL, and Oracle natively, but you can get third-party tools that allow you to use other database (like SQL Server).

Still in your settings.py, go to the top until you see DATABASE_ENGINE and DATABASE_NAME. Set that to whatever type of database you are using:

DATABASE_ENGINE = 'sqlite3'
DATABASE_NAME = 'myproject.db'

Save your settings.py and go back to your command prompt/terminal.

Get Django's Opinion For Your Schema

Make sure you're in your myproject directory and run the following command:

./manage.py sqlall specialapp

This command will examine the models that we created previously and will generate the appropriate SQL to create the tables for your particular database. For SQLite, we get something like this for output:

BEGIN;
CREATE TABLE "specialapp_component" (
      "id" integer NOT NULL PRIMARY KEY,
      "item_number" varchar(20) NOT NULL,
      "name" varchar(50) NOT NULL,
      "size" varchar(10) NOT NULL,
      "quantity" integer NOT NULL,
      "price" decimal NOT NULL
)
;
CREATE TABLE "specialapp_project" (
      "id" integer NOT NULL PRIMARY KEY,
      "name" varchar(50) NOT NULL,
      "instructions" text NOT NULL
)
;
CREATE TABLE "specialapp_project_components" (
      "id" integer NOT NULL PRIMARY KEY,
      "project_id" integer NOT NULL REFERENCES "specialapp_project" ("id"),
      "component_id" integer NOT NULL REFERENCES "specialapp_component" ("id"),
      UNIQUE ("project_id", "component_id")
)
;
COMMIT;

Notice how Django does all sorts of nifty things, like wrapping the table creation queries in a transaction, setting up indexes, unique keys, and defining relationships between tables. The output also offers a solution to the original problem my buddy had: an intermediate table that just keeps track of relationships between projects and components (the specialapp_project_components table).

Notice that the SQL above may not work with database servers other than SQLite.

Enhancing The Intermediate Table

After my buddy reviewed this article, he asked a very interesting and valid question: What if a project needs 3 of one component? In response, I offer the following models (this requires a modern version of Django--it doesn't work on Django 0.96.1 or earlier):

from django.db import models

class Component(models.Model):
    item_number = models.CharField(max_length=20)
    name = models.CharField(max_length=50)
    size = models.CharField(max_length=10)
    quantity = models.IntegerField(default=1)
    price = models.DecimalField(max_digits=8, decimal_places=2)

class Project(models.Model):
    name = models.CharField(max_length=50)
    components = models.ManyToManyField(Component, through='ProjectComponent')
    instructions = models.TextField()

class ProjectComponent(models.Model):
    project = models.ForeignKey(Project)
    component = models.ForeignKey(Component)
    quantity = models.PositiveIntegerField()

    class Meta:
        unique_together = ['project', 'component']

Running ./manage.py sqlall specialapp now generates the following SQL:

BEGIN;
CREATE TABLE "specialapp_component" (
    "id" integer NOT NULL PRIMARY KEY,
    "item_number" varchar(20) NOT NULL,
    "name" varchar(50) NOT NULL,
    "size" varchar(10) NOT NULL,
    "quantity" integer NOT NULL,
    "price" decimal NOT NULL
)
;
CREATE TABLE "specialapp_project" (
    "id" integer NOT NULL PRIMARY KEY,
    "name" varchar(50) NOT NULL,
    "instructions" text NOT NULL
)
;
CREATE TABLE "specialapp_projectcomponent" (
    "id" integer NOT NULL PRIMARY KEY,
    "project_id" integer NOT NULL REFERENCES "specialapp_project" ("id"),
    "component_id" integer NOT NULL REFERENCES "specialapp_component" ("id"),
    "quantity" integer unsigned NOT NULL,
    UNIQUE ("project_id", "component_id")
)
;
CREATE INDEX "specialapp_projectcomponent_project_id" ON "specialapp_projectcomponent" ("project_id");
CREATE INDEX "specialapp_projectcomponent_component_id" ON "specialapp_projectcomponent" ("component_id");
COMMIT;

As you can see, most of the SQL is the same. The main difference is that the specialapp_project_components table has become specialapp_projectcomponent and it now has a quantity column. This can be used to keep track of the quantity of each component that a project requires. You can add however many fields you want to this new intermediate table's model.

Using This SQL

There are several ways you can use the SQL generated by Django. If you want to make your life really easy, you can have Django create the tables for you directly. Assuming that you have specified all of the appropriate database information in your settings.py file, you can simply run the following command:

./manage.py syncdb

This will execute the queries generated earlier directly on your database, creating the tables (if they don't already exist). Please note that this command currently will not update your schema if the table exists but is missing a column or two. You must either do that manually or drop the table in question and then execute the syncdb command.

Another option, if you want to keep your DDL(Data Definition Language) in a separate script (maybe if you want to keep it in some sort of version control) is something like:

./manage.py sqlall specialapp > specialapp-ddl-080813.sql

This just puts the output of the sqlall command into a file called specialapp-ddl-080813.sql for later use.

Benefits of Using Django To Create Your Schema

  • Simple: I personally find the syntax of Django models to be very simple and direct. There is a comprehensive API that explains and demonstrates what Django models are capable of.
  • Fast: Being that the syntax is so simple, I find that it makes designing and defining your schema much faster than trying to do it with raw SQL or using a database administration GUI.
  • Understandable: Looking at the model code in Django is not nearly as intimidating as similar solutions in other frameworks (think about Java Persistence API models).
  • Intelligent: Using the same model code, Django can generate proper Data Definition Language SQL for several popular database servers. It handles indexes, keys, relationships, transactions, etc. and can tell the difference between server types.

Downfalls of Using Django To Create Your Schema

  • The Table Prefix: Notice how all of the tables in the SQL above were prefixed with specialapp_. That's Django's safe way of making sure models from different applications in the same Django project do not interfere with each other. However, if you don't plan on using Django for your end project, the prefix could be a major annoyance. There are a couple solutions:
    • A simple "search and replace" before executing the SQL in your database
    • Define the db_table option in your models
  • Another Technology: Django (or even Python) may or may not be in your organization's current development stack. If it's not, using the methods described in this article would just become one more thing to support.

Other Thoughts

I first thought about doing the things mentioned in this application when I was working on a personal Java application. I like to use JPA when developing database-backed applications in Java because it abstracts away a lot of the database operations. However, I don't like coming up with the model classes directly, so I usually reverse engineer them from existing database tables.

Before thinking about the things discussed in this article, I created the tables by hand, making several modifications to the schema before I was satisfied with my JPA models. This proved to be quite bothersome and time-consuming.

After using Django to develop my tables, the JPA models turned out to be a lot more reliable, and they were usually designed properly from the get-go. I haven't created tables manually ever since.

If you find yourself designing database schemas often, and you find that you have to make several changes to your tables before you/the project requirements are satisfied, you might consider using Django to do the grunt work. It's worked for me, and I'm sure it will work for you too.

Good luck!

django-clevercss v0.1

Today I launched another little side project. I call it django-clevercss. Really it's just a simple way to use CleverCSS-formatted stylesheets in Django sites.

At first glance, CleverCSS might not seem like the most useful thing ever, but I personally think it has potential. It is a more concise way to write CSS, and it also allows the use of variables (so you don't have to change 50 of the same hex color codes each time someone wants something a different shade of blue) and simple calculations within the stylesheet. You can also have a sort of "hierarchy" of elements so you don't have to repeat the same element name 30 times for simple styling.

Anyway, since I thought CleverCSS was so clever, I decided that I would make an effort to make the project more accessible for Django developers who agree with me.

This project gives you a way to create CleverCSS stylesheets in your database using the Django administration utility. Then you use a simple template tag to bring the CSS file into your Django templates. Put something like {% get_clever_css "Testing" %} in the href of a regular link tag and that's about it!

Assuming that you have a CleverCSS stylesheet in your database with the title "Testing", the project will do several things. First, it will see if the stylesheet has been parsed and saved to the filesystem. If it has, it will compare the last time the stylesheet on the filesystem was modified with the last modification time of the stylesheet in the database. If the stylesheet in the database is newer than the one on the filesystem, or the stylesheet has not yet been saved to the filesystem, the project will parse the CleverCSS into real, valid CSS and store it in a file on the filesystem. Then you end up with something like this in your template after Django is done with it:

<link rel="stylesheet" type="text/css" media="all" href="/media/clevercss/testing.css" />

For more information and installation instructions, check out the project homepage. Have fun!

Sad Day for Religious Nerds

I recently decided it would be prudent for me to request permission from the Church of Jesus Christ of Latter-day Saints to redistribute a copy of the scriptures with the PyScriptures program that I have been working on recently. I didn't want to be held liable for any copyright infringement or other legal violations. So I decided to contact them a couple of weeks ago. Here is my message requesting permission:

To whom it may concern:

I would like to request permission to redistribute and use a database which contains the LDS standard works (scriptures only, not the bible dictionary, topical guide, or even footnotes). One of my personal projects relies upon a local copy of the scriptures in order to be useful at all, and I would like people to be able to use this program without fear of any sort of copyright infringement charges to any party. The goal of the program is to offer users of platforms other than Microsoft Windows a way to peruse and study the scriptures without requiring an Internet connection. I have tested it on Windows XP, Linux, and MacOS X and it works great. There are still some parts that need some work, and things could probably be optimized a bit, but works well enough considering that I've only been working on it for about a week and a half.

To learn more about this project, please go to http://code.google.com/p/pyscriptures/ where you can even browse the Python source code for my application (though you might want to do so on an empty stomach). The database is called 'scriptures.db' (http://code.google.com/p/pyscriptures/source/browse/trunk/pyscriptures/scriptures.db) and was created using SQLite in case you are interested in examining and verifying its contents. One of my main reasons for creating this database is that I noticed the database that The Mormon Documentation Project offers is missing some things, particularly all of the answers in Section 77 of the Doctrine and Covenants. I didn't want to find out what else was missing or modified. Perhaps the reason those answers are missing is because that's part of the conditions of redistributing the scriptures?

Please notify me as soon as possible if there are any objections to the use and redistribution of this database. If that is the case, I will delete this project immediately. However, if I may be granted permission to redistribute the database containing the unmodified scriptures, I would greatly appreciate a response which states what my rights are in this matter.

Thank you for your time! Have a wonderful day.

Sincerely,

Josh VanderLinden

Developer

I got my reply today:

Dear Josh VanderLinden:

Thank you for your email dated 9 June 2008 requesting permission to use a database containing the LDS Standard works to redistribute.

After reviewing your request we have determined that we must deny your request for the use of this material. Church policy does not allow its intellectual properties to be used as you are requesting.

We appreciate your intentions, but trust you will understand and support the decision of the Church in this matter.

Thank you for checking with us.

Bobbie Reynolds, Paralegal

Intellectual Property Office

Somehow I could see this coming. I was curious, however, to determine if there was a way I could avoid litigation by modifying the way the program operates. So I responded with this message:

Hello Bobbie,

Thank you for your reply. I'm sorry that the verdict was not in my favor, but I do understand completely. Otherwise, I wouldn't have asked in the first place. Before I remove the project from the Internet, I would like to ask one more question. Is there a way I could somehow make the program legal? I've noticed that other some programs for the scriptures don't exactly redistribute the scriptures with the program itself. Instead they seem to download the scriptures from scriptures.lds.org (or elsewhere?) on an individual level, and the individual who runs the program has to specifically tell the program to do so. Would that be a more appropriate route for my project to take? Or would that also violate the rules?

Thanks again,

Josh VanderLinden

After only a few hours, I received the following reply:

If I understand you correctly, this also sounds like a reformatting project, which is restricted. Thank you for requesting further clarification and for your compliance to Church policy.

Bobbie

So it looks like I will have to discontinue this project, or at least not allow other people to use my work and keep it all to myself. In compliance with the message communicated to me by the legal representatives of the Church, I have removed the project from Google Code, and it shall remain a project for my own purposes. My apologies go out to everyone who actually found this program useful and promising. I can't blame the Church for being strict in its policies--neither should you.

PyScriptures 0.2a Is Here!

So, for those of you who aren't in my immediate vicinity or who aren't on Google Talk all the time, this might well be your first exposure to my latest project. I'm calling it PyScriptures. Py because I wrote it all in Python. Scriptures because it is a program that provides the entire LDS standard works (as far as the actual scriptures are concerned, anyway).

Some History

(feel free to skip to the good stuff if you don't care about history, or skip to the downloads)

I have been working on this sort of program for a very long time. My first attempt was way back in probably 2001, using PHP. I wanted to have a way to easily read the scriptures on my computer without requiring an Internet connection. To go along with this, I wanted to be able to highlight text, mark verses, and easily navigate the scriptures. Obviously, I never quite got it right--that's why I'm still working on new versions all the time.

After a while, I learned that I would be getting a nifty Sharp Zaurus SL-5500 as a graduation present. It's a Linux-based PDA (one of the first, actually), and it's still pretty powerful considering that it's 6 years old now. Anyway, once I got that little gadget, I wanted to get the scriptures on there, too. I didn't have any of the MarkMyScriptures software that other PDA users enjoyed, because of the different operating system. Not to mention how cheap I am (I hate buying software). I ended up porting my PHP/MySQL version of the scriptures to my PDA and using it that way for a little while, but that proved to be very inefficient. The project went on hold for a while, during my time as a missionary in Romania.

When I returned home from my mission, I picked up the scriptures project again. I think my next stab was a Swing-based Java application. It worked well enough, but it never really got too far beyond, "Oh look! The scriptures!"

It was also during the time I was working on the Java version that I realized that the database I was relying upon for my scriptures was incomplete. I'm not sure what the extent of the missing information was, but I remember specifically looking up Doctrine & Covenants 77 only to find questions with no answers. The database was also not very "normalized" but that's more of a nerdy topic, so I will spare you the details. I attempted to contact the bloke in responsible for maintaining that database to let him know of the problems, but it seems like he died or something. Absolutely no response from him, and no activity on his website for two years.

After discovering the lack of complete scripture in that database, I made a promise to myself that I would make my own version of the database so I wouldn't have to stumble upon more incomplete or inaccurate scriptures. This became a reality early in May, as I wrote a program (in Python) that actually downloaded (I call it "harvesting") all of the scriptures directly from the Church's website. It took quite a bit of time to perfect, but as far as I can tell, it works great now. It puts all of the scriptures in a nice, normalized database. So far I know it works with SQLite and MySQL, but it should work just dandy with others as well.

Once I had that fresh database, I began working on a graphical interface for the scriptures. I had been tinkering with something called wxPython for a little while, but I'd never really built anything useful with it. I could never get used to laying things out after using the amazing GUI builder in NetBeans.

This past weekend I've been hacking nearly non-stop to get a nice, functional interface for my scripture program. I'm very satisfied with it, and I have to admit that it performs far better than any previous iteration of this project. There's still a lot to be done to make it work the way I want it to, but here's a brief list of features in this version 0.2a release:

Features Include:

  1. Cross-Platform Compatible: This program works exactly the same on Windows, Linux, and Mac. I've tested it on Windows XP, Vista, Ubuntu Linux, Slackware Linux, and MacOS X (leopard) and have only found minor differences that don't really matter anyway. The program itself does work though.
  2. Fast: Python does a good job at working quickly, even with my crummy code. It boasts incredible speed when retrieving and rendering the entire canon of scripture.
  3. Simple searching: You can type in a word, part of a word, or a whole phrase, and it will find any and all matches (case-insensitively) in the entire standard works.
  4. Quick Jump: Know the exact reference to the scripture you want? Type it in and you're immediately taken to that verse. I never understood why other programs don't have this feature. My implementation is not perfect, but it sure as heck didn't take much to get it where it is.
  5. Adjustable font sizes: You can easily adjust the size of the scripture text (within reasonable limits). That way you can make it easier to read if you're not sitting right in front of your computer.
  6. Easy navigation: You can quickly and easily jump to the next or previous chapter or book. I realize that this might not be very useful to a lot of people, but I love this sort of functionality.
  7. Random verse: Click one button to jump to some random verse anywhere in the scriptures. This is mostly a database deal, and it seems to prefer the Old Testament in my experience. Maybe that's just because the Old Testament probably has more verses than the rest of the volumes put together?
  8. Good memory: Prefer to have your window maximized? Don't like seeing the toolbar? The program will remember things like that, as well as the size and position of the window on your screen (if it's not maximized) and what verse you had selected immediately before closing down the program.
  9. Keyboard shortcuts: For those of us who hate to use mice, there are keyboard shortcuts to do most things in the program.

There's still more fun stuff to come, but I had to get something out the door. I spent most of today just trying to get the program to behave well on other platforms (mostly Windows), because I develop on Linux. If you're interested in trying out what I have now, feel free to download whatever suits you best:

Downloads

Windows Installer (32-bit) (9.0MB)

Debian Linux (including Ubuntu) (2.9MB)

Launch pyscriptures after installing and it should work.

MacOS X (11.3MB)

Man... Gotta love the size differences.

Requirements

This program requires Python 2.4+, pysqlite2 (or sqlite3 if you have Python 2.5), and wxPython 2.8+. These may be different, but that's what I used to develop with, so I know it works with them. The Windows installer should include everything you need to get started, as should the Mac installer.

Note: The .dmg is very, very shabby right now. I plan on making it prettier as time goes on, but this _is_ an alpha release, after all. You can't expect too much.

I should stop here. Enjoy!

Why I Like Python

For the past 8 years or so, I've been very much involved with programming using the PHP scripting language. It is a powerful scripting language that suits building websites very well. PHP has a huge set of useful built-in functions, and more recent versions support object-oriented programming. I first started teaching myself PHP when I got tired of having to build each and every web page on my site manually. I hated having to change dozens of web pages just because I added a new link to my navigation. All sort of reasons like this prompted me to investigate PHP. Little did I know then that this language would occupy so much of my time in the future.

I rapidly learned that PHP offered much more than just allowing me to update one part of my website to change all pages. I started tinkering with all aspects of what PHP offered, and I'm still learning about it. After many years of searching, I finally found a programming language that was easy, fast, and efficient for my needs.

Through the years, I continued to develop various applications using PHP. I attempted to write my own forum/bulletin board software while I was still in high school. If I may say so myself, the forum really had some awesome concepts behind it. But my problem was that I lost interest too fast. I also built a very large application that reduced a 1.2GB MS Access database down to less than 15MB using PHP and MySQL. The new application offered many enhancements over the previous system. For one thing, it was much faster. Second, it allowed multiple simultaneous users to modify the database. Three, so far it has lasted more than 3 years, compared to the 1 year maximum that the MS Access solution always seemed to hit before it crashed.

Using PHP, I helped revolutionize the way one of the companies I work for developed websites. I built a simple in-house web framework that supposedly reduced development time by allowing us to forget about the mundane details involved in virtually every website and just get to the developing. In a matter of two weeks (with a full class load and another job), I managed to write an e-commerce solution for the same company using PHP.

Basically, PHP has treated me well over the years. But this post is not supposed to be about PHP. If that's the case, why have I rambled about PHP this whole time, you ask? Well, it's mostly to demonstrate that I have a lot of experience with the language. I have a pretty good feel for what it's capable of and how I can accomplish most anything I need.

With all of that in mind, I've encountered my frustrations with PHP. They may seem petty and moot to most people, but they have turned out to be the determining factor in what scripting language I prefer. Here is a short list of things I now despise about PHP:

  • dollar signs ($) to signify variables -- while this is a useful feature, it becomes quite bothersome when you're programming all day long (at least it does for me). I'll get to why later.
  • using an actual arrow (->) to access attributes -- most other modern programming languages simply use a period (.) for this functionality. I'll comment more on this and why it frustrates me later as well.
  • lack of true object-oriented constructs -- in other object-oriented languages, like Java, if you have a string and you want to determine its length, you call the length() method of that string. In PHP, you call a function such as strlen($var). This sort of behavior plagues the language.
  • too many unnecessary keystrokes -- as I mentioned before, all mutable variables are preceded by a dollar sign ($). That is 2 keystrokes (shift and 4) every time you want to refer to a variable, wheres most languages nowadays have none). Likewise, accessing attributes of objects in PHP uses an arrow (->), which is three keystrokes (minus, shift, and .). Most other object-oriented languages only require a period (one keystroke) for such functionality. The main reason I make such a big deal out of the number of keystrokes is simple. The more keystrokes a program requires, the more likely you are to have bugs. The fewer keystrokes a program requires, the less likely it is that your program will be broken. It boils down to maintainability. Also associated with the number of keystrokes is the pure laziness within me and most other programmers.

These frustrations have been bothering me for several years now. I continued using PHP mostly because it's so widely supported, but also because I could not find a suitable replacement for it. I investigated a few others, but they apparently didn't have a great influence on me right now because I don't remember any names.

When the whole Ruby on Rails bandwagon was rolling through town, I decided to hop on to see what all of the hubbub was about. I started studying the Ruby script language, and I found that it had some really neat things about it. It uses a more solid approach to object-oriented programming, which I really liked. I also noticed that it employs some intriguing structures for accomplishing things in ways I've never seen before. Despite these things, Ruby still didn't seem like a viable replacement for my PHP. It didn't come up to snuff in performance in many cases, so I essentially abandoned it.

For at least a year now, I've been interested in learning Python. I've heard a lot about it over the years, but I just never seemed to make the time to actually sit down and study it. That is, not until about the beginning of August of 2007. After I made my decision that Ruby and Ruby on Rails weren't quite up to par for my needs, I stumbled upon the Django Project, which is a web framework similar to Ruby on Rails, only built using Python.

I decided this was my chance to actually sit down and learn a little about this "Python" so I could see what it had to offer. I mostly used Django as my portal to Python. As I started learning Django, I became more and more familiar with the way Python works and how I work with Python.

At some point in time, I decided that I actually liked Python, and my wife let me buy some really cool books to help me learn it. By the beginning of October 2007, I had convinced my supervisor at work to let me start building websites using Django instead of our home-grown PHP framework.

And here comes a story. This is the main reason I blabbered about my experience with PHP so much at the start of this article. Again, after all these years, I feel very confident that I can do just about anything I want efficiently and elegantly with PHP.

Back in October of 2006 (after using PHP for some 7 years), I was asked to write a PHP script to parse some log files and output various bits of information in a certain format. After maybe a week, I had a script that did the job fairly well. Most of the time it worked, but there were occasions when it didn't and I had to fix it. The script turned out to be 365 lines of code with very few comments scattered throughout. It's also a maintenance nightmare, even for me.

In October of 2007, I rewrote that same script in Python. After only a couple days, the script seemed to be perfect. It did its job, and it did it well. With comments for just about every single line of code, the Python version of the script took up a mere 118 lines of code. Take out the comments and it is 56 lines of code. The script is several times more understandable and maintainable than its PHP counterpart. I also believe that it is much more efficient at doing its task. Keep in mind that I had only been using Python for about 2 months at this point in time.

It's been through various experiences like the log parser that I have decided I prefer Python over PHP. Obviously, I'm not quite as comfortable with it as I am with PHP, but I don't feel too far behind. Now, less than 6 months after deciding that we'd use Django at work, I don't think my supervisor could be happier. Building a typical website with our PHP framework takes between 1 week and a couple months. Thanks to Python and Django, most of our websites can be "ready" within just a few hours. That time assumes that the website's design itself is ready for content to be put into it and also that the client does not require custom-designed applications.

Python and Django have helped revolutionize the way we do things at work, and I can hardly stop thinking about it. Python fixes nearly all of the frustrations I had with PHP. The frustrations it doesn't take care of are worth the sacrifice. Python is capable of object-oriented programming. It uses a period (.) to access object attributes. Variables are not preceded by some arbitrary symbol.

Also, the fact that Python code can be compiled to bytecode (like Java) is enormously beneficial. Each and every time a PHP script is executed, the PHP interpreter must parse the code. With Python, the first time a script is executed after an edit, the program is compiled to bytecode and subsequent executions are faster. That is because the bytecode is processed directly by the Python Virtual Machine (as opposed to being compiled to bytecode _each_ time and then executed). Python also offers a vast amount of standard library functions that I would really appreciate having in PHP. But from now on (at least for the foreseeable future), I will try to do all of my scripting in Python and leave PHP for the special cases.
MySQL on Slackware

Many of us who have installed Slackware on our machines in the past few years have noticed something annoying on the first boot: the MySQL service fails to start!!

In response to this, I would like to offer this simple tutorial. Right now I am doing this blindly, meaning I don't have a fresh install to work with. Please bear with me if you notice some errors in the tutorial, and please tell me about them!

  1. Log in as root: # su -
  2. Make sure the mysql package is installed. You can do this by running pkgtool and selecting the view option. Hit n and it will take you to the packages in the list that begin with n. MySQL should be right above the n packages. If you don't have mysql already installed, you can download it from http://www.linuxpackages.net/ or wherever you'd like. Once you have a copy of it, install it by using the installpkg mysql......tgz command
  3. Setup the databases: # mysql_install_db
  4. Apply the proper permissions: # chown -R mysql.mysql /var/lib/mysql
  5. Start the database: # mysqld_safe &
  6. Setup the root user:
# mysqladmin -u root password 'newpassword'
# mysqladmin -p -u root -h localhost password 'newpassword'

Finally, test your installation:

# mysql -p

That should do it! Please comment if you notice any errors with this posting.